ROOF GARNISH INSTALLATION
PROCEDURE
-
INSTALL ROOF TOP MOULDING SUB-ASSEMBLY
-
Install the roof top moulding sub-assembly with the 7 nuts as shown in the illustration.
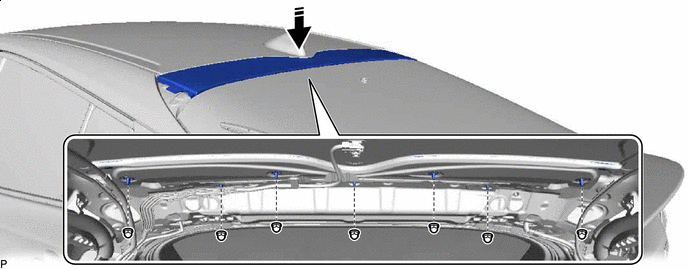

Install in this Direction - - - Torque:
- 7.0 N*m { 71 kgf*cm, 62 in.*lbf }
-
-
INSTALL ROOF HEADLINING ASSEMBLY
-
INSTALL REAR ROOF DRIP SIDE FINISH MOULDING SUB-ASSEMBLY LH
-
Install a new gasket and new cap.
-
Install 2 new clips to the rear roof drip side finish moulding sub-assembly LH.
-
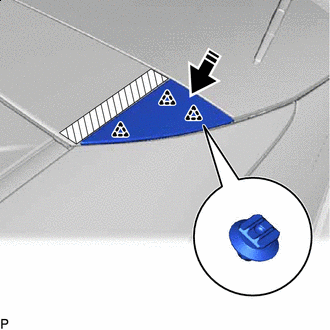
Install in this Direction Engage the 3 clips as shown in the illustration to install the rear roof drip side finish moulding sub-assembly LH.
-
-
INSTALL REAR ROOF DRIP SIDE FINISH MOULDING SUB-ASSEMBLY RH
Tech Tips
Use the same procedure as for the LH side.