PARKING BRAKE PEDAL(for RHD) REMOVAL
PROCEDURE
-
LOOSEN NO. 1 WIRE ADJUSTING NUT
-
Loosen the No. 1 wire adjusting nut.
Note
If the No. 1 wire adjusting nut has been removed from the No. 1 parking brake cable assembly, replace the No. 1 wire adjusting nut with a new one.
-
-
REMOVE NO. 1 INSTRUMENT PANEL UNDER COVER SUB-ASSEMBLY
-
REMOVE REAR CONSOLE BOX ASSEMBLY
-
REMOVE LOWER CENTER INSTRUMENT CLUSTER FINISH PANEL SUB-ASSEMBLY
-
REMOVE FRONT NO. 2 CONSOLE BOX INSERT
-
REMOVE PARKING BRAKE MOUNTING BRACKET
-
REMOVE NO. 2 AIR DUCT
-
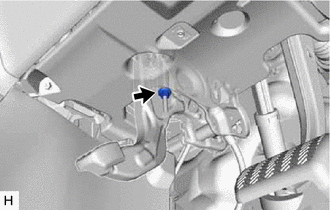
SEPARATE NO. 1 PARKING BRAKE CABLE ASSEMBLY
-
Turn back the front floor carpet assembly.
-
Remove the bolt and separate the No. 1 parking brake cable assembly.
-
-
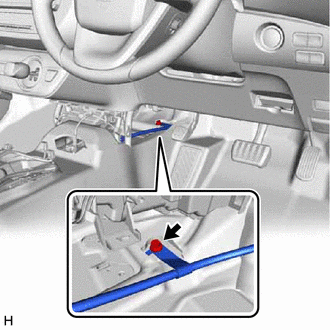
SEPARATE PARKING BRAKE PEDAL ASSEMBLY
-
Disengage the 2 clamps.
-
Disconnect the parking brake switch connector.
-

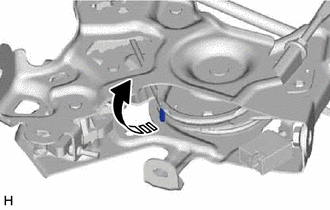
Bracket Remove the bolt and 2 nuts, and separate the parking brake pedal assembly from the vehicle body.
Note
Be careful not to deform the bracket of the instrument panel reinforcement assembly shown in the illustration.
-
-
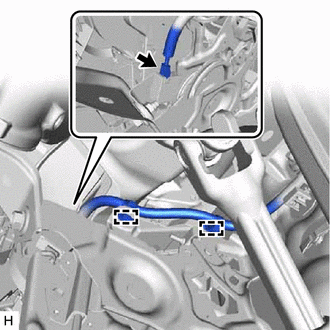
REMOVE PARKING BRAKE PEDAL ASSEMBLY
-
Pull up the parking brake pedal assembly claw.
Note
Do not damage the No. 1 parking brake cable assembly.
-
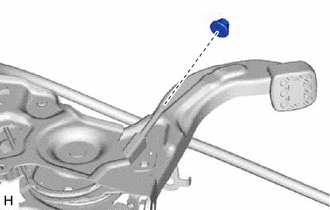
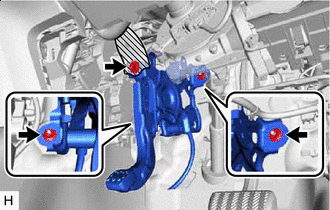
Remove the No. 1 wire adjusting nut from the No. 1 parking brake cable assembly.
Note
If the No. 1 wire adjusting nut has been removed from the No. 1 parking brake cable assembly, replace the No. 1 wire adjusting nut with a new one.
-

Remove the clip from the No. 1 parking brake cable assembly.
-
Remove the parking brake pedal assembly from the No. 1 parking brake cable assembly.
-