LOWER INSTRUMENT PANEL DISASSEMBLY
CAUTION / NOTICE / HINT
Tech Tips
-
Use the same procedure for RHD and LHD vehicles.
-
The procedure listed below is for LHD vehicles.
PROCEDURE
-
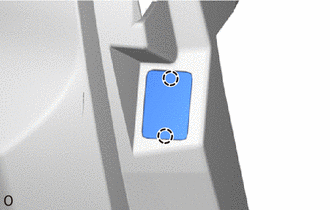
REMOVE GLOVE COMPARTMENT DOOR STOPPER SUB-ASSEMBLY
-
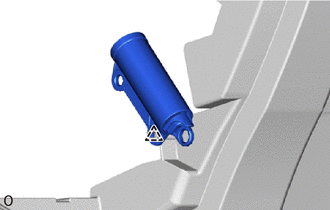
Detach the clip and remove the glove compartment door stopper sub-assembly.
-
-
REMOVE NO. 2 SWITCH HOLE BASE
-
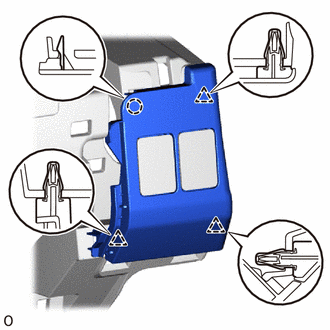
Detach the 3 clips and claw and remove the No. 2 switch hole base.
-
-
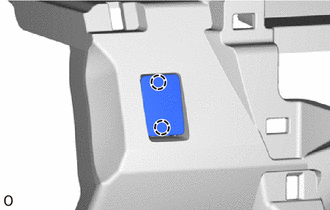
REMOVE SPARE SWITCH HOLE COVER
-
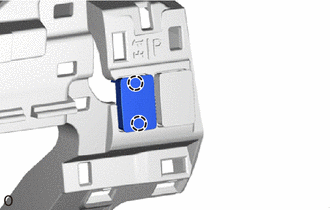
except 4WD/AWD:
Detach the 2 claws and remove the spare switch hole cover.
-

w/o Power Back Door:
Detach the 2 claws and remove the spare switch hole cover.
-
w/o Downhill Assist Control:
Detach the 2 claws and remove the spare switch hole cover.
-
w/o Power Back Door:
Detach the 2 claws and remove the spare switch hole cover.
-
-
REMOVE DIFFERENTIAL LOCK SWITCH (for 4WD/AWD)
-
REMOVE DOOR CONTROL SWITCH ASSEMBLY (w/ Power Back Door)
for LHD:
for RHD:
-
REMOVE DOWNHILL ASSIST CONTROL SWITCH (w/ Downhill Assist Control)
-
REMOVE POWER BACK DOOR MAIN SWITCH (w/ Power Back Door)
-
REMOVE NO. 1 INDOOR ELECTRICAL KEY ANTENNA ASSEMBLY (w/ Entry and Start System)
-
REMOVE PUSH START SWITCH (for RHD with Entry and Start System)
-
REMOVE ANTENNA CORD SUB-ASSEMBLY
for LHD:
for RHD: