ROOF HEADLINING (for TMC, TMMR Made) DISASSEMBLY
-
REMOVE VANITY LIGHT ASSEMBLY
-
Remove the vanity light assembly Click here.
Tech Tips
Use the same procedure for the other vanity light.
-
-
REMOVE NO. 1 ROOF SILENCER PAD (w/o Sliding Roof)
-
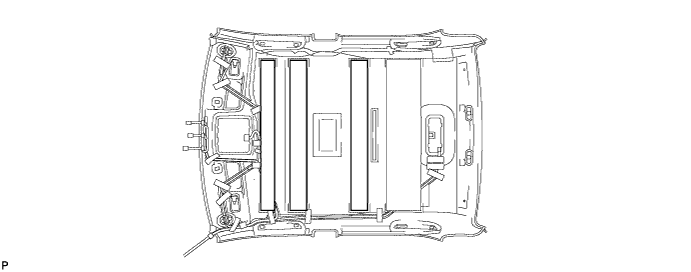
Remove the 3 No. 1 roof silencer pads.
-
-
REMOVE NO. 2 ROOF SILENCER PAD (w/o Sliding Roof)
-
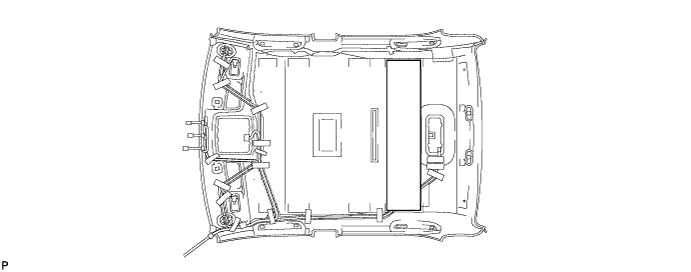
Remove the No. 2 roof silencer pad.
-
-
REMOVE NO. 2 ANTENNA CORD SUB-ASSEMBLY
-
Peel back the tape used to secure the antenna cord only to the extent that allows removal of the No. 2 antenna cord sub-assembly.
Tech Tips
Tape is not available as a supply part. Try to leave as much tape as possible on the roof headlining so that the tape can be reused.
-
Remove the No. 2 antenna cord sub-assembly from the roof headlining.
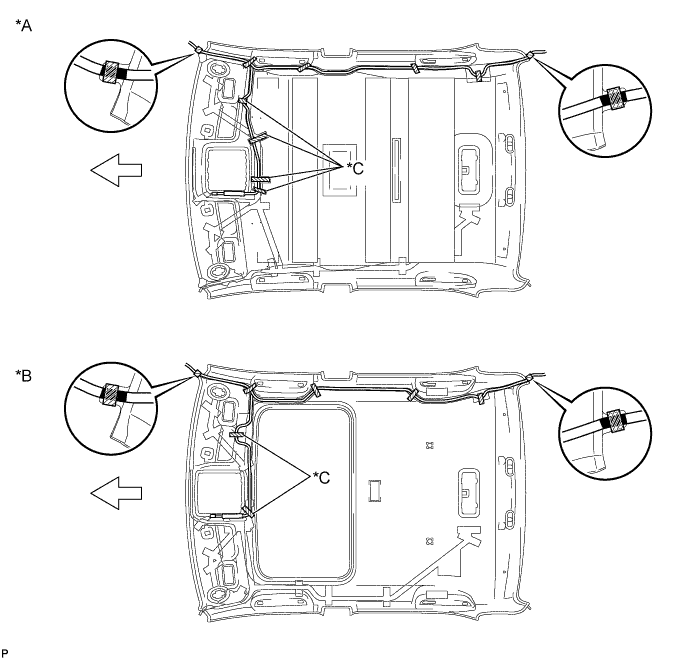
Text in Illustration *A w/o Sliding Roof *B w/ Sliding Roof *C w/ Television Antenna - - 
Front 
Tape
-
-
REMOVE NO. 1 ROOF WIRE
-
Remove the adhesive tape from the roof headlining assembly.
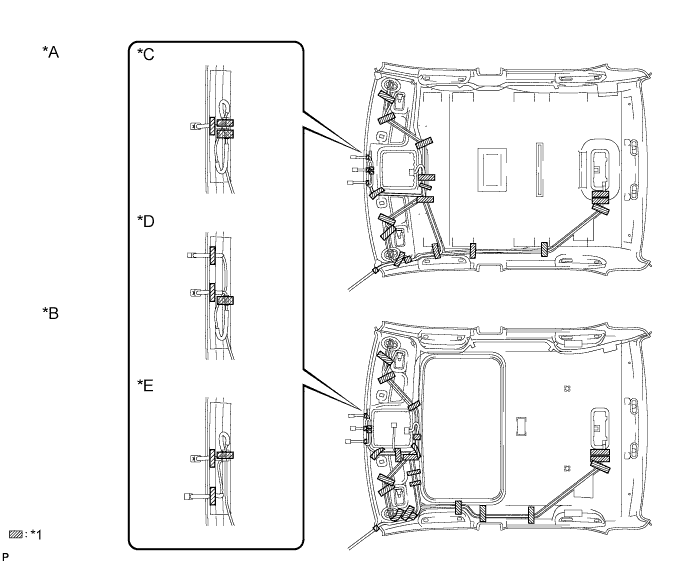
Text in Illustration *A w/o Sliding Roof *B w/ Sliding Roof *C w/o Rain Sensor *D for LHD with Rain Sensor *E for RHD with Rain Sensor - - *1 Adhesive Tape - - -
Turn the visor connectors counterclockwise approximately 45° and separate the connectors from the roof headlining assembly.
-
Remove the No. 1 roof wire from the roof headlining assembly.
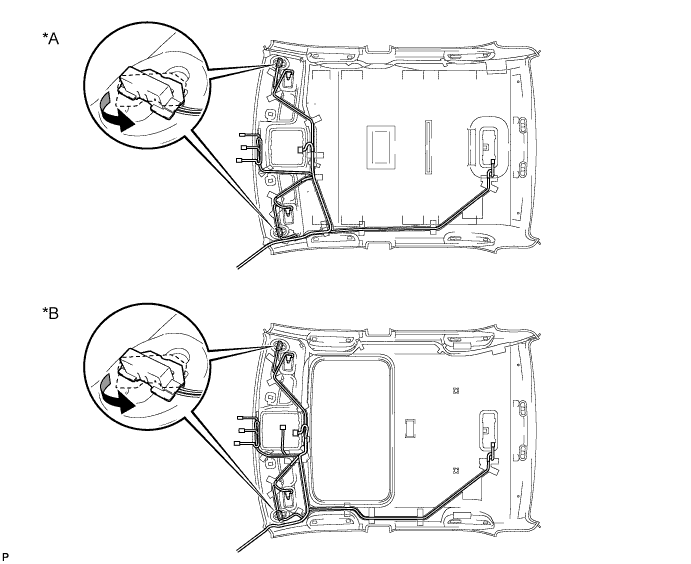
Text in Illustration *A w/o Sliding Roof *B w/ Sliding Roof
-