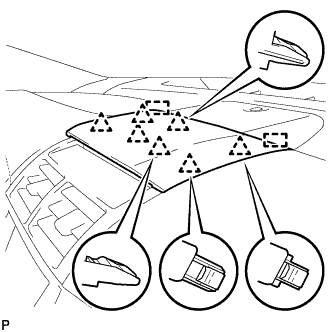
INSTRUMENT PANEL SPEAKER (for TMC, TMMR Made) INSTALLATION
-
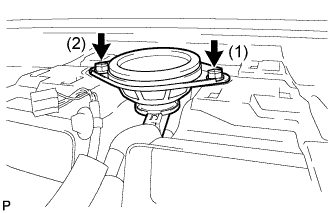
INSTALL FRONT NO. 2 SPEAKER ASSEMBLY
-
Connect the connector.
-
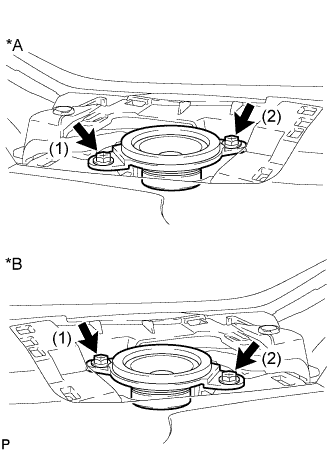
Text in Illustration *A LH Side *B RH Side Install the front No. 2 speaker assembly with the 2 screws.
Note
Do not touch the speaker cone.
Tech Tips
Install the screws in the order shown in the illustration.
-
-
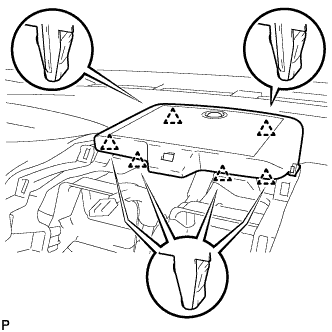
INSTALL INSTRUMENT PANEL SPEAKER PANEL SUB-ASSEMBLY
-
Engage the 2 guides.
-
Engage the 3 claws and 2 clips to install the No. 1 instrument panel speaker panel sub-assembly.
-
-
INSTALL FRONT PILLAR GARNISH
-
Remove the protective cover.
-
Make sure that the front pillar garnish clip is not damaged.
Note
If there is any damage, replace the garnish clip with a new one.
-
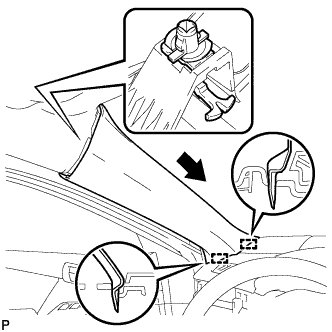
Install the front pillar garnish clip to front pillar garnish LH.
Tech Tips
Install the front pillar garnish clip so that it faces as shown in the illustration.
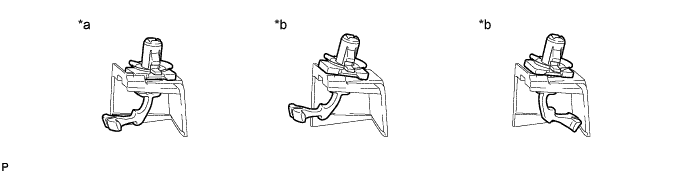
Text in Illustration *a Correct *b Incorrect -
Engage the 2 guides as shown in the illustration.
-
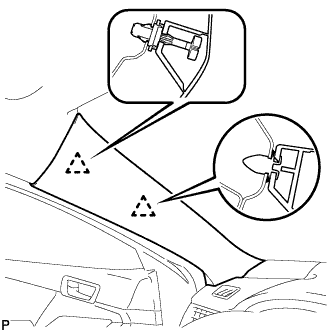
Engage the 2 clips to install the front pillar garnish LH.
-
-
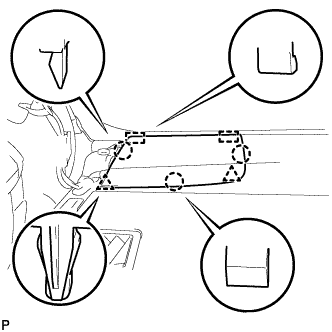
INSTALL FRONT DOOR OPENING TRIM WEATHERSTRIP
for LH side: Click here
for RH side: Click here
-
INSTALL FRONT NO. 3 SPEAKER ASSEMBLY (for 10 Speakers)
-
Connect the connector.
-
Install the front No. 3 speaker assembly with the 2 screws.
Note
Do not touch the speaker cone.
Tech Tips
Install the screws in the order shown in the illustration.
-
-
INSTALL NO. 1 SPEAKER OPENING COVER ASSEMBLY (for 10 Speakers)
-
Connect the connector.
-
Engage the 6 clips to install the No. 1 speaker opening cover assembly.
-
-
INSTALL NO. 2 INSTRUMENT PANEL REGISTER ASSEMBLY (for 10 Speakers)
-
Connect the connector.
-
Engage the 4 clips to install the No. 2 instrument panel register assembly.
Note
When installing the No. 2 instrument panel register assembly, check that the wire harness is not caught between the No. 2 instrument panel register assembly and duct.
-
-
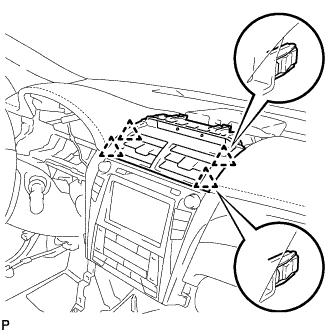
INSTALL CENTER INSTRUMENT CLUSTER FINISH PANEL SUB-ASSEMBLY (for 10 Speakers)
-
Engage the 7 clips and 2 guides to install the center instrument cluster finish panel sub-assembly.
-