SHIFT LEVER DISASSEMBLY
PROCEDURE
-
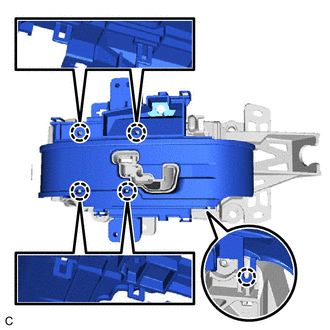
REMOVE FLOOR SHIFT POSITION INDICATOR HOUSING SUB-ASSEMBLY
-
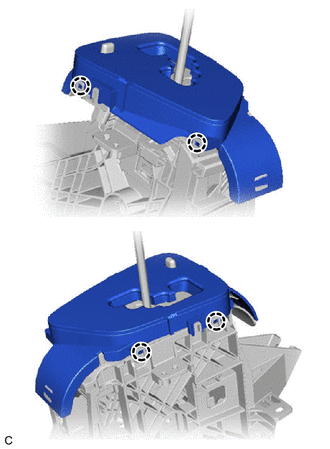
Disengage the 4 claws and remove the floor shift position indicator housing sub-assembly from the lower position indicator housing.
Note
Do not damage the lower position indicator housing.
-
-
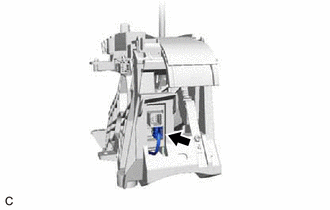
REMOVE INDICATOR LIGHT WIRE SUB-ASSEMBLY
-
Disconnect the indicator light wire sub-assembly from the lower position indicator housing.
-
Disengage the clamp and disconnect the indicator light wire sub-assembly from the lower position indicator housing.
-
-
REMOVE POSITION INDICATOR LIGHT BULB
-
Remove the position indicator light bulb from the position indicator light wire socket.
-
Remove the cap from the position indicator light bulb.
-
-
REMOVE POSITION INDICATOR SLIDE COVER
-
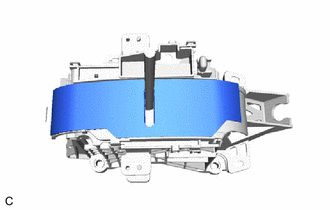
Remove the position indicator slide cover from the lower position indicator housing.
-
-
REMOVE NO. 2 POSITION INDICATOR SLIDE COVER
-
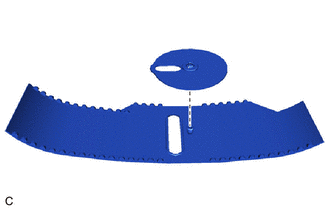
Remove the No. 2 position indicator slide cover from the position indicator slide cover.
-
-
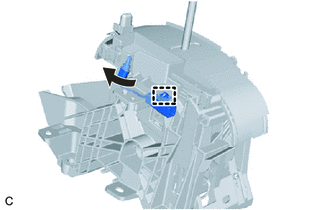
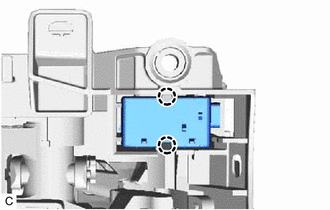
REMOVE LOWER POSITION INDICATOR HOUSING
-
Disengage the 5 claws and remove the lower position indicator housing from the shift lock control unit assembly.
-
-
REMOVE SHIFT LOCK ECU (w/o Smart Entry and Start System)
-
Disconnect the connector from the shift lock solenoid.
-
Disengage the 2 claws and remove the shift lock ECU from the shift lock control unit assembly.
-