AUTOMATIC LIGHT CONTROL SENSOR REMOVAL
CAUTION / NOTICE / HINT
Tech Tips
-
Use the same procedure for LHD and RHD vehicles.
-
The procedure listed below is for LHD vehicles.
PROCEDURE
-
REMOVE NO. 1 RAIN SENSOR COVER (w/ Rain Sensor)
-
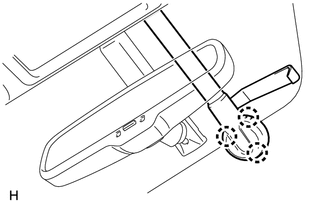
Using moulding remover A, detach the 3 claws and disconnect the rain sensor cover.
-
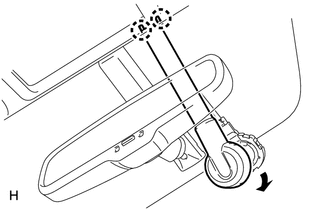
Detach the 2 claws and remove the rain sensor cover.
-
-
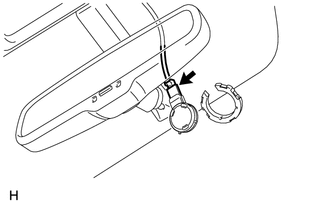
REMOVE NO. 2 RAIN SENSOR COVER (w/ Rain Sensor)
-
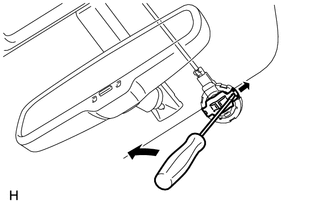
Using a screwdriver, detach the 2 claws and remove the No. 2 rain sensor cover.
-
-
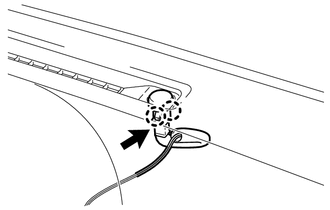
REMOVE RAIN SENSOR (w/ Rain Sensor)
-
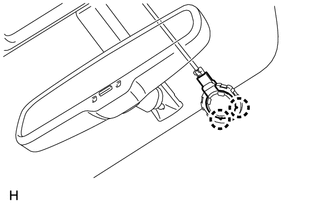
Detach the 2 claws and remove the rain sensor.
Note
Do not touch the silicon mixture directly with your finger.
-
Disconnect the connector.
Note
Do not touch the silicon mixture directly with your finger.
-
-
REMOVE UPPER INSTRUMENT PANEL (w/o Rain Sensor)
-
REMOVE AUTOMATIC LIGHT CONTROL SENSOR (w/o Rain Sensor)
-
Disconnect the connector.
-
Detach the 2 claws and remove the automatic light control sensor.
-