AUTOMATIC TRANSMISSION FLUID REPLACEMENT

PROCEDURE
-
REMOVE NO. 2 ENGINE UNDER COVER
-
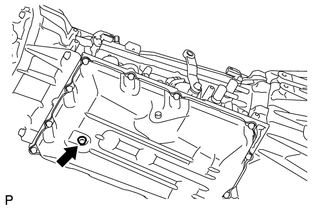
REMOVE OIL PAN PROTECTOR ASSEMBLY (w/o DPF)
-
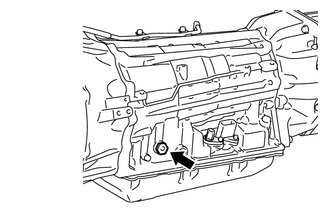
REMOVE OIL PAN PROTECTOR ASSEMBLY LH (w/ DPF)
-
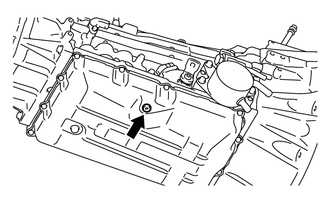
REMOVE OIL PAN PROTECTOR ASSEMBLY RH (w/ DPF)
-
REPLACE AUTOMATIC TRANSMISSION FLUID
-
Lift the vehicle. [*1]
Note
Set the vehicle on a lift so that the vehicle is kept level when it is lifted up (make sure that the tilt angle from the front to rear of the vehicle is within +/-1°).
-
Remove the drain plug and gasket from the automatic transmission assembly and drain the automatic transmission fluid. [*2]
-
Temporarily install the gasket and drain plug to the automatic transmission assembly. [*3]
Tech Tips
Reuse the old gasket as the drain plug will be removed again.
-
Remove the refill plug and O-ring from the automatic transmission assembly. [*4]
-
Using a 5 mm hexagon socket wrench, remove the overflow plug and gasket from the automatic transmission assembly. [*5]
-
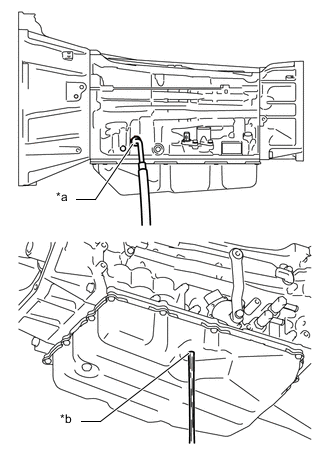
Text in Illustration *a Refill Hole *b Overflow Hole Add automatic transmission fluid to the refill hole until it flows out of the overflow hole. [*6]
Note
-
Use Toyota Genuine ATF WS.
-
Be sure to add automatic transmission fluid slowly. If automatic transmission fluid is added quickly, the automatic transmission fluid may hit internal parts and bounce back, resulting in automatic transmission fluid coming out of the refill hole.
-
-

Wait until the automatic transmission fluid flow slows and only drips come out. [*7]
-
Using a 5 mm hexagon socket wrench, temporarily install the gasket and overflow plug to the automatic transmission assembly. [*8]
Tech Tips
Reuse the old gasket as the overflow plug will be removed again.
-
Add the amount of automatic transmission fluid specified for removal and installation of the automatic transmission oil pan sub-assembly to the refill hole. [*9]
Specified amount of fluid 2.1 liters (2.2 US qts, 1.8 Imp. qts) Tech Tips
If the specified amount of automatic transmission fluid cannot be added, perform steps [*10] to [*15].
-
Temporarily install the O-ring and refill plug to the automatic transmission assembly. [*10]
Tech Tips
Reuse the old O-ring as the refill plug will be removed again.
-
Lower the vehicle. [*11]
-
Start the engine. [*12]
Note
To reduce load, make sure that all electrical systems, such as the air conditioning, lighting system, electric fan and audio system, are off.
-
Slowly move the shift lever from P to D, then move the shift lever to P. [*13]
Tech Tips
Keep the shift lever in each position for approximately 3 seconds.
-
Allow the engine to idle for 30 seconds to warm it up. [*14]
-
Turn the engine switch off. [*15]
-
Repeat steps [*1] to [*15].
-
Repeat steps [*1] to [*2].
-
Install a new gasket and the drain plug to the automatic transmission assembly.
- Torque:
- 20 N*m { 204 kgf*cm, 15 ft.*lbf }
-
Repeat steps [*4] to [*11].
-
-
ADJUST FLUID TEMPERATURE
-
CHECK FLUID LEVEL
-
AFTER FILLING TRANSMISSION
-
INSTALL OIL PAN PROTECTOR ASSEMBLY RH (w/ DPF)
-
INSTALL OIL PAN PROTECTOR ASSEMBLY LH (w/ DPF)
-
INSTALL OIL PAN PROTECTOR ASSEMBLY (w/o DPF)
-
INSTALL NO. 2 ENGINE UNDER COVER