SIDE STEP DISASSEMBLY
CAUTION / NOTICE / HINT
Tech Tips
-
Use the same procedures for the RH side and LH side.
-
The procedures listed below are for the LH side.
PROCEDURE
-
REMOVE NO. 1 SIDE STEP BRACKET LH
-
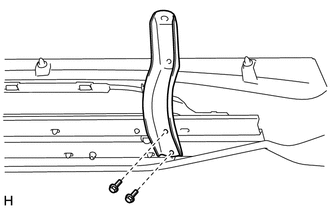
Remove the 2 bolts and No. 1 side step bracket LH.
-
-
REMOVE NO. 2 SIDE STEP BRACKET LH
-

Detach the clamp.
-
Remove the 2 bolts and No. 2 side step bracket LH.
-
-
REMOVE NO. 3 SIDE STEP BRACKET LH
-
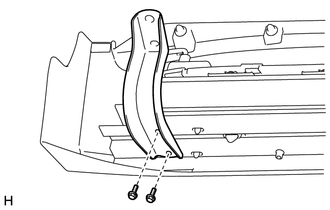
Remove the 2 bolts and No. 3 side step bracket LH.
-
-
REMOVE REAR STEP FLOOR WIRE LH
-
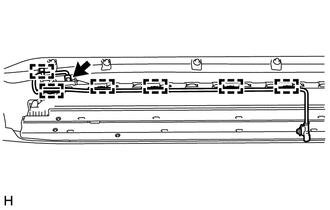
Disconnect the connector.
-
Detach the 6 clamps and remove the rear step floor wire LH.
-
-
REMOVE STEP LIGHT ASSEMBLY
-
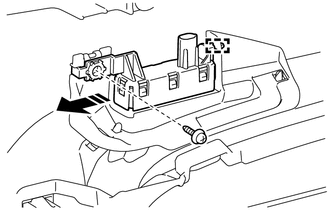
Remove the screw.
-
Detach the guide and remove the step light assembly.
-
-
REMOVE STEP COVER REINFORCEMENT LH
-
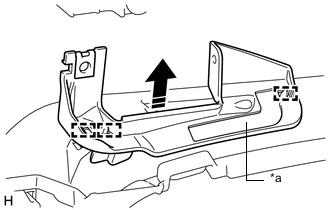
Text in Illustration *a Double-sided Tape Detach the 3 guides, and remove the double-sided tape to remove the step cover reinforcement LH.
-
-
REMOVE STEP PLATE LH
-
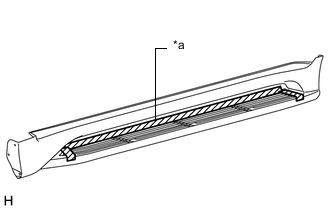
Text in Illustration *a Protective Tape Put protective tape around the step plate LH.
-
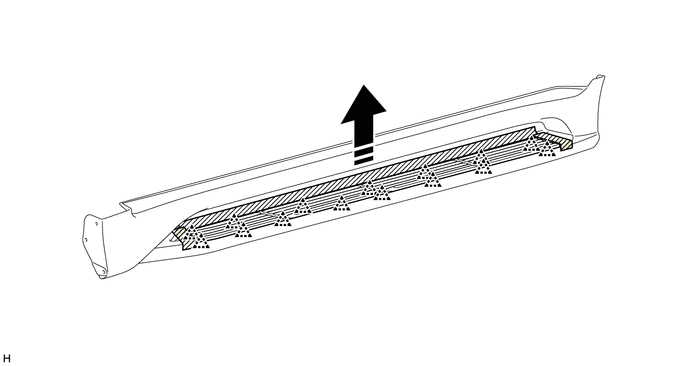
Detach the 15 clips and remove the step plate LH.
-
-
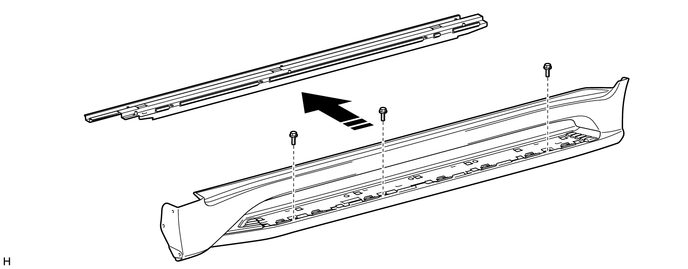
REMOVE STEP PANEL LH
-
Remove the 3 bolts and step panel LH.
-
-
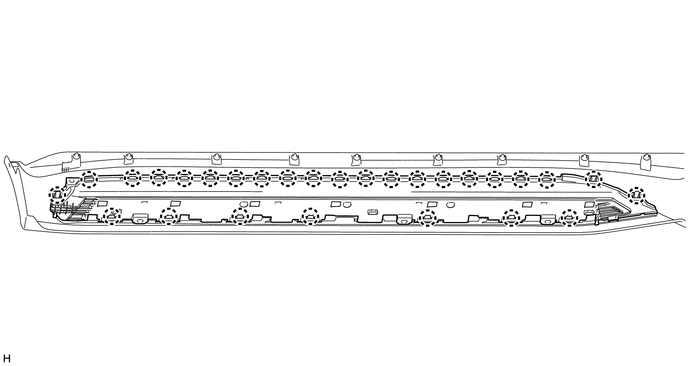
REMOVE REAR SIDE DOOR STEP PLATE COVER LH
-
Detach the 28 claws and remove the rear side door step plate cover LH.
-