COMPRESSOR(for 1GD-FTV) REMOVAL

PROCEDURE
-
REMOVE UPPER RADIATOR SUPPORT SEAL
-
RECOVER REFRIGERANT FROM REFRIGERATION SYSTEM
-
REMOVE GENERATOR ASSEMBLY
-
for 130 A:
-
for 100 A:
-
-
DISCONNECT NO. 2 ENGINE WIRE

-
Remove the bolt.
-
Detach the guide and disconnect the No. 2 engine wire.
-
-
DISCONNECT NO. 1 COOLER REFRIGERANT DISCHARGE HOSE
-
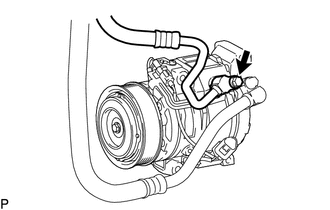
Remove the bolt and disconnect the No. 1 cooler refrigerant discharge hose from the cooler compressor assembly.
-
Remove the O-ring from the No. 1 cooler refrigerant discharge hose.
Note
Seal the openings of the disconnected parts using vinyl tape to prevent moisture and foreign matter from entering them.
-
-
DISCONNECT NO. 1 COOLER REFRIGERANT SUCTION HOSE
-
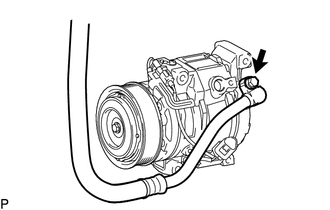
Remove the bolt and disconnect the No. 1 cooler refrigerant suction hose from the cooler compressor assembly.
-
Remove the O-ring from the No. 1 cooler refrigerant suction hose.
Note
Seal the openings of the disconnected parts using vinyl tape to prevent moisture and foreign matter from entering them.
-
-
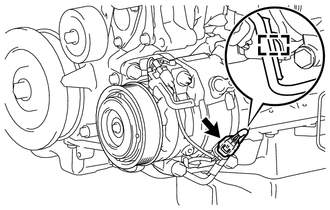
REMOVE COOLER COMPRESSOR ASSEMBLY
-
Detach the clamp and disconnect the connector.
-

Remove the 3 bolts and nut.
-
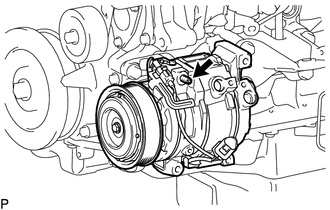
Using an E8 "TORX" socket wrench, remove the stud bolt and cooler compressor assembly.
-