REAR AIR CONDITIONING UNIT DISASSEMBLY
PROCEDURE
-
REMOVE REAR SIDE NO. 4 AIR DUCT (w/ Rear Air Duct)
-
Remove the 3 screws and duct.
-
-
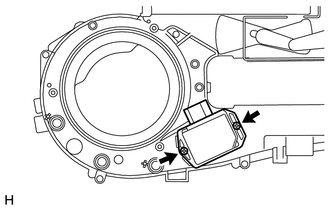
REMOVE REAR AIR MIX DAMPER SERVO SUB-ASSEMBLY
-
Disconnect the connector.
-
Remove the 2 screws and damper servo.
-
-
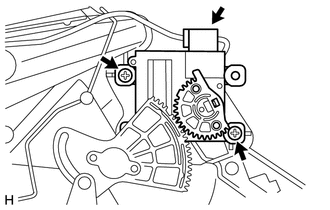
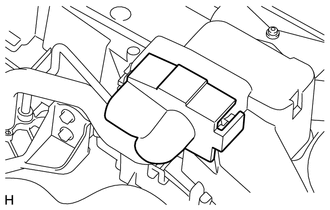
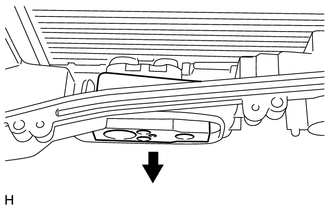
REMOVE COOLER BRACKET
-
Remove the 4 screws and bracket.
-
-
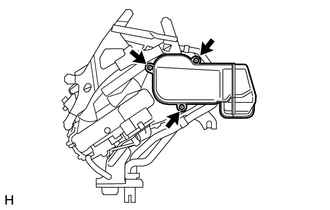
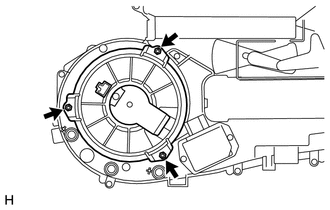
REMOVE REAR MODE DAMPER SERVO SUB-ASSEMBLY
-
Disconnect the connector.
-
Remove the 2 screws and damper servo.
Note
After removing the damper servo, do not move the gear of the servo unit.
-
-
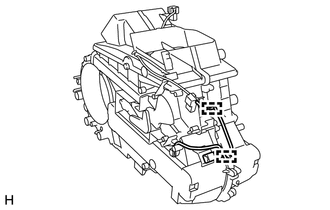
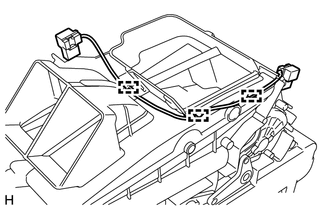
REMOVE AIR CONDITIONING TUBE AND ACCESSORY ASSEMBLY
-
Remove the packing.
-
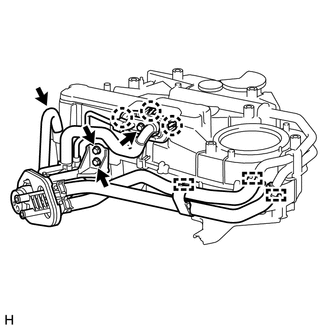
Detach the 3 claws and remove the cover.
-
Remove the bolt and 2 screws.
-
Using pliers, grip the claws of the clips and slide the 2 clips.
-
Detach the clamp.
-
Disconnect the drain hose.
-
Remove the air conditioning tube and accessory assembly.
-
Remove the 2 O-rings from the air conditioning tube and accessory assembly.
-
-
REMOVE HEATER RADIATOR UNIT SUB-ASSEMBLY
-
Remove the screw.
-
Detach the claw and open the heater clamp.
-
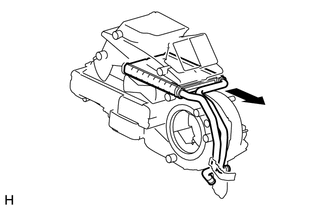
Remove the heater radiator.
-
Detach the 2 claws and remove the heater clamp.
-
-
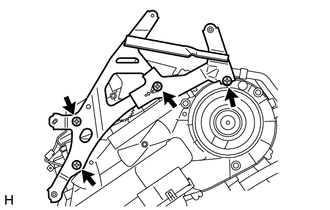
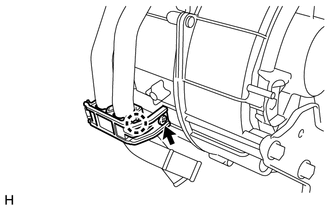
REMOVE HEATER BRACKET
-
Remove the 3 screws and bracket.
-
-
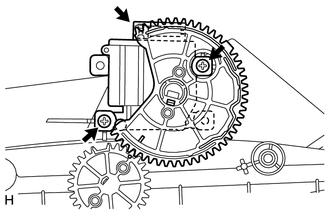
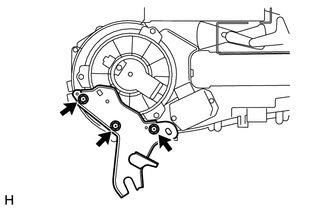
REMOVE REAR BLOWER WITH FAN MOTOR SUB-ASSEMBLY
-
Remove the 3 screws and rear blower with fan motor.
-
-
REMOVE BLOWER MOTOR CONTROLLER
-
Remove the 2 screws and blower motor controller.
-
-
REMOVE REAR COOLING UNIT EXPANSION VALVE
-
Detach the 2 clamps.
-
Detach the 3 clamps and disconnect the air conditioning wiring harness from the rear cooling unit case.
-
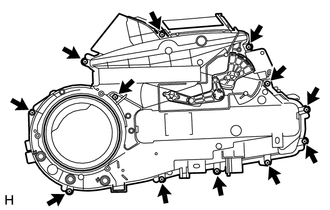
Remove the 12 screws and rear cooling unit case LH.
-
Using a 4 mm hexagon wrench, remove the 2 hexagon bolts.
-
Remove the expansion valve.
-
-
REMOVE REAR EVAPORATOR SUB-ASSEMBLY
-
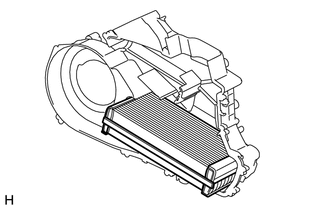
Remove the evaporator from the rear cooling unit case RH.
-
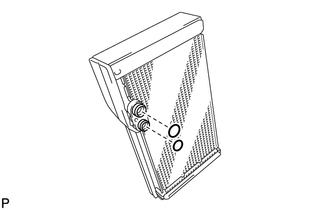
Remove the 2 O-rings from the evaporator.
-
-
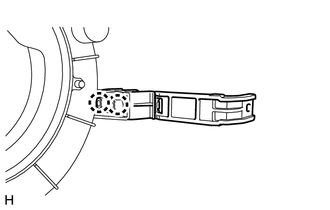
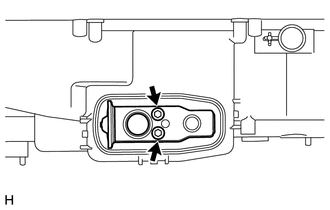
REMOVE REAR EVAPORATOR TEMPERATURE SENSOR
-
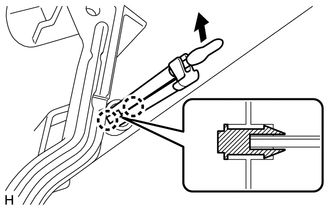
Move the tip of the sensor in the direction indicated by the arrow in the illustration to remove it from the bracket plate.
-
Detach the 2 claws and remove the sensor.
-
-
REMOVE AIR CONDITIONING HARNESS ASSEMBLY