ULTRASONIC SENSOR(for Rear Side) REMOVAL
PROCEDURE
-
REMOVE REAR BUMPER ASSEMBLY
-
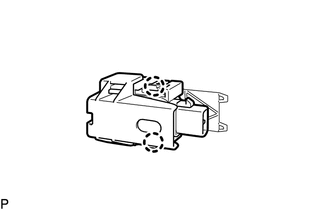
REMOVE ULTRASONIC SENSOR WITH CLIP (for Corner Sensor)
Tech Tips
Use the same procedure for all ultrasonic sensor with clips.
-
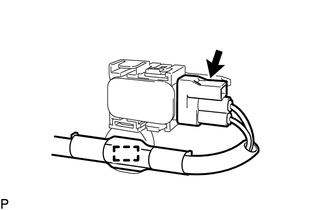
Disconnect the connector and disengage the clamp.
Tech Tips
This illustration is for the LH side. The orientation for the RH side is the opposite of the LH side.
-
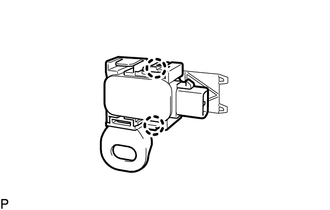
Disengage the 2 claws and remove the ultrasonic sensor with clip.
Tech Tips
This illustration is for the LH side. The orientation for the RH side is the opposite of the LH side.
-
-
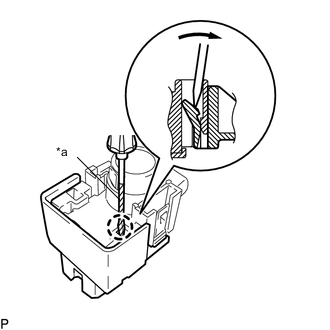
REMOVE ULTRASONIC SENSOR CLIP (for Corner Sensor)
Tech Tips
Use the same procedure for all ultrasonic sensor clips.
-
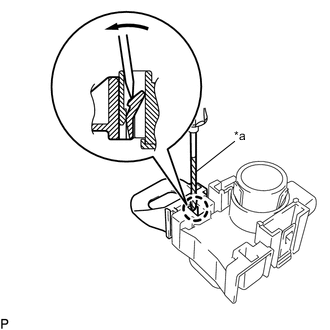
Text in Illustration *a Protective Tape Using a screwdriver with its tip wrapped with protective tape, disengage the claw and remove the ultrasonic sensor clip from the No. 1 ultrasonic sensor.
Tech Tips
This illustration is for the LH side. The orientation for the RH side is the opposite of the LH side.
-
-
REMOVE ULTRASONIC SENSOR WITH CLIP (for Back Sensor)
Tech Tips
Use the same procedure for all ultrasonic sensor with clips.
-
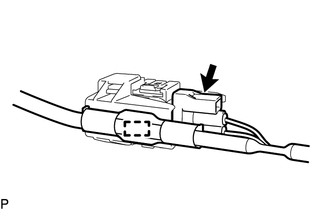
Disconnect the connector and disengage the clamp.
Tech Tips
This illustration is for the LH side. The orientation for the RH side is the opposite of the LH side.
-
Disengage the 2 claws and remove the ultrasonic sensor with clip.
Tech Tips
This illustration is for the LH side. The orientation for the RH side is the opposite of the LH side.
-
-
REMOVE ULTRASONIC SENSOR CLIP (for Back Sensor)
Tech Tips
Use the same procedure for all ultrasonic sensor clips.
-
Text in Illustration *a Protective Tape Using a screwdriver with its tip wrapped with protective tape, disengage the claw and remove the ultrasonic sensor clip from the No. 1 ultrasonic sensor.
Tech Tips
This illustration is for the LH side. The orientation for the RH side is the opposite of the LH side.
-
-
REMOVE NO. 1 ULTRASONIC SENSOR RETAINER
Tech Tips
-
Use the same procedure for all No. 1 ultrasonic sensor retainers.
-
Perform this step only when necessary.
-
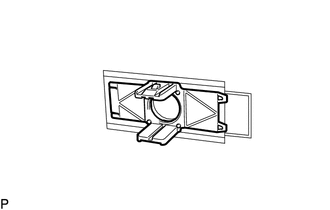
Remove the No. 1 ultrasonic sensor retainer.
Tech Tips
This illustration is for the LH side. The orientation for the RH side is the opposite of the LH side.
-
Remove any remaining double-sided tape from the rear bumper assembly.
-
-
REMOVE NO. 1 ULTRASONIC SENSOR