INTERCOOLER REMOVAL
-
DRAIN COOLANT
-
REMOVE RADIATOR GRILLE
-
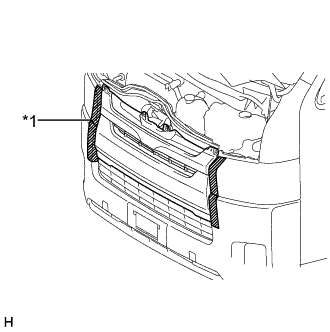
Text in Illustration *1 Protective Tape Put protective tape around the radiator grille.
-
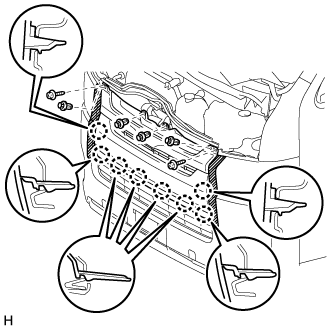
Remove the 4 clips and 2 screws.
-
Detach the 8 claws and remove the radiator grille.
-
-
REMOVE NO. 2 AIR INLET DUCT
-
Detach the 3 clips and remove the No. 2 air inlet duct.
-
-
REMOVE NO. 1 AIR INLET DUCT
-

Detach the 2 clips.
-
Remove the 2 bolts and No. 1 air inlet duct.
-
-
DRAIN WINDSHIELD WASHER FLUID
-
REMOVE WINDSHIELD WASHER MOTOR AND PUMP ASSEMBLY
-
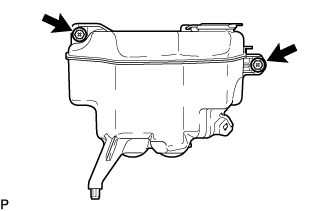
Remove the 2 bolts and windshield washer motor and pump assembly.
-
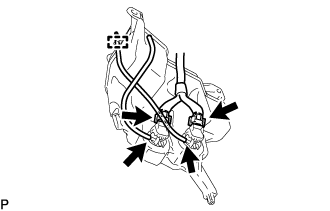
Detach the hose clamp.
-
Disconnect the 2 connectors and 2 washer hoses.
-
-
DISCONNECT UREA TANK FILLER PIPE ASSEMBLY
-
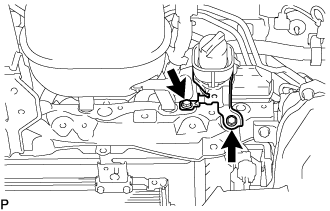
Disconnect the 2 bolts and urea tank filler pipe assembly from the upper radiator support sub-assembly.
-
-
REMOVE RADIATOR RESERVE TANK ASSEMBLY
-
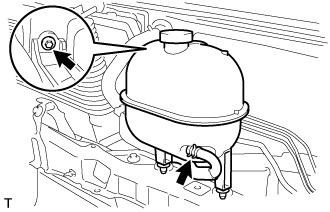
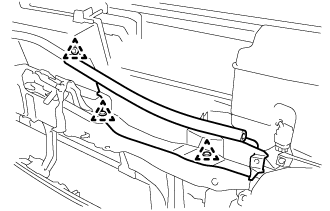
Disconnect the water by-pass hose.
-
Remove the bolt and radiator reserve tank.
-
Disconnect the No. 2 water by-pass hose.
-
-
REMOVE HOOD LOCK ASSEMBLY
-
Remove the 3 bolts and hood lock.
-
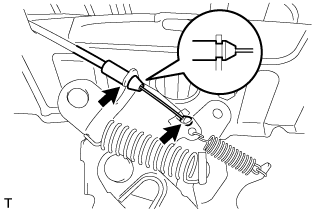
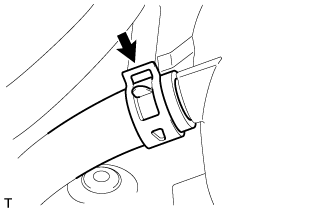
Disconnect the hood lock control cable.
-
-
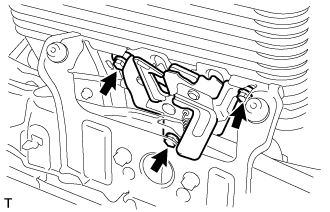
REMOVE UPPER RADIATOR SUPPORT
-
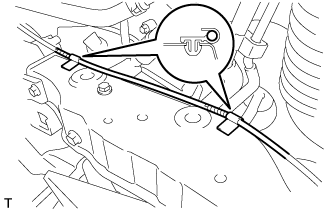
Remove the hood lock control cable from the 2 clamps.
-

Remove the 6 bolts, 2 screws and upper radiator support.
-
-
REMOVE INTERCOOLER ASSEMBLY
-
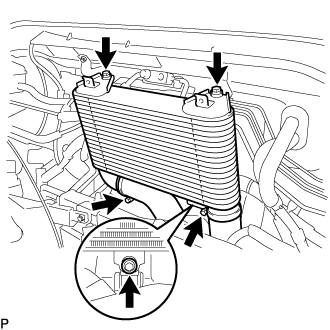
Loosen the hose clamp and disconnect the No. 2 air hose.
-
Loosen the hose clamp and disconnect the No. 3 air hose.
-
Remove the 3 bolts and intercooler.
-