ROOF HEADLINING(for Wagon) REASSEMBLY
PROCEDURE
-
INSTALL AMPLIFIER ANTENNA ASSEMBLY
-
INSTALL NO. 1 ROOF WIRE
-
w/o Roof Sunshade System:
-
Fix the No. 1 roof wire in place by wrapping tape around the No. 1 roof wire and the protrusion of the roof headlining as shown in the part of the illustration labeled A.
-
Position the joint boxes as shown in the illustration and set the No. 1 roof wire on the roof headlining.
-
Attach tape at the locations shown in the illustration to install the No. 1 roof wire.
Tech Tips
Apply sufficient pressure when placing tape.
-
Turn the visor connectors approximately 90° clockwise to install them to the roof headlining.
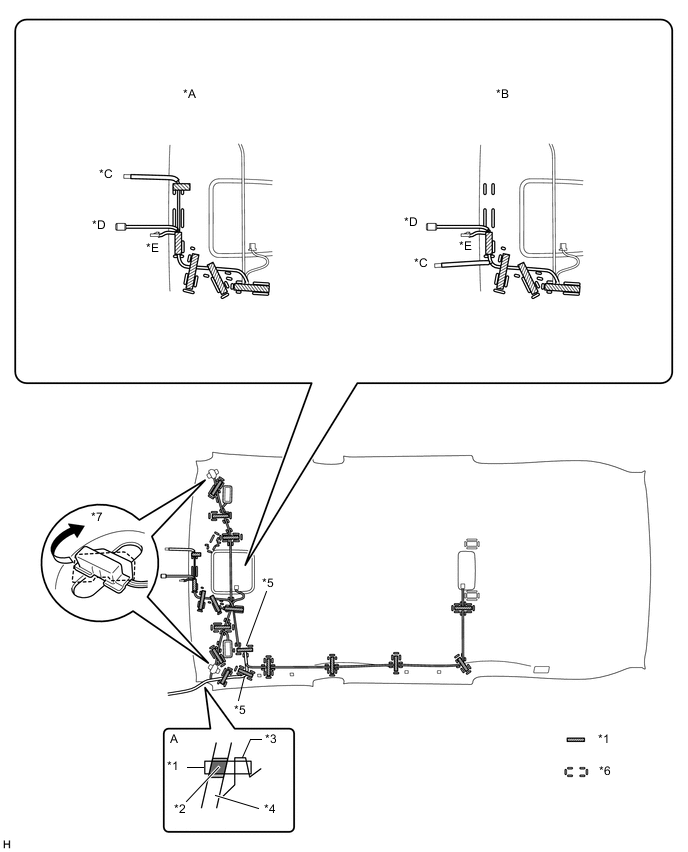
Text in Illustration *A for LHD *B for RHD *C w/ Rain Sensor *D w/ Pre-crash Safety System *E w/ EC Mirror - - *1 Tape *2 Marking Tape *3 Roof Headlining *4 No. 1 Roof Wire *5 Joint Box *6 Marking *7 Visor Connector - -
-
-
w/ Roof Sunshade System:
-
Fix the No. 1 roof wire in place by wrapping tape around the No. 1 roof wire and the protrusion of the roof headlining as shown in the part of the illustration labeled A.
-
Position the joint boxes as shown in the illustration and set the No. 1 roof wire on the roof headlining.
-
Attach tape at the locations shown in the illustration to install the No. 1 roof wire.
Tech Tips
Apply sufficient pressure when placing tape.
-
Turn the visor connectors approximately 90° clockwise to install them to the roof headlining.
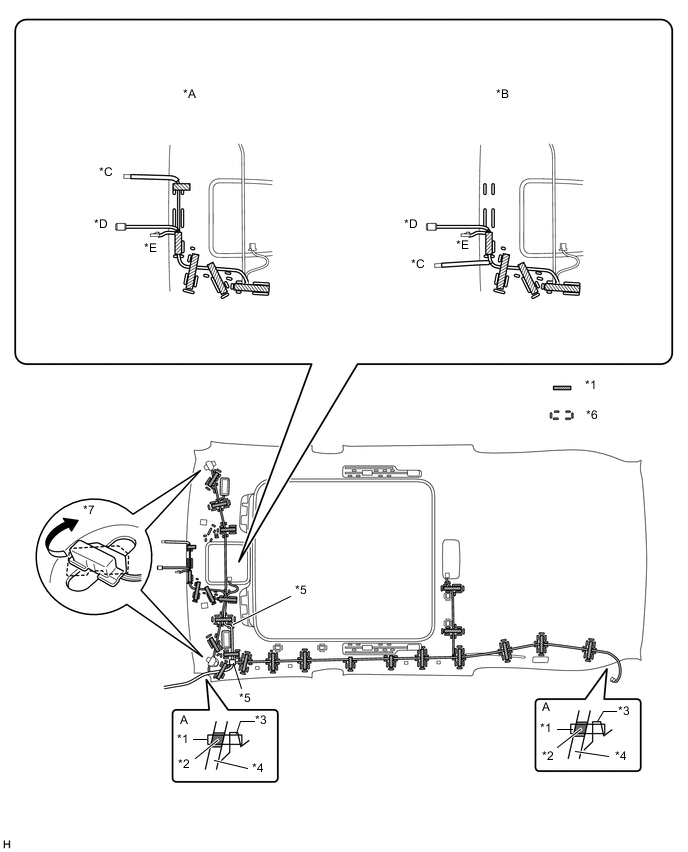
Text in Illustration *A for LHD *B for RHD *C w/ Rain Sensor *D w/ Pre-crash Safety System *E w/ EC Mirror - - *1 Tape *2 Marking Tape *3 Roof Headlining *4 No. 1 Roof Wire *5 Joint Box *6 Marking *7 Visor Connector - -
-
-
-
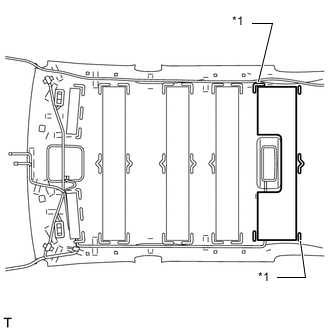
INSTALL ROOF HEADLINING PAD END
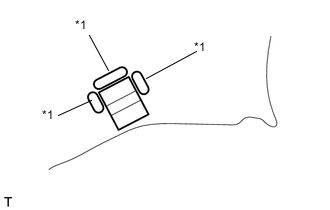
Text in Illustration *1 Silencer Marking Tech Tips
Use the same procedure for both roof headlining pad ends.
-
Align the roof headlining pad end with the silencer markings on the roof headlining and install the roof headlining pad end using double-sided tape as shown in the illustration.
-
-
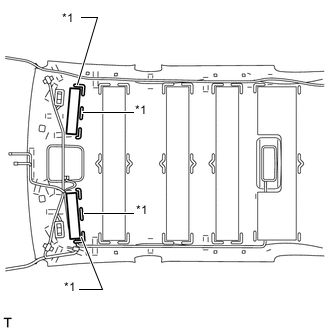
INSTALL CENTER ROOF HEADLINING PAD (w/o Roof Sunshade System)
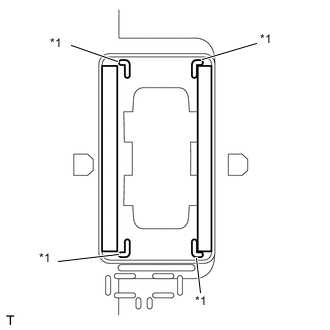
Text in Illustration *1 Silencer Marking
-
Align the center roof headlining pad with the silencer markings on the roof headlining and install the center roof headlining pad using double-sided tape as shown in the illustration.
-
-
INSTALL NO. 3 ROOF SILENCER PAD (w/o Roof Sunshade System)
Text in Illustration *1 Silencer Marking
-
Align the No. 3 roof silencer pad with the silencer markings on the roof headlining and install the No. 3 roof silencer pad using double-sided tape as shown in the illustration.
-
-
INSTALL NO. 2 ROOF SILENCER PAD (w/o Roof Sunshade System)
Text in Illustration *1 Silencer Marking
-
Align the No. 2 roof silencer pads with the silencer markings on the roof headlining and install the 2 No. 2 roof silencer pads using double-sided tape as shown in the illustration.
-
-
INSTALL NO. 1 ROOF SILENCER PAD (w/o Roof Sunshade System)
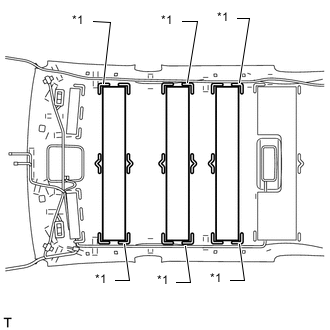
Text in Illustration *1 Silencer Marking
-
Align the No. 1 roof silencer pads with the silencer markings on the roof headlining and install the 3 No. 1 roof silencer pads using double-sided tape as shown in the illustration.
-
-
INSTALL VANITY LIGHT ASSEMBLY