FUEL PUMP DISASSEMBLY

-
REMOVE FUEL SENDER GAUGE ASSEMBLY
-
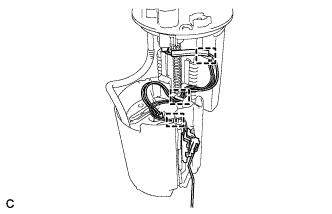
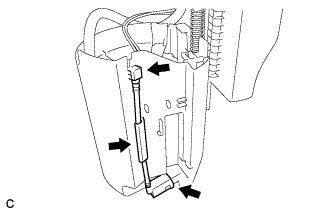
Disconnect the 3 harness clamps.
Note
Do not damage the wire harness.
-
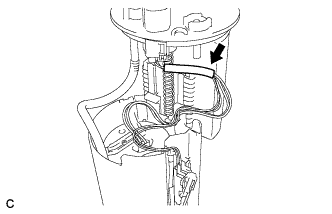
Remove the harness protector from the wire harness.
Note
Do not damage the wire harness.
-
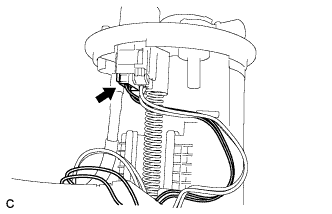
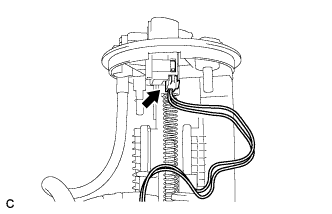
Disconnect the connector of the fuel sender gauge assembly.
-
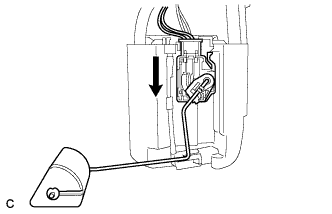
Release the lock as shown in the illustration and slide the fuel sender gauge assembly to remove it.
-
-
REMOVE FUEL PUMP
-
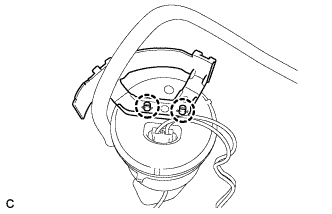
Disconnect the connector of the fuel pump harness.
-
Disconnect the fuel pump filter hose.
-
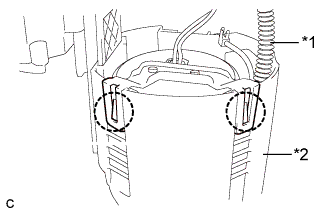
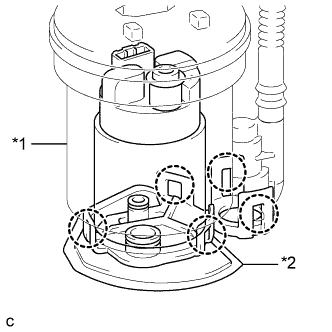
Text in Illustration *1 Fuel Tube *2 Fuel Sub-tank Using a screwdriver with its tip wrapped in protective tape, disengage the 2 claws, and remove the fuel filter and fuel pump from the fuel sub-tank.
Note
Do not do anything which may separate the fuel tube from either the fuel suction plate or fuel filter assembly, such as applying excessive force to the tube Click here.
-
Using a screwdriver with its tip wrapped in protective tape, disengage the 2 claws and remove the No. 1 fuel suction support.
-
Text in Illustration *1 Fuel Filter *2 Suction Filter Using a screwdriver with its tip wrapped in protective tape, disengage the 5 claws, and remove the fuel pump from the fuel filter.
Note
-
Do not damage the fuel filter.
-
Do not remove the suction filter.
-
Do not use either the fuel pump or the suction filter if the suction filter is removed from the fuel pump.
-
-
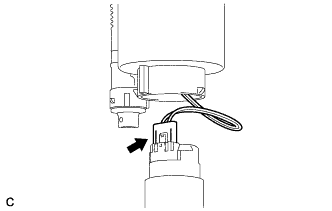
Disconnect the fuel pump harness connector.
-
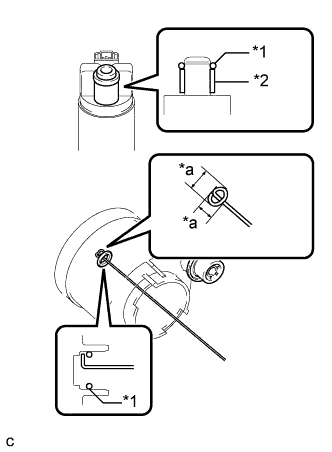
Text in Illustration *1 O-ring *2 Spacer *a 5.0 mm (0.197 in.) Remove the O-ring and spacer from the fuel pump.
Note
Be careful not to damage the sealing surface.
Tech Tips
If the O-ring still remains in the fuel filter, remove it using a wire tip (1 mm diameter) that is formed as shown in the illustration.
-