ROOF HEADLINING REASSEMBLY

-
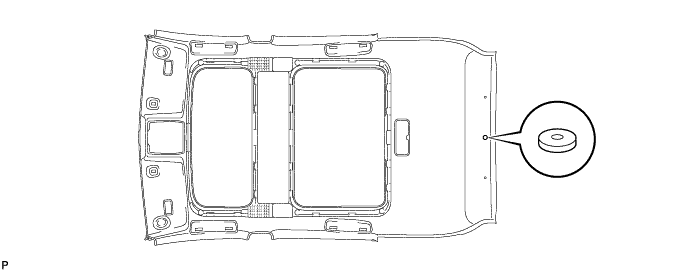
INSTALL NO. 14 ROOF SILENCER PAD
-
Align the markings on the roof headlining assembly with the No. 14 roof silencer pad and install the silencer pad using hot-melt glue as shown in the illustration.
-
-
INSTALL NO. 1 ROOF WIRE
-
Install the No. 1 roof wire.
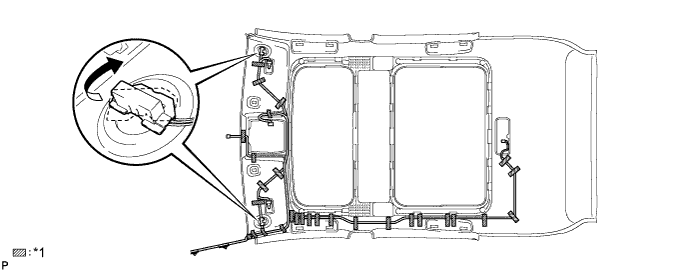
Text in Illustration *1 Adhesive Tape - - -
Turn the visor connectors clockwise approximately 90° to install the connectors to the roof headlining assembly.
-
Apply adhesive tape to the locations shown in the illustration.
Tech Tips
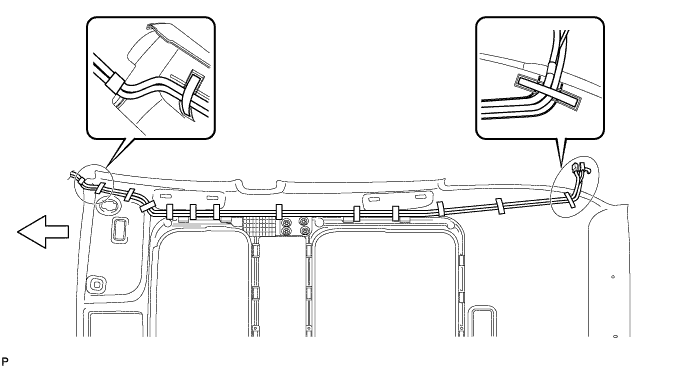
As shown in the illustration, line up and secure the reference tape of the wire harness to the tip of the roof headlining assembly.
-
-
INSTALL VANITY LIGHT ASSEMBLY
-
Install the vanity light assembly Click here.
Tech Tips
Use the same procedure for the RH side and the LH side.
-
-
INSTALL NO. 2 ANTENNA CORD SUB-ASSEMBLY
-
Aligning the No. 2 antenna cord sub-assembly and washer hose with the markings on the roof headlining assembly, temporarily install the cord and washer hose.
Text in Illustration 
Tape 
Front -
Put the strips of the tape back to the positions shown in the illustration in order to secure the antenna cord and washer hose to the roof headlining assembly.
Tech Tips
-
If the tape has lost adhesion, use other tape, such as packing tape, with enough adhesion to secure the antenna cord and washer hose to the roof headlining assembly.
-
Secure the antenna cord and washer hose to the roof headlining assembly with tape as shown in the illustration.
-
-