FRONT DOOR COURTESY SWITCH INSTALLATION

-
INSTALL FRONT DOOR COURTESY LIGHT SWITCH
-
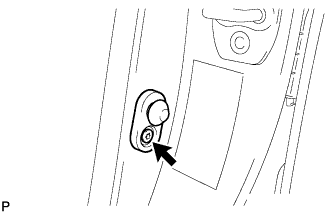
Using "TORX" socket wrench T30, install the front door courtesy light switch with the "TORX" bolt.
- Torque:
- 8.0 N*m { 82 kgf*cm, 71 in.*lbf }
-
Connect the connector.
-
-
INSTALL LOWER CENTER PILLAR GARNISH
-
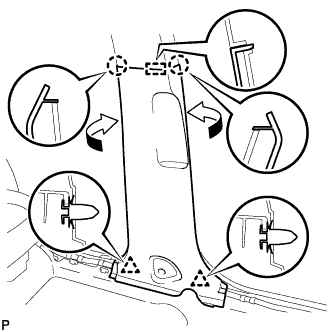
Engage the guide, 2 claws and the 2 clips to install the lower center pillar garnish LH as shown in the illustration.
-
-
CONNECT FRONT SEAT OUTER BELT ASSEMBLY
-
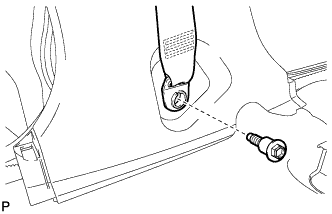
Install the floor end of the front seat outer belt assembly with the bolt.
- Torque:
- 42 N*m { 428 kgf*cm, 31 ft.*lbf }
-
Check if the ELR locks.
Note
The check should be performed with the outer belt assembly installed.
-
With the belt assembly installed, check that the belt locks when it is pulled out quickly.
-
-
-
INSTALL LAP BELT OUTER ANCHOR COVER
-
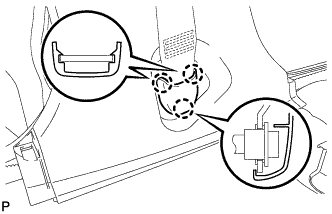
Engage the 3 claws to install the lap belt outer anchor cover.
-
-
CONNECT REAR DOOR OPENING TRIM WEATHERSTRIP
-
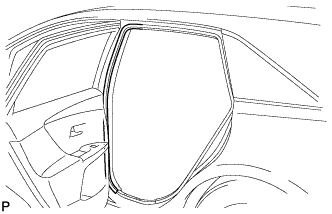
Connect the rear door opening trim weatherstrip.
-
-
INSTALL REAR DOOR SCUFF PLATE
-
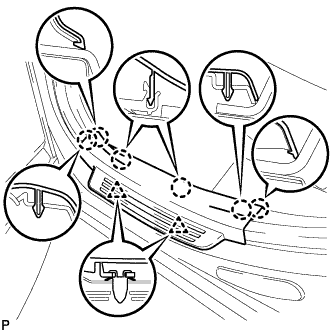
Engage the 2 clips and 6 claws to install the rear door scuff plate LH.
-
-
CONNECT FRONT DOOR OPENING TRIM WEATHERSTRIP
-
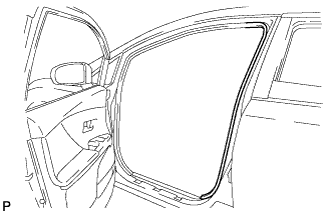
Connect the front door opening trim weatherstrip.
-
-
INSTALL FRONT DOOR SCUFF PLATE
-
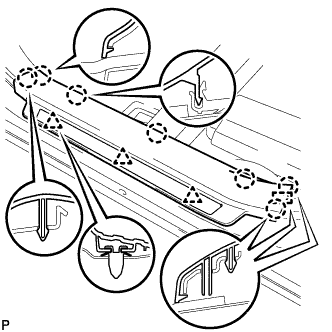
Engage the guide, 3 clips and the 7 claws to install the front door scuff plate LH.
-