ECM REMOVAL

-
PRECAUTION
Note
Perform the Vehicle Identification Number (VIN) registration when replacing the ECM Click here.
-
REMOVE WINDSHIELD WIPER MOTOR AND LINK
-
Remove the windshield wiper motor and link Click here.
-
-
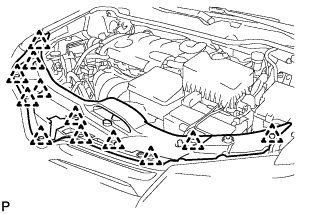
REMOVE OUTER COWL TOP PANEL SUB-ASSEMBLY
-
Disengage the 2 clamps and separate the wiper wire harness from the outer cowl top panel sub-assembly.
-
Disengage the 2 clamps and connector, and separate the wire harness from the outer cowl top panel sub-assembly (w/ Windshield Deicer).
-

Text in Illustration *1 Bolt *2 Nut Remove the 4 bolts, 4 nuts and outer cowl top panel sub-assembly.
-
-
REMOVE COOL AIR INTAKE DUCT SEAL
-
Remove the 12 clips and cool air intake duct seal.
-
-
REMOVE NO. 1 ENGINE COVER SUB-ASSEMBLY
-
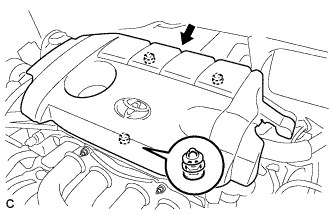
Lift the rear of the No. 1 engine cover sub-assembly to detach the cover from the 2 pins, and then lift the front of the No. 1 engine cover sub-assembly to detach the cover from the pin and remove the No. 1 engine cover sub-assembly.
Note
Attempting to disengage both front and rear clips at the same time may cause the No. 1 engine cover sub-assembly to break.
-
-
DISCONNECT CABLE FROM NEGATIVE BATTERY TERMINAL
Note
When disconnecting the cable, some systems need to be initialized after the cable is reconnected Click here.
-
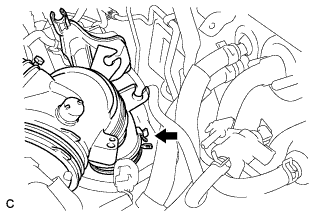
REMOVE NO. 1 VACUUM SWITCHING VALVE ASSEMBLY
-
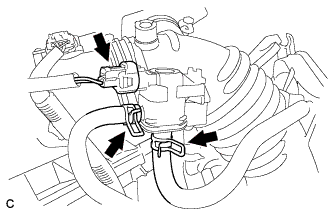
Disconnect the connector and 2 fuel vapor feed hoses.
-
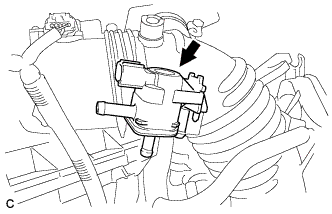
Remove the No. 1 vacuum switching valve assembly.
-
-
REMOVE AIR CLEANER CAP SUB-ASSEMBLY
-
Disconnect the mass air flow meter connector and separate the wire harness clamp from the air cleaner cap.
-
Separate the hose from the hose clamp.
-
Disconnect the ventilation hose from the cylinder head cover.
-
Unlock the hose band and separate the air cleaner cap sub-assembly from the throttle body assembly.
-
Remove the 2 bolts and air cleaner cap sub-assembly.
-
-
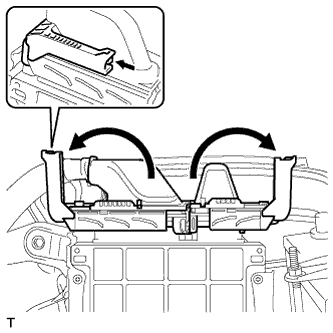
REMOVE AIR CLEANER FILTER ELEMENT SUB-ASSEMBLY
-
Remove the air cleaner filter element sub-assembly.
-
-
REMOVE AIR CLEANER CASE SUB-ASSEMBLY
-
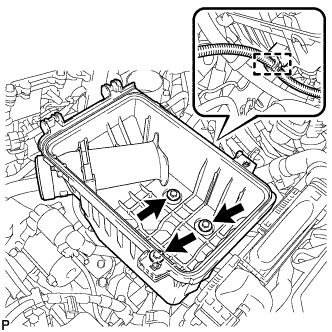
Disconnect the wire harness clamp.
-
Remove the 3 bolts and air cleaner case sub-assembly.
-
-
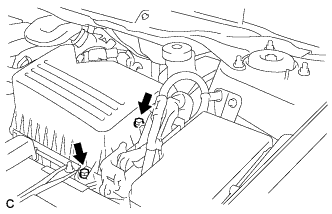
REMOVE AIR CLEANER BRACKET
-
Remove the 2 bolts and air cleaner bracket.
-
-
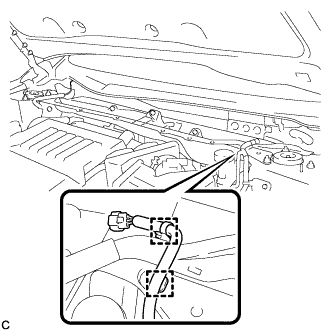
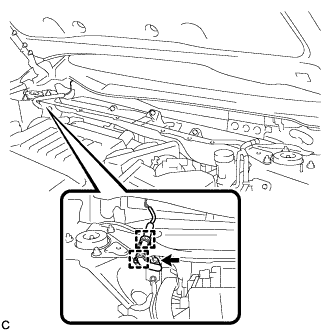
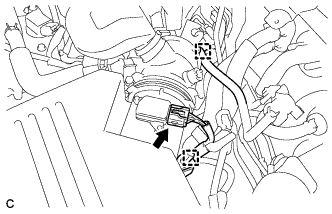
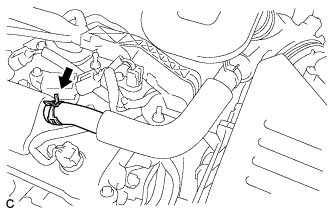
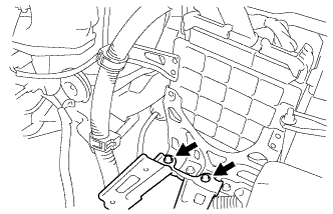
REMOVE ECM
-
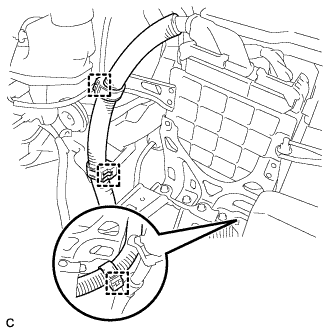
Separate the 3 wire harness clamps.
-
Raise the 2 levers while pushing the locks on the levers, and disconnect the 2 ECM connectors.
Note
After disconnecting each connector, make sure that dirt, water or other foreign matter does not contact the connecting part of the connector.
-

Remove the 3 bolts and the ECM with bracket.
-
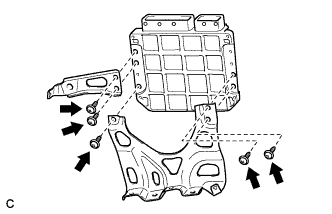
Remove the 5 screws and the ECM bracket.
-