FRONT CONSOLE BOX (for 5-Passenger with Ottoman) DISASSEMBLY

-
REMOVE LOWER CONSOLE BOX POCKET

-
Detach the 6 claws and remove the lower console box pocket.
-
-
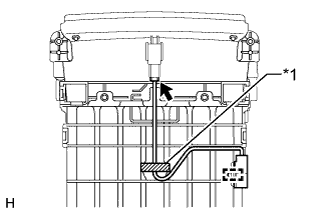
REMOVE REAR CONSOLE ARMREST ASSEMBLY
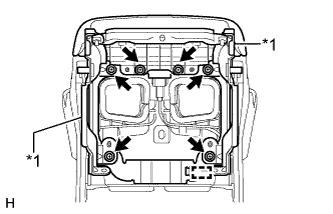
Text in Illustration *1 Bracket
-
Detach the wire harness clamp.
-
Remove the 6 screws and rear console armrest assembly together with the bracket.
-
-
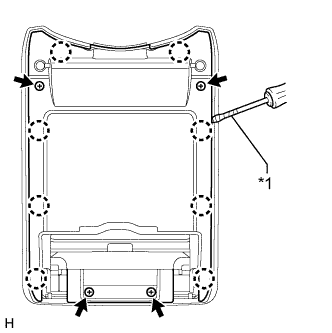
REMOVE CONSOLE COMPARTMENT DOOR HINGE SUB-ASSEMBLY
-
Remove the 4 seals and 4 screws.
-
Using a screwdriver, detach the 8 claws and remove the console compartment door lock.
Tech Tips
Tape the screwdriver tip before use.
Text in Illustration *1 Protective Tape -

Remove the 4 screws and console compartment door hinge sub-assembly.
-
-
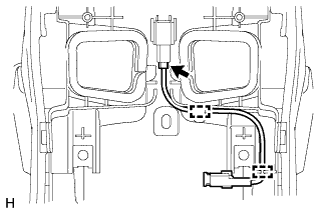
REMOVE CONSOLE BOX WIRE (for Console Box Front Side)
-
Disconnect the connector.
-
Detach the 2 wire harness clamps and remove the console box wire.
-
-
REMOVE CONSOLE BOX ILLUMINATION LIGHT ASSEMBLY
-
Disconnect the connector.
-
Detach the 2 claws to remove the console box illumination light assembly.
-
-
REMOVE FRONT NO. 1 CONSOLE BOX LENS
-
Detach the 2 claws and remove the front No. 1 console box lens.
-
-
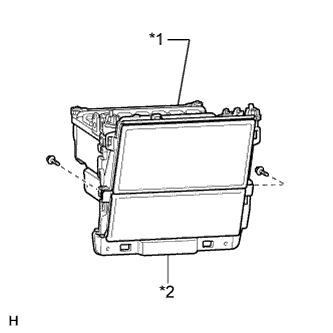
REMOVE TELEVISION DISPLAY ASSEMBLY
-
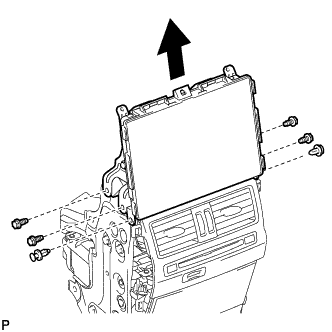
Disconnect each connector.
-
Remove the 2 clips, 4 bolts and television display.
-
-
REMOVE REAR CONSOLE END PANEL SUB-ASSEMBLY

-
Remove the 3 screws.
-
Detach the 2 clips and remove the rear console end panel sub-assembly.
-
-
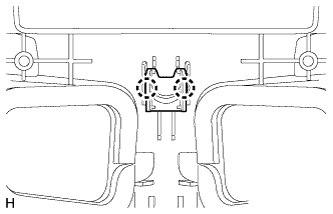
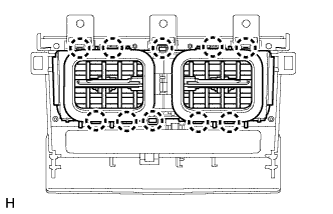
REMOVE CONSOLE BOX REGISTER ASSEMBLY
-
Detach the 10 claws and remove the console box register assembly.
-
-
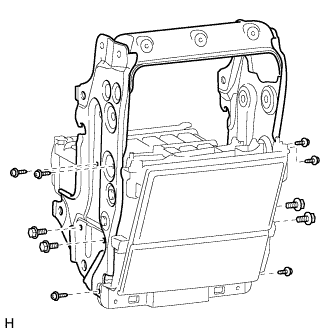
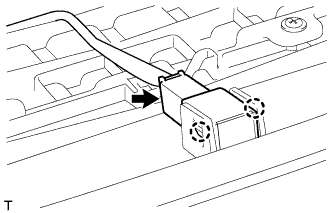
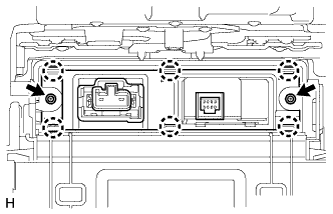
REMOVE DISC PLAYER ASSEMBLY
-
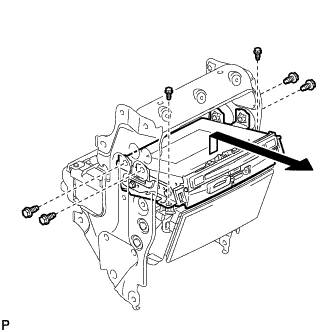
Disconnect each connector.
-
Remove the 6 bolts and disc player assembly as shown in the illustration.
-
-
REMOVE REAR CONSOLE BOX DAMPER
-
Remove the 2 bolts and rear console box damper from the No. 2 console box mounting bracket.
-
-
REMOVE NO. 2 CONSOLE BOX MOUNTING BRACKET
-
Remove the 6 screws, 4 bolts and No. 2 console box mounting bracket.
-
-
REMOVE UPPER CONSOLE BOX SUB-ASSEMBLY
Text in Illustration *1 Upper Console Box Sub-assembly *2 Lower Console Box
-
Remove the 2 screws and upper console box subassembly from the lower console box.
-
-
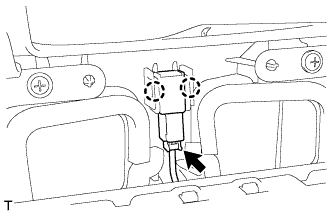
REMOVE CONSOLE BOX WIRE (for Console Box Rear Side)
-
For upper console box sub-assembly side:
-
Text in Illustration *1 Tape Disconnect the connector.
-
Remove the tape.
-
Detach the wire harness clamp and remove the console box wire.
-
-
For Lower Console Box side:
-
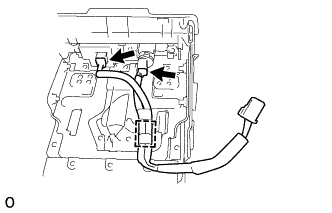
Disconnect the 2 connectors.
-
Detach the wire harness clamp and remove the console box wire.
-
-
-
REMOVE NO. 1 INTERIOR ILLUMINATION LIGHT ASSEMBLY
-
Disconnect the connector.
-
Detach the 2 claws to remove the No. 1 interior illumination light assembly.
-
-
REMOVE CONSOLE BOX PLATE
-
Remove the 2 screws.
-
Detach the 6 claws and remove the console box plate.
-