VIDEO TERMINAL (for 5-Passenger with Ottoman) INSTALLATION

-
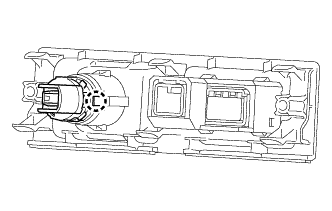
INSTALL VIDEO (VIDEO ADAPTER) TERMINAL (for Type A)
-
Attach the 4 claws to install the video (video adapter) terminal to the console box plate.
-
-
INSTALL NO. 2 POWER OUTLET SOCKET COVER (for Type A)
-
Attach the 2 claws to install the No. 2 power outlet socket cover to the console box plate.
-
-
INSTALL POWER OUTLET SOCKET ASSEMBLY (fort Type A)
-
Attach the claw to install the power outlet socket assembly.
-
-
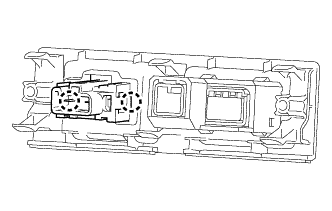
INSTALL VIDEO (VIDEO ADAPTER) TERMINAL (for Type B)
-
Attach the 4 claws to install the video (video adapter) terminal to the console box plate.
-
-
INSTALL POWER OUTLET SOCKET (for Type B)
-
Attach the 2 claws to install the power outlet socket.
-
-
INSTALL CONSOLE BOX PLATE
-
Attach the 6 claws to install the console box plate.
-
Install the 2 screws.
-
-
INSTALL CONSOLE COMPARTMENT BOX ASSEMBLY WITH TELEVISION DISPLAY
-
Connect the 4 connectors.
-
Move the console compartment box assembly with television display upward to attach the 2 hooks.
-
Install the console compartment box assembly with television display with the 6 bolts.
-
-
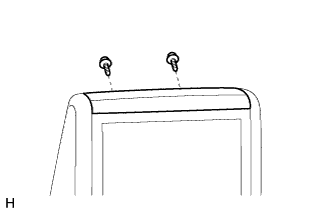
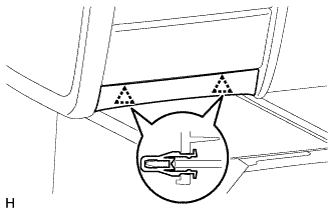
INSTALL REAR NO. 1 CONSOLE END PANEL GARNISH
-
Attach the 2 clips and 4 guides to install the rear No. 1 console end panel garnish.
-
Install the 2 screws.
-
-
INSTALL REAR NO. 2 CONSOLE END PANEL GARNISH
Tech Tips
Use the same procedure described for the rear No. 1 console end panel garnish.
-
INSTALL UPPER NO. 1 CONSOLE PANEL GARNISH
-
Install the upper No. 1 console panel garnish with the 2 screws.
-
-
INSTALL REAR CONSOLE BOX GARNISH
-
Attach the 2 clips to install the rear console box garnish.
-
-
INSTALL UPPER REAR CONSOLE PANEL GARNISH

-
Attach the 5 clips and 3 guides to install the upper rear console panel garnish.
-