PTC HEATER ASSEMBLY INSTALLATION

Tech Tips
-
Use the same procedure for RHD and LHD vehicles.
-
The procedure listed below is for LHD vehicles.
-
A bolt without a torque specification is shown in the standard bolt chart Click here.
-
INSTALL QUICK HEATER ASSEMBLY
-
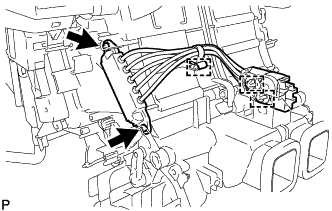
Install the quick heater assembly with the 2 screws.
-
Attach the 2 connector clamps and harness clamp.
-
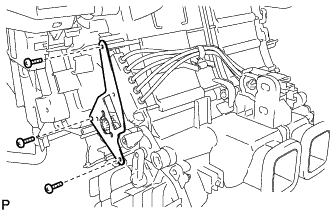
Install the bracket with the 3 screws.
-
-
INSTALL AIR OUTLET SERVO MOTOR LH (Front A/C Rear Air Flow)
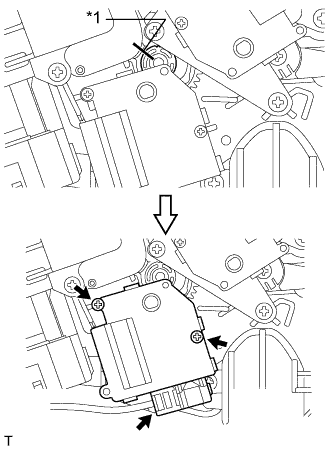
Text in Illustration *1 Alignment Marks
-
When reusing the air mix servo motor LH (front A/C rear air flow):
Align the moving parts and air conditioning unit as shown in the illustration and install the air mix servo motor LH (front A/C rear air flow) with the 2 screws.
-
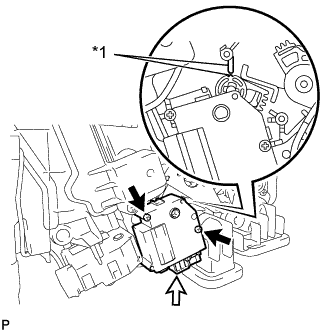
Text in Illustration *1 Protruding Part When using the new air mix servo motor LH (front A/C rear air flow):
Align the protruding parts on the case and cover, and then install the air mix servo motor LH (front A/C rear air flow) with the 2 screws.
-
Connect the connector.
-
-
INSTALL AIR CONDITIONING UNIT ASSEMBLY