BACK DOOR OUTSIDE GARNISH (w/o Tire Carrier) INSTALLATION

-
INSTALL NO. 2 BACK DOOR OUTSIDE GARNISH
-
Attach the 3 claws and 2 guides to install the No. 2 back door outside garnish.
-
-
INSTALL BACK DOOR OUTSIDE GARNISH SUB-ASSEMBLY
-
Pass the back door electrical switch wire harness.
-
Attach the 19 clips to install the back door outside garnish sub-assembly.
-
Attach the clamp to install the back door electrical switch wire harness.
-
Connect the connector.
-
Install the nut.
-
-
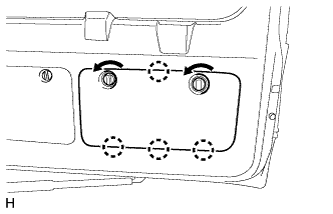
INSTALL BACK DOOR OUTSIDE HANDLE LH
-
w/ Back Door Tire Carrier:
-
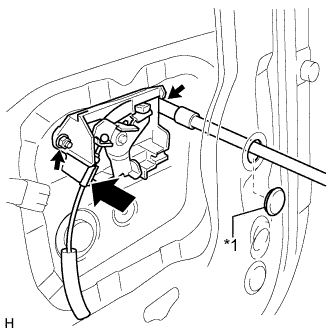
Text in Illustration *1 Hole Plug Connect the cable.
-
Install the back door outside handle with the 2 nuts.
- Torque:
- 5.0 N*m { 51 kgf*cm, 44 in.*lbf }
-
Install the hole plug.
-
-
w/o Back Door Tire Carrier:
-
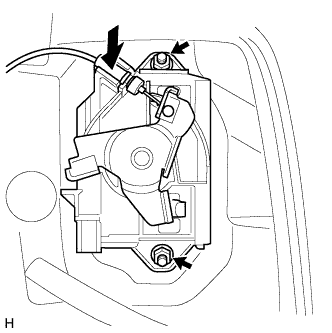
Connect the cable.
-
Install the back door outside handle with the 2 nuts.
- Torque:
- 5.0 N*m { 51 kgf*cm, 44 in.*lbf }
-
-
-
INSTALL BACK DOOR SERVICE HOLE COVER
-
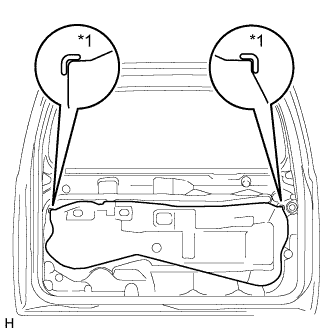
Text in Illustration *1 Reference Point Apply new butyl tape to the back door panel.
-
Attach the rear door service hole cover using to the reference points on the rear door panel.
Note
-
There should be no wrinkles or folds after attaching the service hole cover.
-
After attaching the service hole cover, check the seal quality.
-
-
-
INSTALL BACK DOOR TRIM PANEL ASSEMBLY
-
w/o Back Door Tire Carrier:
-
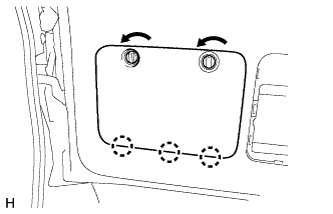
Attach the 15 clips to install the back door trim panel assembly.
-
Install the bolt.
-
-
w/ Back Door Tire Carrier:
-
Attach the 16 clips to install the back door trim panel assembly.
-
Install the bolt.
-
-
for Face to Face Seat Type:
-
Attach the 15 clips to install the back door trim panel assembly.
-
Install the bolt.
-
-
Install the screw.
-
Attach the claw to install the cover.
-
-
INSTALL BACK DOOR LOCK COVER
-
Attach the 6 claws to install the back door lock cover.
-
-
INSTALL TOOL CASE
-
Attach the 2 claws to install the tool case.
-
-
INSTALL UPPER TOOL BOX PANEL SUB-ASSEMBLY
-
Attach the 3 claws.
-
Install the upper tool box panel sub-assembly as shown in the illustration.
-
-
INSTALL BACK DOOR TRIM COVER
-
Attach the 4 claws.
-
Install the back door trim cover as shown in the illustration.
-
-
INSTALL BACK DOOR SIDE GARNISH LH
-
Attach the 2 clips and claw to install the back door side garnish.
-
-
INSTALL BACK DOOR SIDE GARNISH RH
-
Attach the 2 clips and claw to install the back door side garnish.
-
-
INSTALL BACK DOOR CENTER GARNISH
-
Attach the 4 clips to install the back door center garnish.
-