SLIDING ROOF HOUSING DISASSEMBLY

-
REMOVE SLIDING ROOF DRIVE GEAR SUB-ASSEMBLY
-
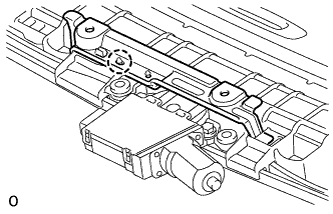
Detach the bracket claw and remove the bracket.
-
Remove the 2 bolts and drive gear.
-
-
REMOVE SUNSHADE TRIM SUB-ASSEMBLY
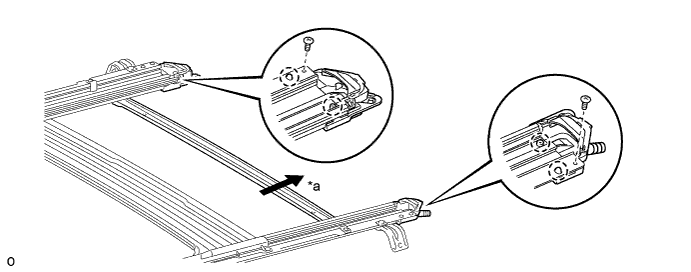
Text in Illustration *a Rearward - -
-
Remove the 2 screws.
-
Detach the 4 claws and remove the sliding roof piece LH and RH.
-
Slide and remove the trim.
-
-
REMOVE SLIDING ROOF SUNSHADE STOPPER LH
-
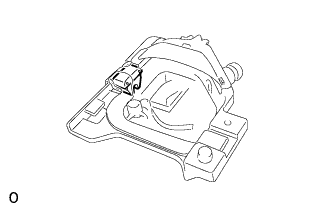
Remove the stopper.
-
-
REMOVE SLIDING ROOF SUNSHADE STOPPER RH
Tech Tips
Use the same procedure described for the LH side.
-
REMOVE SLIDING ROOF DRIVE CABLE SUB-ASSEMBLY
Note
Do not disassemble the sliding roof drive cable sub-assembly except when replacing it.
-
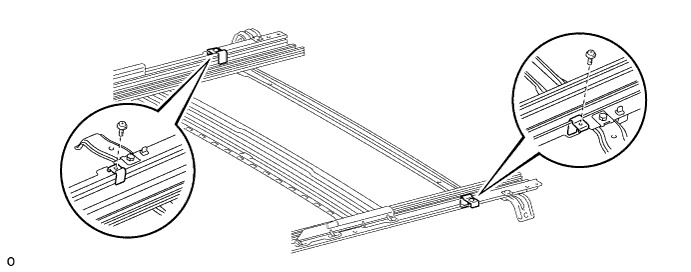
Remove the 2 screws and 2 stoppers.
-
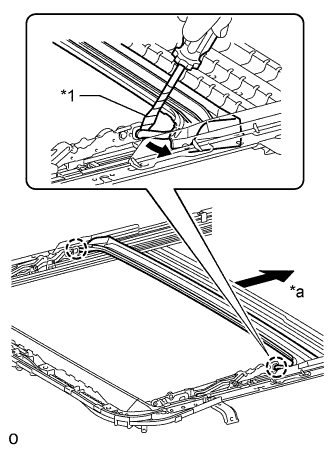
Text in Illustration *1 Protective Tape *a Rearward Using a screwdriver, detach the 2 claws and slide the rear roof drip channel rearward to remove it.
Tech Tips
Tape the screwdriver tip before use.
-
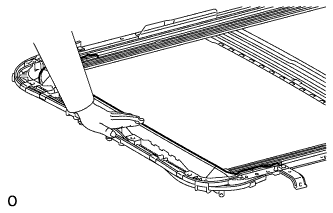
Hold down the window deflector.
-
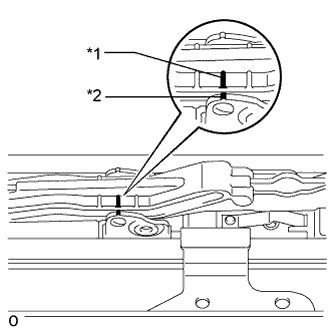
Text in Illustration *1 Matchmark A *2 Matchmark B Place matchmarks on the sliding roof drive cable sub-assembly at locations A and B as shown in the illustration.
-
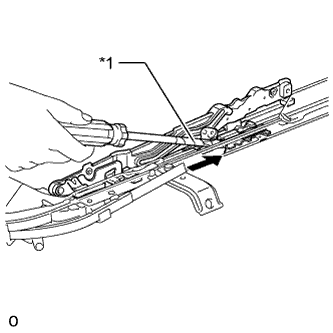
Text in Illustration *1 Protective Tape 
Slide Using a screwdriver, slide the sliding roof drive cable sub-assembly in the direction indicated by the arrow in the illustration to remove it.
Tech Tips
Tape the screwdriver tip before use.
-