BACK DOOR GLASS (for Glass Hatch Type) REMOVAL

-
REMOVE REAR NO. 1 SPOILER COVER
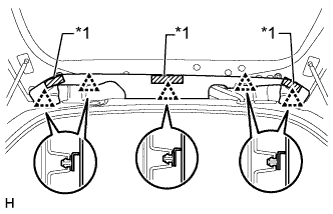
Text in Illustration *1 Fastening Tape
-
Detach the fastening tape and 5 clips and remove the rear No. 1 spoiler cover.
-
-
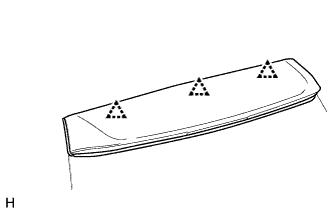
REMOVE REAR SPOILER COVER RH
Text in Illustration *1 Fastening Tape
-
Detach the fastening tape and 5 clips and remove the rear No. 1 spoiler cover.
-
-
REMOVE REAR SPOILER SUB-ASSEMBLY
-
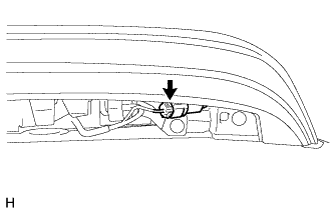
Disconnect the connector.
-
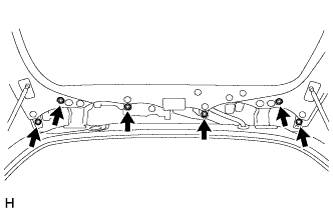
Remove the 6 bolts.
-
Detach the 3 clips and rear spoiler.
-
-
REMOVE REAR WIPER ARM
-
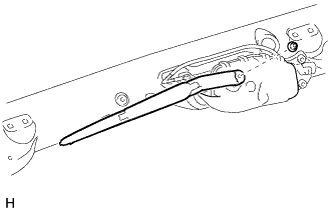
Remove the nut and rear wiper arm.
-
-
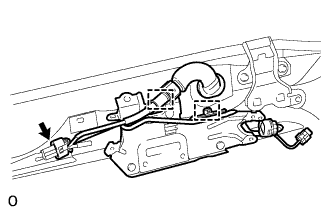
REMOVE REAR WIPER MOTOR ASSEMBLY
-
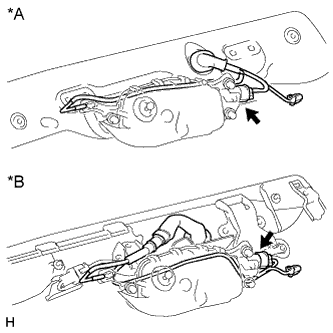
Text in Illustration *A w/ Back Door Tire Carrier *B w/o Back Door Tire Carrier Disconnect the washer hose and wiper motor connector.
-
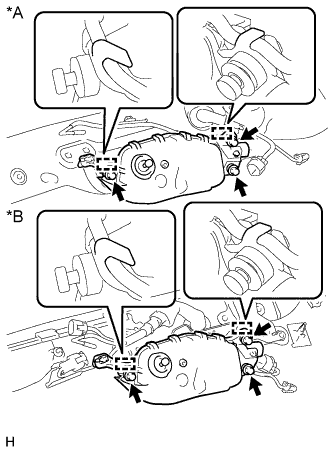
Text in Illustration *A w/ Back Door Tire Carrier *B w/o Back Door Tire Carrier Remove the 3 bolts.
-
Detach the 2 guides and remove the rear wiper motor.
-
-
REMOVE BACK WINDOW STAY ASSEMBLY LH
-
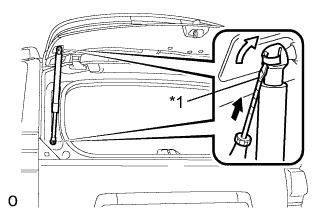
Text in Illustration *1 Protective Tape Using a screwdriver, remove the 2 stop rings as shown in the illustration, and then remove the back window stay.
CAUTION:
Remove the back window stay while supporting the back door with one hand.
Tech Tips
Tape the screwdriver tip before use.
-
-
REMOVE BACK WINDOW STAY ASSEMBLY RH
Tech Tips
Use the same procedures described for the LH side.
-
REMOVE BACK DOOR GLASS
-
Remove the connector and detach the 2 clamps.
-
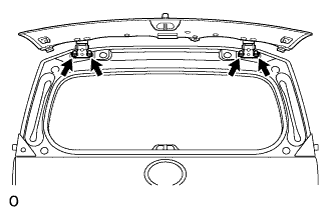
Remove the 4 bolts and back window glass.
-
-
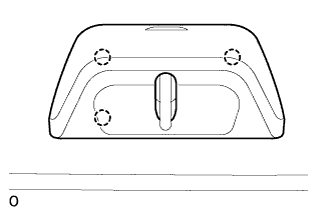
REMOVE BACK DOOR LOCK STRIKER COVER
-
Using a moulding remover, detach the 3 claws and remove the lock striker cover.
-
-
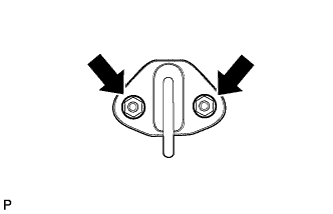
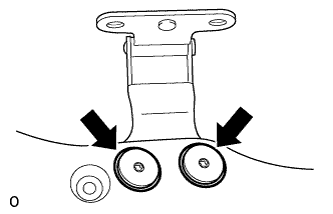
REMOVE BACK WINDOW LOCK STRIKER ASSEMBLY
-
Remove the 2 nuts and lock striker.
-
-
REMOVE BACK WINDOW GLASS SPACER
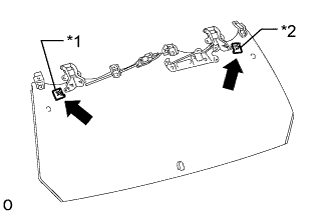
Text in Illustration *1 No. 2 Back Window Glass Spacer *2 No. 1 Back Window Glass Spacer Tech Tips
Perform the following procedures if replacing the back window glass spacer.
-
Remove the back window glass spacer.
-
-
REMOVE BACK DOOR HINGE ASSEMBLY LH
Tech Tips
Perform the following procedures if replacing any back door hinge assembly LH.
-
Using a T30 "TORX" wrench, remove the 2 screws and back door hinge.
-
-
REMOVE BACK DOOR HINGE ASSEMBLY RH
Tech Tips
Use the same procedure described for the LH side.