REAR LOWER ARM INSTALLATION

Tech Tips
-
Use the same procedure for the RH and LH sides.
-
The procedure listed below is for the LH side.
-
A bolt without a torque specification is shown in the standard bolt chart Click here.
-
TEMPORARILY INSTALL LOWER CONTROL ARM ASSEMBLY LH
-
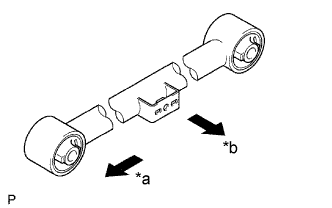
Text in Illustration *a Front *b Outer Side Temporarily install the lower control arm assembly with the bolt and nut.
Tech Tips
Install the lower control arm assembly as shown in the illustration.
-
Temporarily install the lower control arm assembly to the rear axle housing with the nut and bolt.
-
-
CONNECT NO. 3 PARKING BRAKE CABLE ASSEMBLY
-
Connect the No. 3 parking brake cable assembly with the bolt.
- Torque:
- 13 N*m { 127 kgf*cm, 9 ft.*lbf }
-
-
INSTALL REAR WHEEL
- Torque:
- 112 N*m { 1142 kgf*cm, 83 ft.*lbf }
-
STABILIZE SUSPENSION
-
Lower the vehicle.
-
Bounce the vehicle up and down several times to stabilize the suspension.
-
-
TIGHTEN LOWER CONTROL ARM ASSEMBLY LH
-
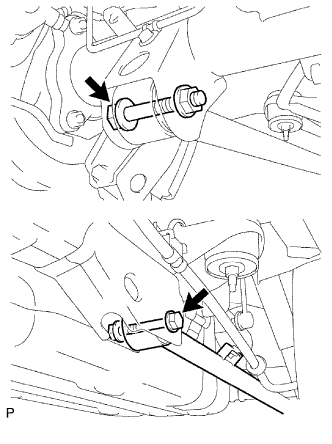
Tighten the 2 bolts.
- Torque:
- 130 N*m { 1326 kgf*cm, 96 ft.*lbf }
Tech Tips
While holding the nut, turn the bolt.
-