CLOCK REMOVAL

-
REMOVE CENTER INSTRUMENT CLUSTER FINISH PANEL ASSEMBLY
-
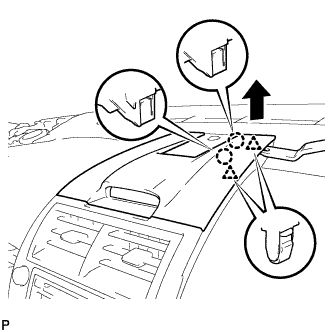
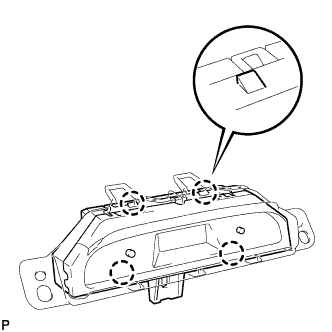
Using a moulding remover, disengage the 2 claws and 2 clips as shown in the illustration.
-
Using a moulding remover, disengage the 2 claws and 2 clips as shown in the illustration.
-

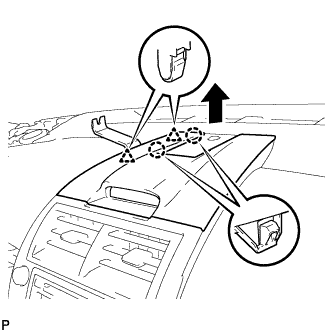
Disengage the 3 claws and 2 clips as shown in the illustration.
-
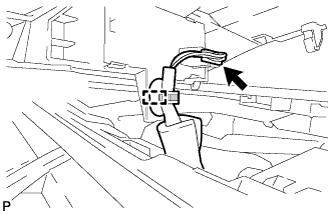
Disengage the clamp.
-
Disconnect the connector to remove the center instrument cluster finish panel assembly.
-
-
REMOVE CLOCK ASSEMBLY
-
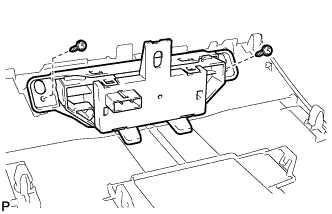
Remove the 2 screws and clock assembly with instrument cluster finish panel cover from the No. 1 center instrument cluster finish panel.
-
Disengage the 4 claws and remove the clock assembly.
-