REAR SEAT OUTER BELT ASSEMBLY REMOVAL

-
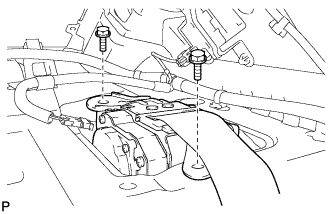
DISCONNECT CABLE FROM NEGATIVE BATTERY TERMINAL
CAUTION:
Wait at least 90 seconds after disconnecting the cable from the negative (-) battery terminal to disable the SRS system Click here.
Note
When disconnecting the cable, some systems need to be initialized after the cable is reconnected Click here.
-
REMOVE REAR SEAT HEADREST ASSEMBLY LH
-
REMOVE REAR SEAT HEADREST ASSEMBLY RH
-
REMOVE REAR SEAT CUSHION ASSEMBLY
-
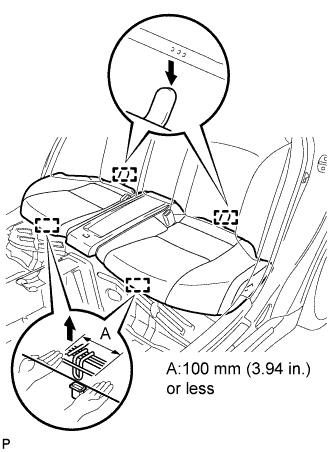
Disengage the 2 front hooks of the rear seat cushion assembly from the vehicle body.
Note
Follow the instructions below carefully as the cushion frame deforms easily.
-
Choose a hook to detach first. Place your hands near the hook as shown in the illustration. Then lift the seat cushion to detach the hook.
-
Repeat for the other hook.
-
-
Disengage the 2 rear hooks of the seat cushion from the child restraint seat anchor bracket.
-
Remove the rear seat cushion assembly.
-
-
REMOVE REAR SEATBACK ASSEMBLY
-
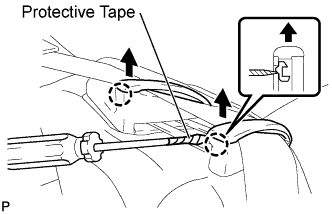
Using a screwdriver with the tip tapes, disengage the 2 claws to open the 2 cap of the rear seat shoulder belt guide LH.
-
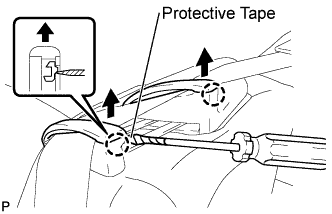
Using a screwdriver with the tip tapes, disengage the 2 claws to open the 2 caps of the rear seat shoulder belt guide RH.
-

Remove the 4 bolts.
-
Disengage the 3 hooks and remove the rear seatback assembly
-
-
REMOVE REAR DOOR SCUFF PLATE LH
-
Put protective tape around the rear door scuff plate.
-
Using a moulding remover, disengage the 2 clips.
-
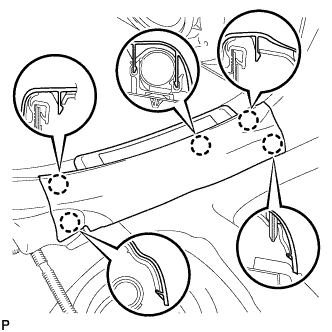
Disengage the 5 claws and remove the the rear door scuff plate LH.
-
-
REMOVE REAR DOOR SCUFF PLATE RH
Tech Tips
Use the same procedure for the RH side and LH side.
-
REMOVE REAR SEAT SIDE GARNISH LH
-
Disengage the 5 claws and remove the rear seat side garnish LH.
-
-
REMOVE REAR SEAT SIDE GARNISH RH
Tech Tips
Use the same procedure for the RH side and LH side.
-
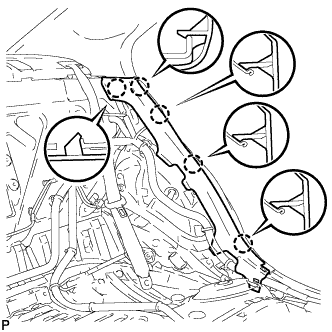
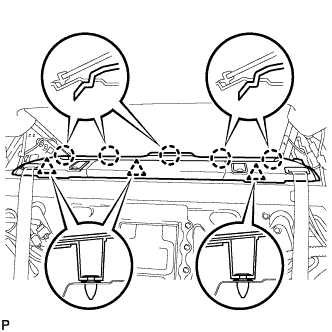
REMOVE ROOF SIDE INNER GARNISH LH
-
Disengage the 4 clips and claw, and remove the roof side inner garnish LH.
-
-
REMOVE ROOF SIDE INNER GARNISH RH
Tech Tips
Use the same procedure for the RH side and LH side.
-
REMOVE CENTER STOP LIGHT SET
-
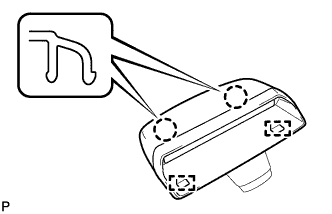
Disengage the 2 claws.
-
Disengage the 2 guides and disconnect the center stop light set.
-
Disconnect the connector and remove the center stop light set.
-
-
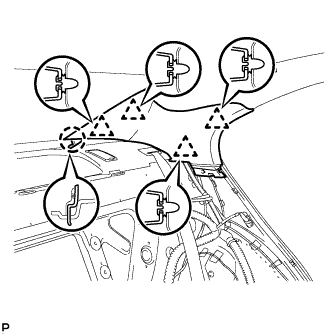
REMOVE PACKAGE TRAY TRIM PANEL ASSEMBLY
-
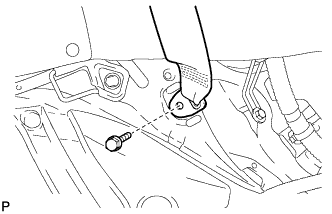
Remove the bolt and disconnect the floor end of the rear seat 3 point type belt assembly LH.
Tech Tips
Use the same procedures for the RH side and the LH side.
-
Using a moulding remover, disengage the 4 claws and remove the rear seat shoulder belt cover LH.
Tech Tips
Use the same procedures for the RH side and LH side.
-
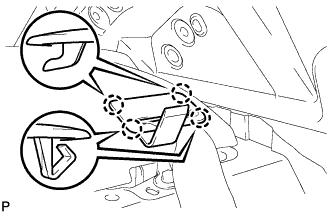
Disengage the 3 clips.
-
Pass the 2 rear seat belt floor anchors through the package tray trim panel assembly.
-
Disengage the 5 claws and remove the package tray trim panel assembly.
-
-
REMOVE REAR SEAT 3 POINT TYPE BELT ASSEMBLY
-
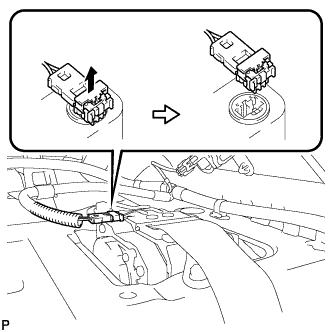
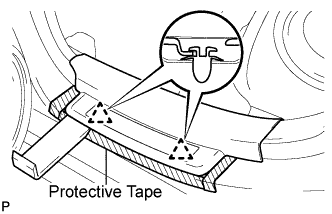
Using a screwdriver, pull out the locking button in the direction shown by the arrow to release the lock, and disconnect the pretensioner connector as shown in the illustration.
-
Remove the 2 bolts and the rear seat 3 point type belt assembly.
-