SKID CONTROL BUZZER REMOVAL

-
DISCONNECT CABLE FROM NEGATIVE BATTERY TERMINAL
Note
When disconnecting the cable, some systems need to be initialized after the cable is reconnected Click here.
-
REMOVE FRONT DOOR SCUFF PLATE LH
-
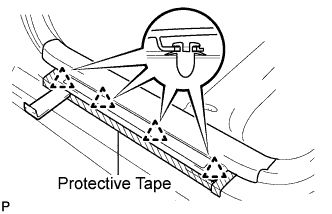
Put protective tape around the front door scuff plate.
-
Using a moulding remover, disengage the 4 clips.
-
Disengage the 7 claws and remove the front door scuff plate LH.
-
-
REMOVE FRONT DOOR OPENING TRIM COVER LH
-
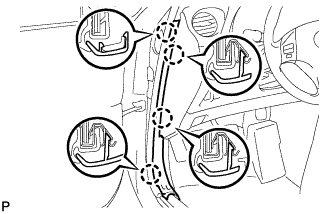
Disengage the 4 claws and remove the front door opening trim cover LH.
-
-
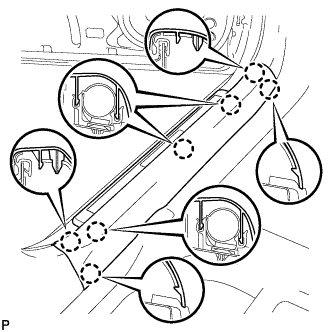
REMOVE SIDE INSTRUMENT PANEL LH
-
Using a moulding remover, disengage the 5 claws and 3 clips to remove the side instrument panel LH as shown in the illustration.
-
-
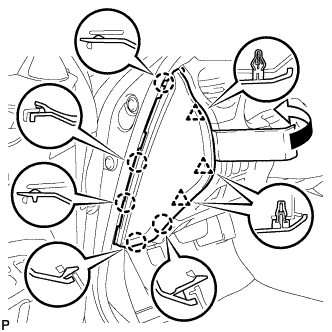
REMOVE LOWER INSTRUMENT PANEL FINISH PANEL SUB-ASSEMBLY
-
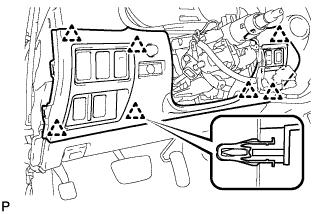
Disengage the 7 clips.
-
Disconnect the connectors and remove the lower instrument panel finish panel sub-assembly.
-
-
REMOVE SKID CONTROL BUZZER
-
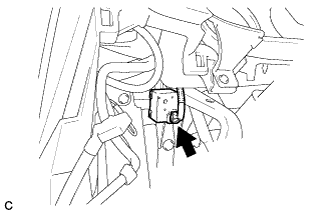
Disconnect the skid control buzzer connector.
-
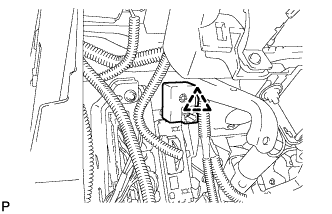
Remove the clip and skid control buzzer.
-