CAMSHAFT OIL CONTROL VALVE REMOVAL

-
REMOVE V-BANK COVER SUB-ASSEMBLY
-
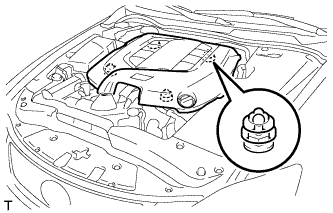
Hold the front of the V-bank cover sub-assembly and raise it to disengage the 2 clips on the front of the cover. Continue to raise the cover to disengage the 2 clips on the rear of the cover and remove the V-bank cover sub-assembly.
Note
Attempting to disengage both front and rear clips at the same time may cause the cover to break.
-
-
REMOVE AIR CLEANER CAP SUB-ASSEMBLY
-
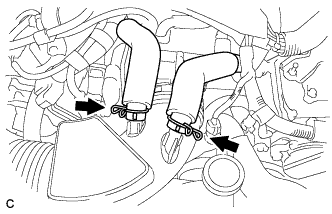
Loosen the 2 hose clamps and separate the 2 ventilation hoses.
-
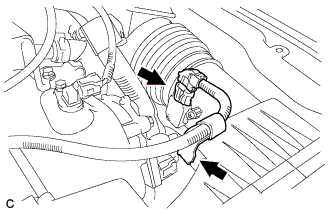
Disconnect the mass air flow meter connector and separate the wire harness clamp.
-
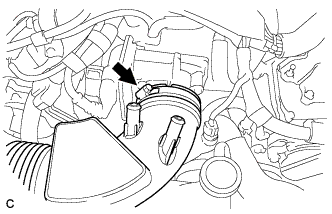
Loosen the hose clamp and separate the air cleaner hose.
-
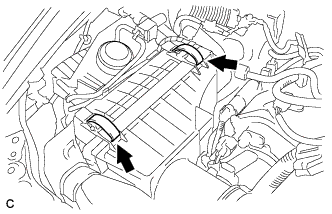
Unlock the 2 clamps and remove the air cleaner cap sub-assembly.
-
-
REMOVE CAMSHAFT TIMING OIL CONTROL VALVE ASSEMBLY RH
-
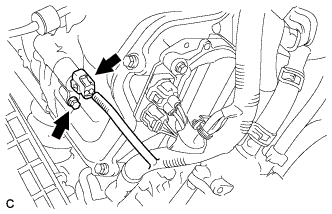
Disconnect the camshaft timing oil control valve connector.
-
Remove the bolt and the camshaft timing oil control valve assembly RH.
-
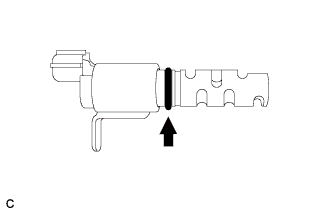
Remove the O-ring from the camshaft timing oil control valve assembly RH.
-
-
REMOVE CAMSHAFT TIMING OIL CONTROL VALVE ASSEMBLY LH
-

Disconnect the camshaft timing oil control valve connector.
-
Remove the bolt and the camshaft timing oil control valve assembly LH.
-
Remove the O-ring from the camshaft timing oil control valve assembly LH.
-