DISC PLAYER (for 5-Passenger with Ottoman) INSTALLATION

-
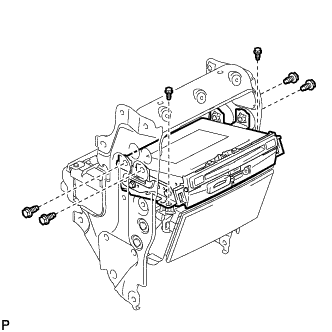
INSTALL NO. 2 DISC PLAYER BRACKET
-
Install the No. 2 disc player bracket with the 2 bolts.
-
-
INSTALL NO. 1 DISC PLAYER BRACKET
-
Install the No. 1 disc player bracket with the 2 bolts.
-
-
INSTALL DISC PLAYER ASSEMBLY
-
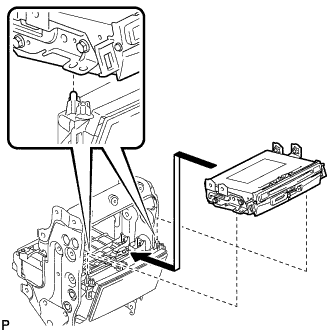
Align the disc player assembly with the 2 guides on the console box and temporarily install the disc player assembly as shown in the illustration.
-
Install the disc player assembly with the 6 bolts.
- Torque:
- 8.5 N*m { 87 kgf*cm, 75 in.*lbf }
-
Connect each connector.
-
-
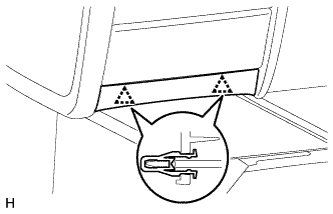
INSTALL REAR CONSOLE END PANEL SUB-ASSEMBLY
-
Attach the 2 clips to install the rear console end panel sub-assembly.
-
Install the 3 screws.
-
-
INSTALL TELEVISION DISPLAY ASSEMBLY
-

Align the 2 guides with the console box and install the television display assembly to the console box.
-

Install the 2 clips and 4 bolts.
- Torque:
- 8.5 N*m { 87 kgf*cm, 75 in.*lbf }
-
Connect each connector.
-
-
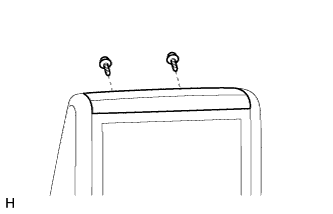
INSTALL REAR NO. 1 CONSOLE END PANEL GARNISH
-
Attach the 4 guides and 2 clips to install the rear No. 1 console end panel garnish.
-
Install the 2 screws.
-
-
INSTALL REAR NO. 2 CONSOLE END PANEL GARNISH
Tech Tips
Use the same procedure described for the rear No. 1 console end panel garnish.
-
INSTALL UPPER NO. 1 CONSOLE PANEL GARNISH
-
Install the upper No. 1 console panel garnish with the 2 screws.
-
-
INSTALL REAR CONSOLE BOX GARNISH
-
Attach the 2 clips to install the rear console box garnish.
-
-
INSTALL UPPER REAR CONSOLE PANEL GARNISH
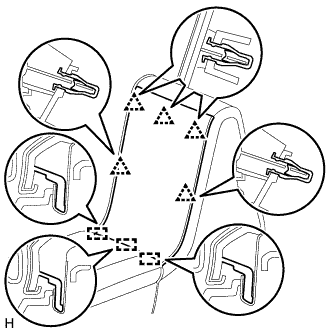
-
Attach the 3 guides and 5 clips to install the upper rear console panel garnish.
-