HEIGHT CONTROL SENSOR (for Front LH) INSTALLATION

Tech Tips
-
Use the same procedures for the RH side and LH side.
-
The procedures listed below are the LH side.
-
INSTALL FRONT HEIGHT CONTROL SENSOR SUB-ASSEMBLY LH (for 2WD)
-
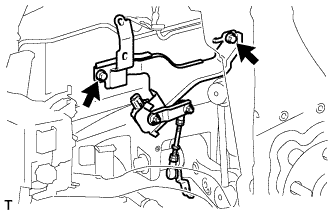
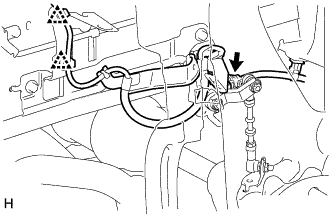
Install the height control sensor with the 2 bolts.
- Torque:
- 14 N*m { 138 kgf*cm, 10 ft.*lbf }
Note
Do not drop the height control sensor. If it is dropped, replace it with a new one.
-
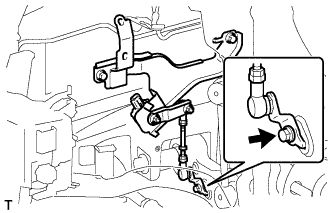
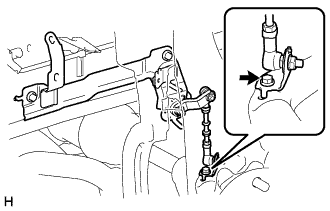
Connect the height control sensor link to the lower arm with the bolt.
- Torque:
- 5.4 N*m { 55 kgf*cm, 48 in.*lbf }
-
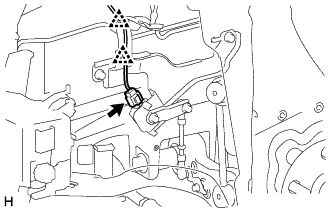
Connect the connector and attach the 2 clips.
-
-
INSTALL FRONT HEIGHT CONTROL SENSOR SUB-ASSEMBLY LH (for AWD)
-
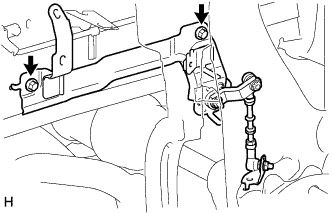
Install the front height control sensor sub-assembly LH with the 2 bolts.
- Torque:
- 14 N*m { 138 kgf*cm, 10 ft.*lbf }
Note
Do not drop the front height control sensor sub-assembly LH. If it is dropped, replace it with a new one.
-
Connect the height control sensor link to the lower arm with the bolt.
- Torque:
- 5.4 N*m { 55 kgf*cm, 48 in.*lbf }
-
Connect the connector and attach the 2 clips.
-
-
INSTALL FRONT WHEEL LH
- Torque:
- 140 N*m { 1428 kgf*cm, 103 ft.*lbf }
-
CHECK VEHICLE HEIGHT
Note
If the height control sensor link is removed, check the vehicle height.
-
Change the height control switch from the "NORM" position to the "HIGH" position and back to the "NORM" position again.
-
Measure the vehicle height Click here.
-
-
ADJUST VEHICLE HEIGHT
Note
If the height control sensor has been replaced, be sure to adjust the vehicle height.
-
ADJUST HEADLIGHT ASSEMBLY