FRONT DOOR BELT MOULDING REMOVAL

Tech Tips
-
Use the same procedure for the RH and LH sides.
-
The procedure listed below is for the LH side.
-
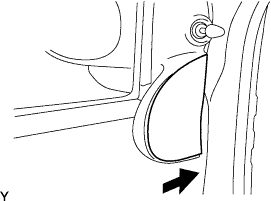
REMOVE FRONT DOOR FRONT LOWER FRAME COVER UPPER
-
Remove the front door front lower frame cover upper by sliding it in the direction indicated by the arrow in the illustration.
-
-
REMOVE FRONT DOOR LOWER FRAME BRACKET GARNISH

-
Remove the 2 screws and disengage the 2 clips.
-
-
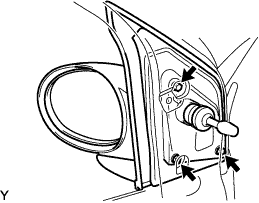
REMOVE OUTER REAR VIEW MIRROR
-
Remove the 3 screws and outer rear view mirror assembly LH.
-
-
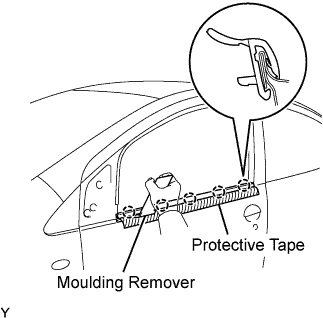
REMOVE FRONT DOOR BELT MOULDING (for 5 Door)
-
Apply protective tape to the outer circumference of the front door belt moulding, as shown in the illustration.
-
Using a moulding remover, disengage the 5 claws and remove the front door belt moulding.
-
-
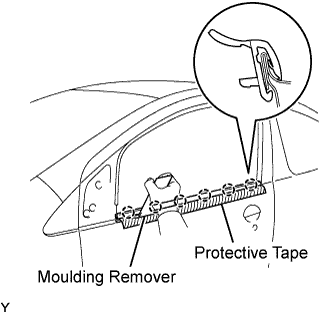
REMOVE FRONT DOOR BELT MOULDING (for 3 Door)
-
Apply protective tape to the outer circumference of the front door belt moulding, as shown in the illustration.
-
Using a moulding remover, disengage the 6 claws and remove the front door belt moulding.
-