COOLANT REPLACEMENT

-
DRAIN ENGINE COOLANT
Note
To avoid the danger of being burned, do not remove the reservoir tank cap sub-assembly while the engine and radiator assembly are still hot. Thermal expansion will cause hot engine coolant and steam to blow out from the radiator assembly.
-
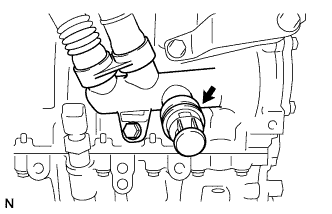
Remove the drain plug and clip, then drain the engine coolant.
-
Disconnect the radiator by uncoupling the radiator hose No.2.
-
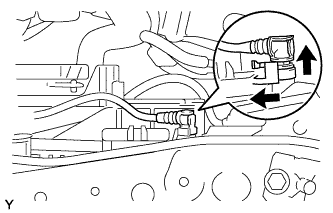
Remove the hose clamp, disconnect the water by-pass hose.
-
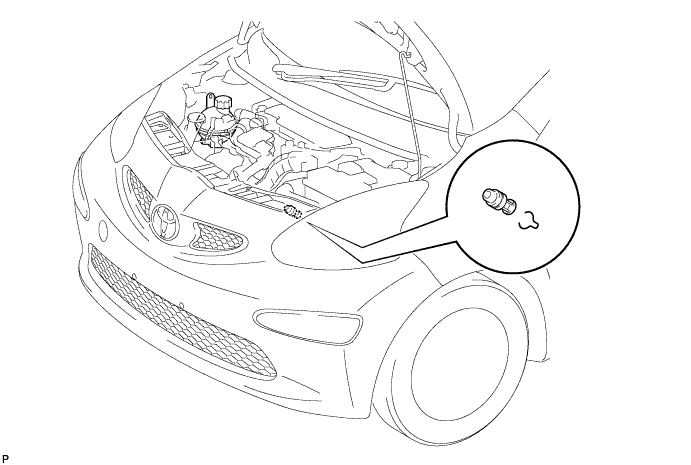
Remove the reservoir tank cap sub-assembly.
-
-
ADD ENGINE COOLANT
-
Install the drain plug with an O-ring and a new clip.
-
Connect the radiator hose No.2.
-
Pour engine coolant into the reserve tank assembly.
Capacity 4.0 to 4.4 L Note
Do not substitute water for engine coolant.
Tech Tips
-
Use of improper engine coolant may damage the engine coolant system.
-
Use only Premium Long Life Coolant for 1WZ and 2WZ-TV. Pre-mixed. Green. or similar high quality ethylene glycol based non-silicate, non-amine, non-nitrite, and non-borate engine coolant with long-life hybrid organic acid technology (coolant with long-life hybrid organic acid technology consists of a combination of low phosphates and organic acids).
-
-
Check the engine coolant level inside the radiator assembly by pressing the inlet and outlet radiator hoses several times by hand. If the engine coolant level goes down, add engine coolant.
-

Connect the water by-pass hose with the hose clamp.
Tech Tips
Connect the water by-pass hose, when the fluid flows clean and without air bubbles.
-
Slowly pour engine coolant into the radiator reservoir until it reaches the FULL line.
-
Install the reservoir tank cap sub-assembly securely.
-
-
CHECK FOR ENGINE COOLANT LEAKS
-
Start the engine.
-
Maintain the engine speed at 1,500 rpm until the first cooling cycle (cooling fan on).
-
Stop the engine and wait for cool down.
-
If necessary top up the level to the maximum mark.
-