- Click here
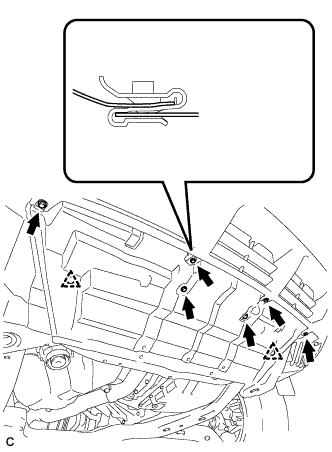
REMOVE ENGINE UNDER COVER ASSEMBLY
-

Remove the 2 bolts and engine under cover assembly RR.
-

Remove the 2 bolts, 2 screws, 5 clips and engine under cover assembly.
-
- Click here
REMOVE NO. 1 ENGINE UNDER COVER
-
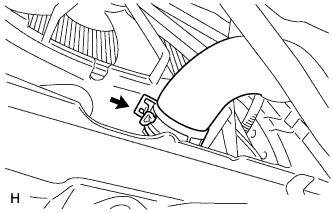
Remove the 6 bolts, 2 clips and No. 1 engine under cover.
-
- Click here
DRAIN ENGINE COOLANT
-
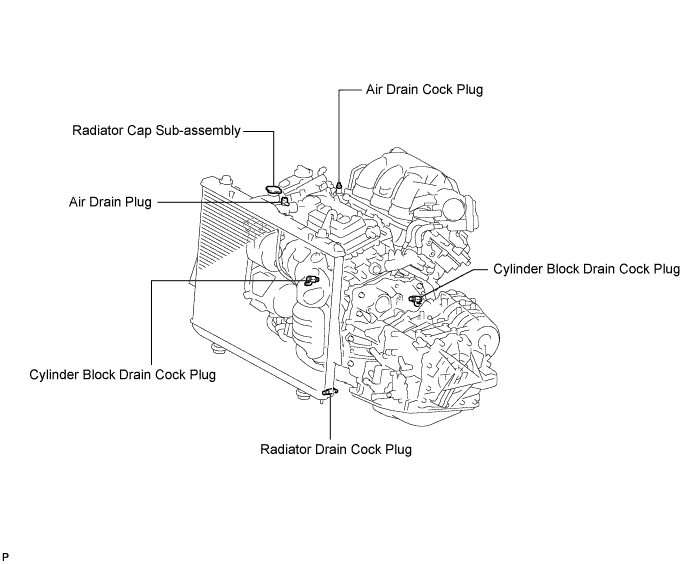
Loosen the radiator drain cock plug.
Tip:Collect the coolant in a container and dispose of it according to the regulations in your area.
-
Remove the radiator cap sub-assembly from the radiator assembly.
Note:Do not remove the radiator cap sub-assembly while the engine and radiator are still hot. Pressurized, hot engine coolant and steam may be released and cause serious burns.
-
Loosen the 2 cylinder block drain cock plugs.
-
- Click here
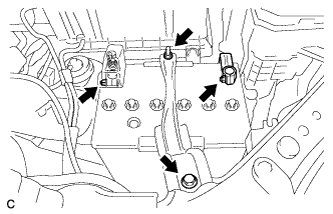
REMOVE V-BANK COVER SUB-ASSEMBLY
-
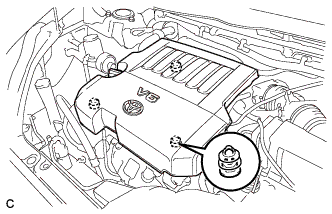
Hold the front of the V-bank cover sub-assembly and raise it to disengage the 2 clips on the front of the V-bank cover sub-assembly. Continue rising the V-bank cover sub-assembly to disengage the clip on the rear of the V-bank cover sub-assembly and remove the V-bank cover sub-assembly.
Note:Attempting to disengage both front and rear clips at the same time may cause the V-bank cover sub-assembly to break.
-
- Click here
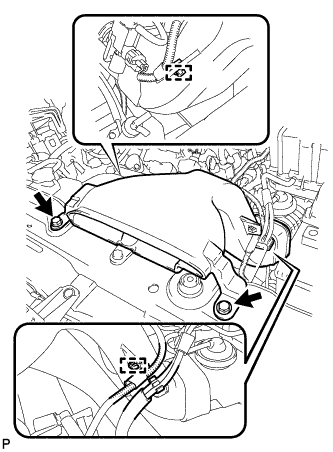
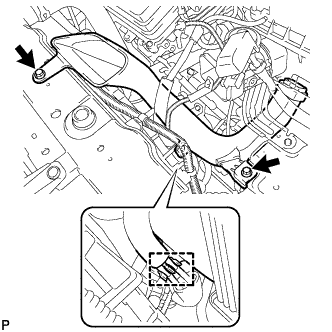
REMOVE COOL AIR INTAKE DUCT SEAL
-
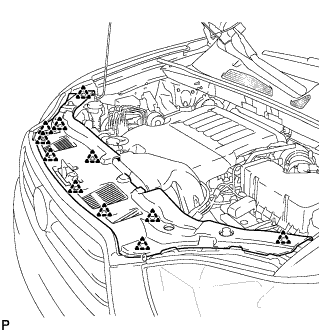
Remove the 11 clips and cool air intake duct seal.
-
- Click here
REMOVE BATTERY
CAUTION:Wait at least 90 seconds after disconnecting the cable from the negative (-) battery terminal to prevent airbag and seat belt pretensioner activation.
Note:When disconnecting the cable, some systems need to be initialized after the cable is reconnected (Click here).
-
Loosen the nut, and disconnect the negative battery terminal.
-
Loosen the nut, and disconnect the positive battery terminal.
-
Loosen the nut, and remove the bolt and battery clamp.
-
Remove the battery and battery tray.
-
- Click here
REMOVE NO. 2 AIR CLEANER INLET
-
Disconnect the 2 vacuum switching valve clamps.
-
Disconnect the 2 vacuum hoses.
-
Remove the 2 bolts and No. 2 air cleaner inlet.
-
- Click here
REMOVE NO. 1 AIR CLEANER INLET
-
Disconnect the 2 vacuum hoses, and remove the 2 bolts and No. 1 air cleaner inlet.
-
- Click here
DISCONNECT NO. 1 RADIATOR HOSE
-
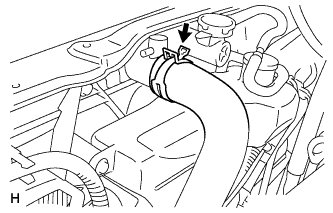
Disconnect the No. 1 radiator hose from the radiator.
-
- Click here
DISCONNECT NO. 2 RADIATOR HOSE
-
Disconnect the No. 2 radiator hose from the radiator.
-
- Click here
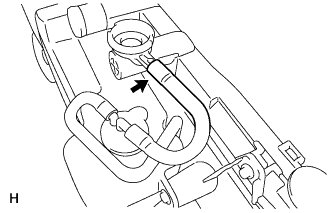
DISCONNECT OIL COOLER HOSE
-
Disconnect the oil cooler hoses from the radiator.
-
- Click here
DISCONNECT COOLING FAN ECU CONNECTOR
-
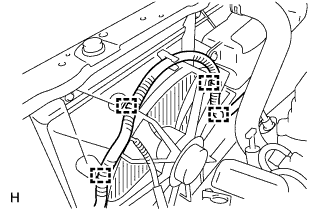
Detach the wire harness clamps from the fan shroud LH side.
-
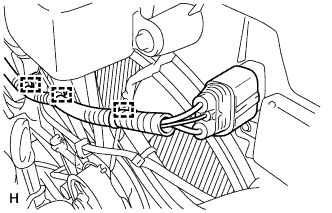
Detach the wire harness clamps from the fan shroud RH side and disconnect the cooling fan ECU connector.
-
- Click here
REMOVE RADIATOR GRILLE
-
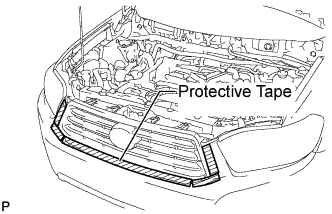
Put protective tape around the radiator grille.
-

Remove the 2 bolts and 4 clips.
-
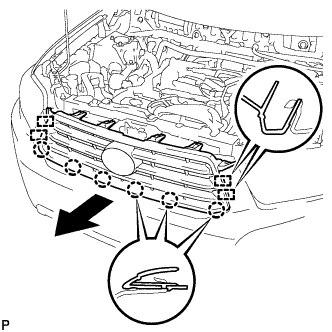
Disengage the 6 claws and 4 guides, and remove the radiator grille.
-
- Click here
REMOVE HOOD LOCK ASSEMBLY (w/o Engine Hood Courtesy Switch)
-
Remove the hood lock nut cap.
-
Remove the 3 bolts.
-
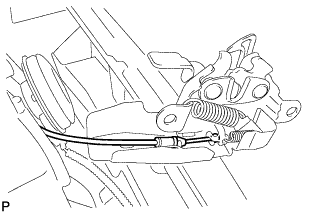
Disconnect the hood lock control cable and remove the hood lock assembly.
-
- Click here
REMOVE HOOD LOCK ASSEMBLY (w/ Engine Hood Courtesy Switch)
-
Disconnect the connector.
-

Remove the hood lock nut cap.
-
Remove the 3 bolts.
-
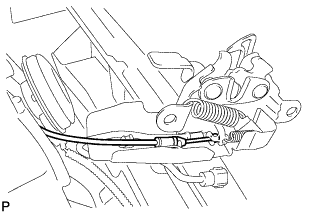
Disconnect the hood lock control cable and remove the hood lock assembly.
-
- Click here
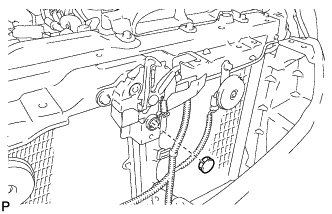
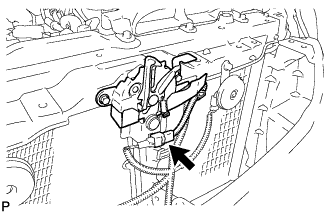
REMOVE UPPER RADIATOR SUPPORT SUB-ASSEMBLY (for LHD)
-

Disconnect the low pitched horn and high pitched horn connectors.
-
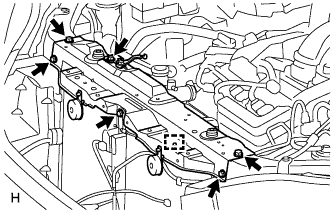
Detach the hood lock control cable clamp and remove the 6 bolts and upper radiator support sub-assembly.
-
- Click here
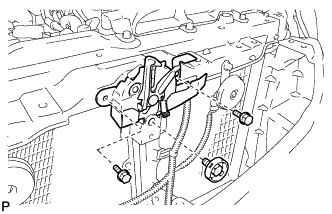
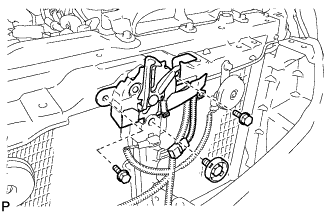
REMOVE UPPER RADIATOR SUPPORT SUB-ASSEMBLY (for RHD)
-
Disconnect the low pitched horn and high pitched horn connectors.
-
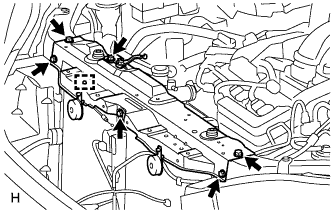
Detach the hood lock control cable clamp and remove the 6 bolts and upper radiator support sub-assembly.
-
- Click here
SEPARATE COOLER CONDENSER ASSEMBLY
-
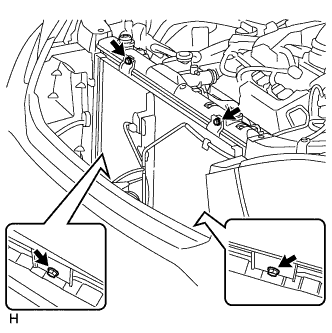
Remove the 4 bolts and move the cooler condenser assembly to remove the radiator assembly and fan assembly with motor.
-
- Click here
REMOVE RADIATOR ASSEMBLY AND FAN ASSEMBLY WITH MOTOR
-
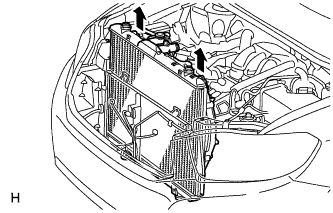
Remove the radiator assembly and fan assembly with motor.
-
- Click here
REMOVE FAN ASSEMBLY WITH MOTOR
-
Disconnect the radiator reserve tank hose or pipe from the radiator assembly.
-
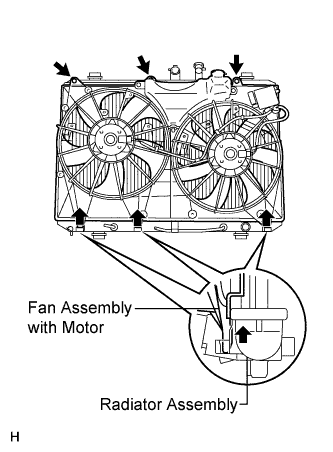
Remove the 3 bolts.
-
Pull up the fan assembly with motor from the radiator assembly to remove the fan assembly with motor.
-
- Click here
REMOVE RADIATOR SUPPORT CUSHION
-
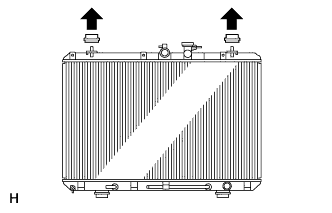
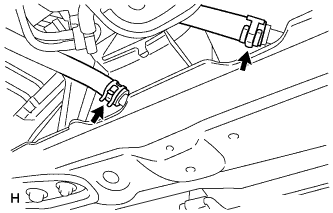
Remove the 2 radiator support cushions.
-
- Click here
REMOVE LOWER RADIATOR SUPPORT
-

Remove the 2 lower radiator supports.
-