VACUUM SWITCHING VALVE (for Engine Mounting) REMOVAL
-
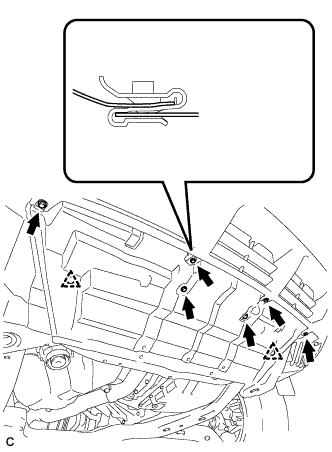
REMOVE ENGINE UNDER COVER ASSEMBLY
-

Remove the 2 bolts and engine under cover assembly RR.
-

Remove the 2 bolts, 2 screws, 5 clips and engine under cover assembly.
-
-
REMOVE NO. 1 ENGINE UNDER COVER
-
Remove the 6 bolts, 2 clips and No. 1 engine under cover.
-
-
REMOVE VACUUM HOSE SUB-ASSEMBLY
-
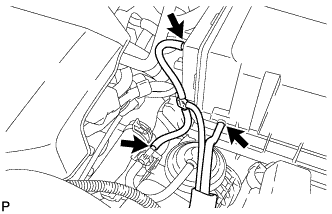
Disconnect the vacuum hose sub-assembly from the air cleaner cap sub-assembly and vacuum switching valve.
-
Remove the 2 clamps.
-
Disconnect the vacuum hose sub-assembly from the duty vacuum switching valve and remove it.
-
-
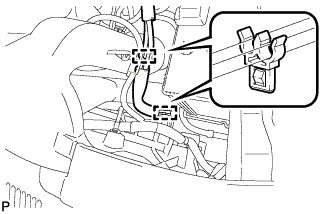
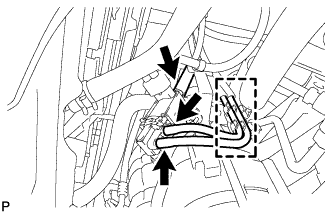
REMOVE DUTY VACUUM SWITCHING VALVE
-
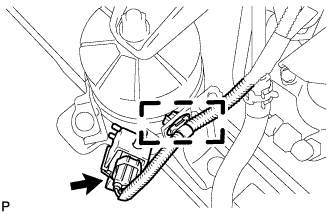
Disconnect the duty vacuum switching valve connector and the clamp.
-
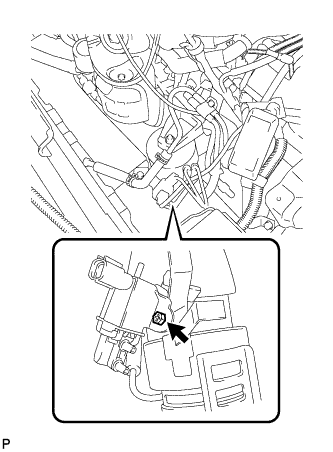
Remove the bolt.
-
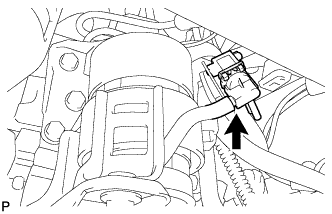
Disconnect the hose from the duty vacuum switching valve and remove the duty vacuum switching valve.
-