RADIO RECEIVER REMOVAL

-
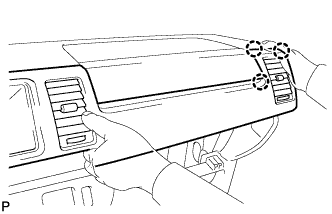
REMOVE INSTRUMENT CLUSTER FINISH PANEL GARNISH NO. 2
-
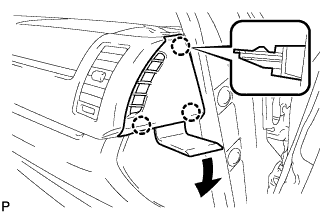
Using a moulding remover D, detach the 3 claws and remove the instrument cluster finish panel garnish No. 2.
-
-
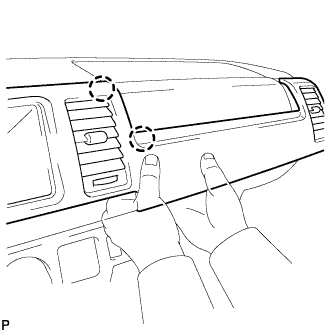
REMOVE INSTRUMENT CLUSTER FINISH PANEL SUB-ASSEMBLY CENTER
-
for Standard Body:
Using a moulding remover D, detach the 4 claws in the order shown in the illustration.
-
for Wide Body:
Using a moulding remover D, detach the 5 claws in the order shown in the illustration.
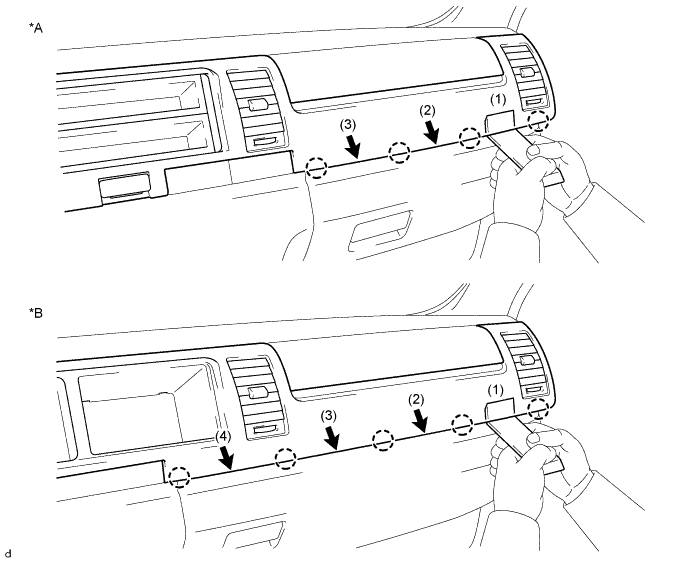
Text in Illustration *A for Standard Body *B for Wide Body -
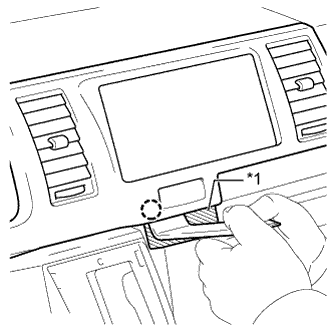
Text in Illustration *1 Protective Tape Apply protective tape as shown in the illustration.
-
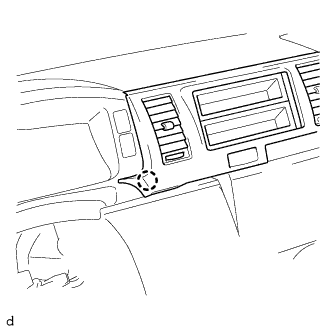
Using a moulding remover D, detach the claw.
-
Detach the claw as shown in the illustration.
-
Detach the 3 claws as shown in the illustration.
-
Detach the 2 claws as shown in the illustration.
-
for Standard Body:
Detach the 3 claws and remove the instrument cluster finish panel sub-assembly center.
-
for Wide Body:
Detach the 4 claws and remove the instrument cluster finish panel sub-assembly center.
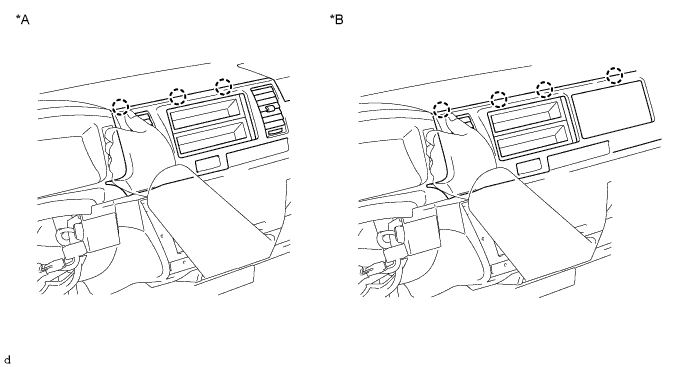
Text in Illustration *A for Standard Body *B for Wide Body
-
-
REMOVE RADIO RECEIVER ASSEMBLY
-
Remove the 4 screws.
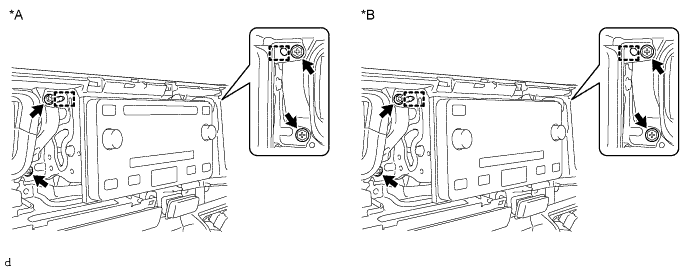
Text in Illustration *A w/ CD Player *B w/o CD Player -
Detach the 2 guides and remove the radio receiver assembly.
-
Disconnect each connector.
-
-
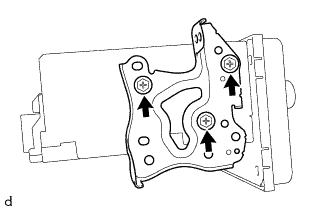
REMOVE RADIO BRACKET NO. 1
-
Remove the 3 screws and radio bracket No. 1.
-
-
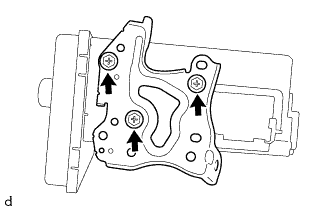
REMOVE RADIO BRACKET NO. 2
-
Remove the 3 screws and radio bracket No. 2.
-