2KD-FTV VACUUM PUMP REASSEMBLY

-
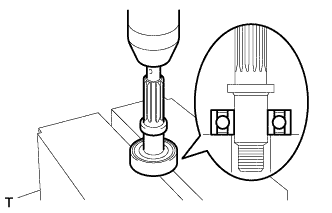
INSTALL VACUUM PUMP BEARING
-
Using a press, install a new bearing to the rotor shaft.
-
-
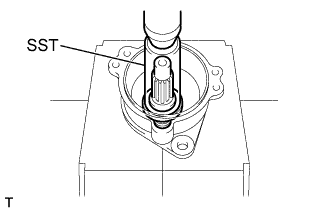
INSTALL VACUUM PUMP SHAFT
-
Using SST and a press, install the rotor shaft to the casing.
- SST
- 09608-04031
-
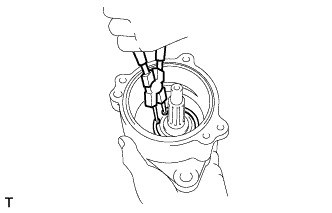
Using snap ring pliers, install the snap ring.
-
Temporarily install the woodruff key, gear and lock nut to the pump.
-
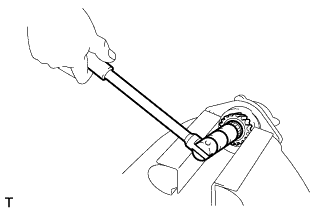
Using soft jaws on the vise, clamp the gear in the vise.
-
Tighten the gear lock nut.
- Torque:
- 110 N*m { 1125 kgf*cm, 81 ft.*lbf }
-
-
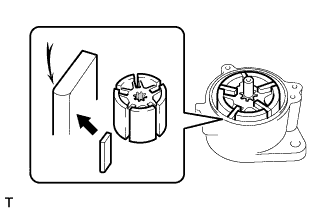
INSTALL VACUUM PUMP BLADE A
-
Apply the engine oil to the rotor, and install the rotor in the casing.
-
Install the 5 blades with the round end facing outward.
Tech Tips
-
Apply engine oil to the blades.
-
Be sure that the blades and rotor surfaces are even.
-
-
Place the vacuum pump on the vise, as shown in the illustration.
Note
Do not tighten the vise.
-
Install 2 new O-rings.
-
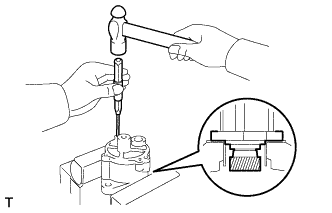
Install the end cover and temporarily install the 3 bolts.
-
Using a pin punch and hammer, drive in the 2 straight pins.
-
Using soft jaws on the vise, place the vacuum pump in the vise.
Note
Do not tighten the vise too tightly.
-
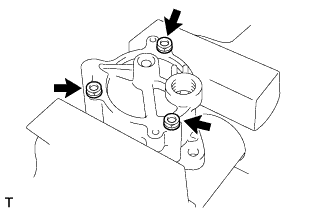
Tighten the 3 bolts.
- Torque:
- 7.8 N*m { 80 kgf*cm, 69 in.*lbf }
-
-
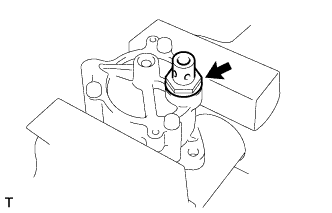
INSTALL CHECK VALVE SUB-ASSEMBLY
-
Install a new gasket and the check valve.
- Torque:
- 74 N*m { 750 kgf*cm, 54 ft.*lbf }
-
-
INSTALL VACUUM PUMP UNION
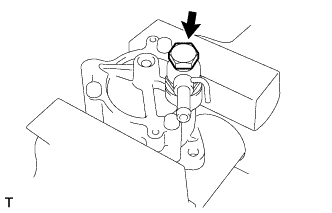
-
Install the vacuum pump union and 2 new gaskets with the union bolt.
- Torque:
- 14 N*m { 140 kgf*cm, 10 ft.*lbf }
Tech Tips
Align and insert the union pin into the matching hole of the casing.
-