MONOLITHIC CONVERTER INSTALLATION

-
INSTALL CENTER EXHAUST PIPE ASSEMBLY
-
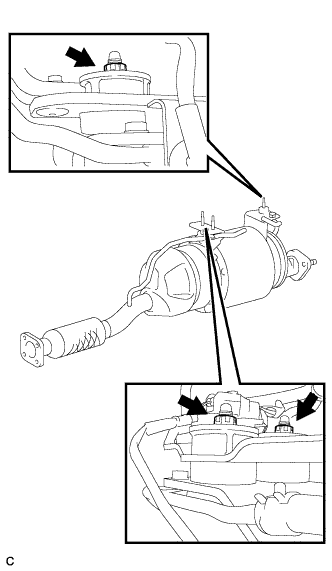
Install the center exhaust pipe with 3 new nuts and 6 cushions.
- Torque:
- 50 N*m { 510 kgf*cm, 37 ft.*lbf }
-
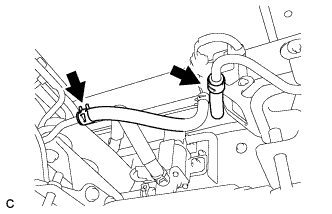
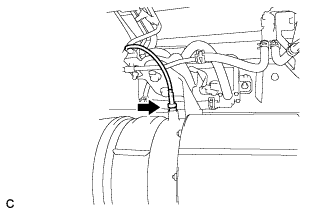
Connect the 2 differential pressure sensor hoses.
Tech Tips
Be sure to connect the hoses correctly.
-
Install 2 new gaskets.
-
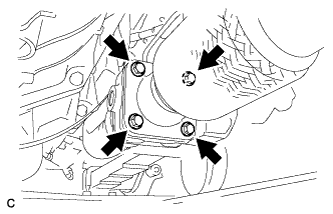
Install the exhaust retarder assembly with the 4 bolts.
- Torque:
- 30 N*m { 306 kgf*cm, 22 ft.*lbf }
-

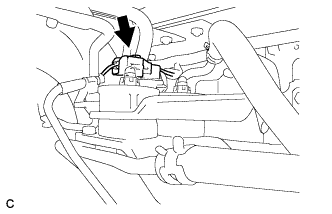
Connect the exhaust retarder assembly hose.
-
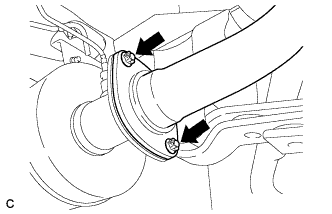
Install the tail exhaust pipe assembly with the 2 nuts.
- Torque:
- 24 N*m { 245 kgf*cm, 18 ft.*lbf }
-
-
REMOVE EXHAUST GAS TEMPERATURE SENSOR
-
Using a union nut wrench (14 mm), install the exhaust gas temperature sensor onto the center exhaust pipe assembly.
- Torque:
- without union nut wrench
- 30 N*m { 306 kgf*cm, 22 ft.*lbf }
- with union nut wrench
- 27 N*m { 275 kgf*cm, 20 ft.*lbf }
Tech Tips
-
Refer to the torque above when not using a union nut wrench. When not using a union nut wrench, calculate the torque in accordance with the lengths of union nut wrench and the torque wrench Click here.
-
Do not damage the exhaust gas temperature sensor.
-
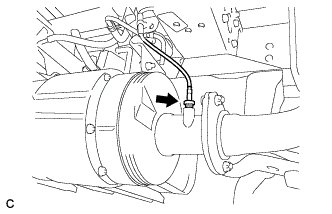
Connect the exhaust gas temperature sensor connector.
-
-
REMOVE NO. 2 EXHAUST GAS TEMPERATURE SENSOR
-
Using a union nut wrench (14 mm), install the No. 2 exhaust gas temperature sensor onto the center exhaust pipe assembly.
- Torque:
- without union nut wrench
- 30 N*m { 306 kgf*cm, 22 ft.*lbf }
- with union nut wrench
- 27 N*m { 275 kgf*cm, 20 ft.*lbf }
Tech Tips
-
Refer to the torque above when not using a union nut wrench. When not using a union nut wrench, calculate the torque in accordance with the lengths of union nut wrench and the torque wrench Click here.
-
Do not damage the exhaust gas temperature sensor.
-
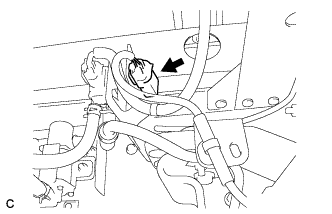
Connect the No. 2 exhaust gas temperature sensor connector.
-
-
INSPECT FOR EXHAUST GAS LEAK
-
INSPECT FOR CENTER EXHAUST PIPE ASSEMBLY
-
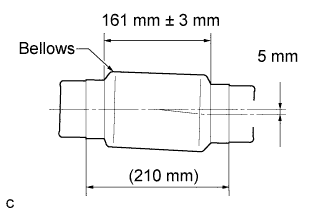
Check if the exhaust center pipe assembly bellows pipe is installed as shown in the illustration.
-