ROOF HEADLINING(for TMC Made 5 Door) REASSEMBLY
PROCEDURE
-
INSTALL NO. 1 ROOF WIRE
-
Align the No. 1 roof wire positioning tape with the markings of the roof headlining.
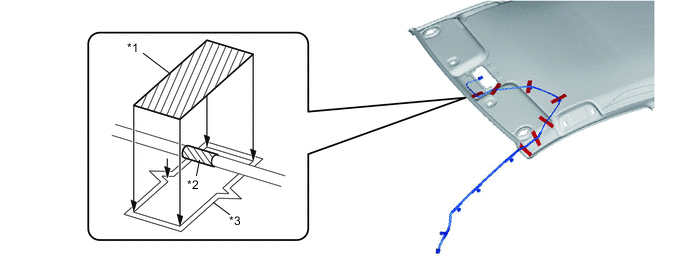
Text in Illustration *1 Tape *2 Positioning Tape *3 Marking - - -
Install the No. 1 roof wire onto the roof headlining with 7 new pieces of tape.
Note
-
Apply the tape securely in place.
-
Do not touch the adhesive surface when applying the tape to prevent adhesion failure.
-
-
-
INSTALL REAR SIDE RAIL SPACER RH
-
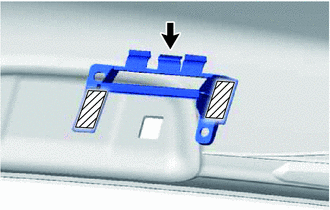
Align the markings on the roof headlining assembly with the rear side rail spacer and install the rail spacer using hot melt glue.
Text in Illustration 
Adhesive Portion
-
-
INSTALL REAR SIDE RAIL SPACER LH
Tech Tips
Use the same procedure as for the RH side.
-
INSTALL REAR ROOF SILENCER PAD
-
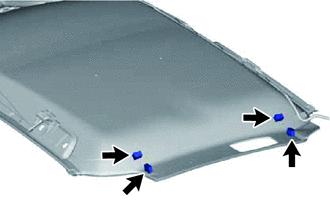
Align the markings on the roof headlining assembly with the 4 rear roof silencer pads and install the silencer pads using hot melt glue.
-
-
INSTALL NO. 5 ROOF SILENCER PAD
-
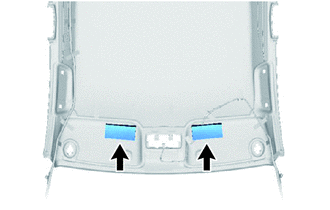
Align the markings on the roof headlining assembly with the 2 No. 5 roof silencer pads and install the silencer pads using hot melt glue.
-
-
INSTALL ROOF SILENCER PAD
-
Align the markings on the roof headlining assembly with the 4 roof silencer pads and install the silencer pads using hot melt glue.
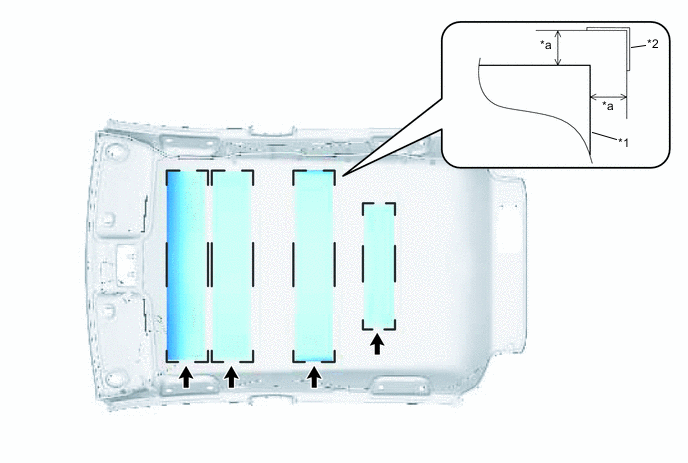
Text in Illustration *1 Roof Silencer Pad *2 Marking *a 25.0 mm (0.984 in.) - -
-
-
INSTALL NO. 2 ANTENNA CORD SUB-ASSEMBLY
-
INSTALL REAR SEAT SHOULDER BELT COVER
-
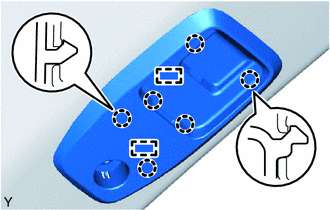
Engage the 6 claws and 2 guides and install the rear seat shoulder belt cover.
-