STEREO COMPONENT AMPLIFIER REMOVAL
PROCEDURE
-
REMOVE FRONT SEAT ASSEMBLY RH (for LHD)
Tech Tips
Use the same procedure as for the LH side.
-
for 3 Door:
-
Remove the front seat assembly Click here.
-
-
for 5 Door:
-
Remove the front seat assembly Click here.
-
-
-
REMOVE FRONT SEAT ASSEMBLY LH (for RHD)
-
for 3 Door:
-
Remove the front seat assembly Click here.
-
-
for 5 Door:
-
Remove the front seat assembly Click here.
-
-
-
REMOVE AUDIO AMPLIFIER COVER
-
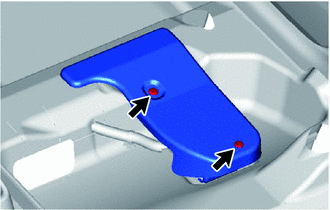
Remove the 2 clips and the audio amplifier cover.
-
-
REMOVE STEREO COMPONENT AMPLIFIER ASSEMBLY WITH BRACKET
-
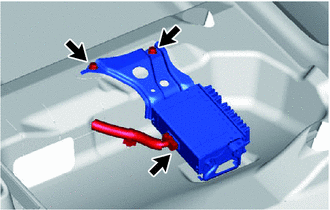
Disconnect the connector.
-
Remove the 2 bolts and stereo component amplifier assembly with bracket.
-
-
REMOVE NO. 1 AMPLIFIER BRACKET
-
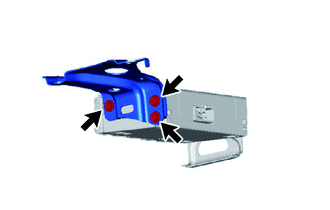
Remove the 3 bolts and No. 1 amplifier bracket.
-
-
REMOVE NO. 2 AMPLIFIER BRACKET
-
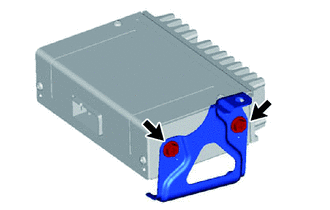
Remove the 2 bolts and No. 2 amplifier bracket.
-