FUEL TANK(for TMC Made) REMOVAL
PROCEDURE
-
PRECAUTION
-
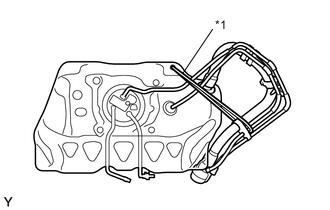
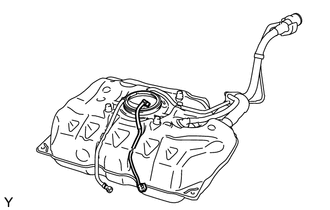
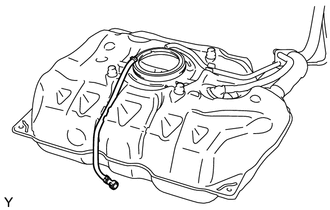
Text in Illustration *1 Cord When removing and storing the fuel tank assembly, arrange the inlet hose as shown in the illustration, and secure the fuel tank assembly using a cord or similar.
Note
Depending on the arrangement of the inlet hose during storage, the inlet hose and rear suspension may interfere and cause fuel leakage.
-
-
REMOVE FUEL SUCTION TUBE ASSEMBLY WITH PUMP AND GAUGE
-
DRAIN FUEL
-
REMOVE FRONT NO. 2 FLOOR HEAT INSULATOR
-
Remove the 2 nuts and the front No. 2 floor heat insulator.
-
-
REMOVE FUEL TANK COVER VENT CASE SUB-ASSEMBLY
-
Remove the clip.
-
Remove the bolt and fuel tank cover vent case sub-assembly.
-
-
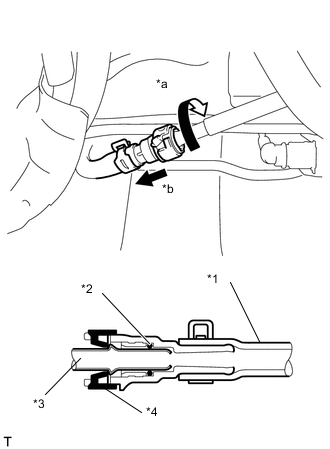
DISCONNECT FUEL TANK MAIN TUBE SUB-ASSEMBLY
Note
Before disconnecting the fuel tube connector, check for dirt or other foreign matter on the fuel tube connector and the pipe, and clean them if necessary.
-
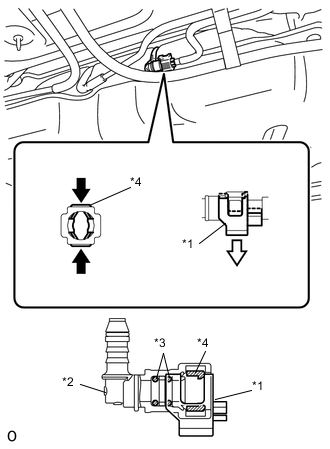
Text in Illustration *1 Checker *2 Fuel Tube Connector *3 O-ring *4 Retainer 
Pinch 
Pull Disengage the fuel tube connector cover.
-
Squeeze the retainer by hand from both sides, and pull out the fuel tube connector from the pipe.
Note
-
If the fuel tube connector and pipe are stuck together, push in and pull out the fuel tube connector while squeezing the pipe to release the connection, and then disconnect the fuel tube connector.
-
Clean away any dirt or foreign matter from the fuel tube connector before performing the operation.
-
The fuel tube connector and pipe are sealed by O-rings, so be careful to prevent damage to and foreign matter sticking to the contact surfaces.
-
Do not use any tools.
-
After disconnecting the fuel tube connector, check that there is no foreign matter on the seal surface of the pipe.
-
After disconnecting the fuel tube, protect the contact surfaces by covering them with a plastic bag.
-
Do not bend or twist the tubes.
-
-
-
DISCONNECT NO. 2 FUEL EMISSION TUBE
Note
Before disconnecting the fuel tube connector, check for dirt or other foreign matter on the fuel tube connector and the pipe, and clean them if necessary.
-
Text in Illustration *1 Nylon Tube *2 O-ring *3 Fuel Pipe *4 Retainer *a Pull Back *b Pull Out Loosen the clamp and disconnect the No. 2 fuel emission tube.
Note
-
If the fuel tube connector and pipe are stuck together, push in and pull out the fuel tube connector while squeezing the pipe to release the connection, and then disconnect the fuel tube connector.
-
Clean away any dirt or foreign matter from the fuel tube connector before performing the operation.
-
The fuel tube connector and pipe are sealed by O-ring, so be careful to prevent damage to and foreign matter sticking to the contact surfaces.
-
Do not use any tools.
-
After disconnecting the fuel tube connector, check that there is no foreign matter on the seal surface of the pipe.
-
After disconnecting the fuel tube, protect the contact surfaces by covering them with a plastic bag.
-
Do not bend or twist the tubes.
-
-
-
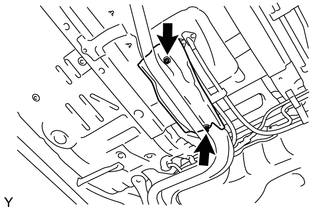
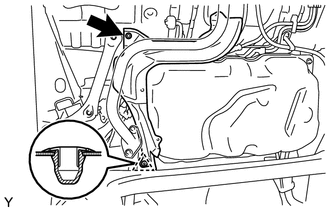
REMOVE FUEL TANK ASSEMBLY
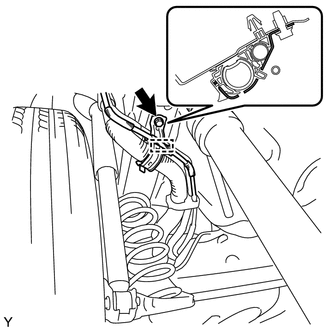
-
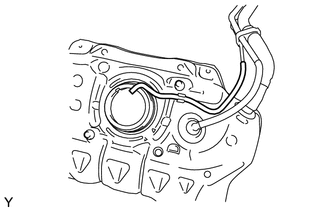
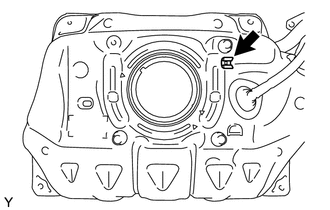
Disengage the clip as shown in the illustration and remove the fuel tank filler pipe flange plate.
-
Using an engine lifter, support the fuel tank assembly.
-
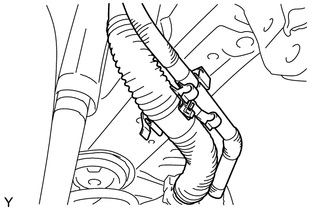
Separate the 2 fuel hoses shown in the illustration.
-
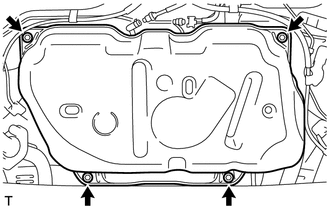
Remove the 4 bolts and fuel tank assembly.
Note
Make sure that the fuel tank does not fall.
-
-
REMOVE FUEL TANK MAIN TUBE SUB-ASSEMBLY
-
Disengage the clamp and remove the fuel tank main tube from the fuel tank assembly.
-
-
REMOVE NO. 2 FUEL EMISSION TUBE
-
Disengage the clamp and remove the No. 2 fuel emission tube from the fuel tank assembly.
-
-
REMOVE NO. 1 CANISTER OUTLET HOSE SUB-ASSEMBLY
-
Disengage the clamp and remove the No. 1 canister outlet hose from the fuel tank assembly.
-
-
REMOVE FUEL HOSE CLAMP
-
Remove the fuel hose clamp.
-
-
REMOVE NO. 2 FUEL TANK FILLER PIPE SUPPORT
-
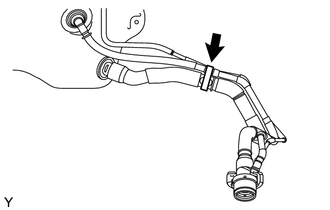
Disengage the clamp as shown in the illustration, and remove the No. 2 fuel tank filler pipe support.
-
-
REMOVE NO. 1 FUEL TANK FILLER PIPE SUPPORT
-
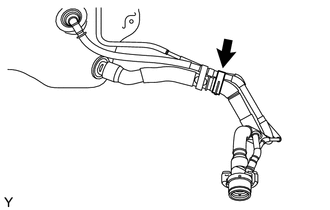
Disengage the clamp as shown in the illustration, and remove the No. 1 fuel tank filler pipe support.
-
-
REMOVE NO. 3 FUEL TANK FILLER PIPE SUPPORT
-
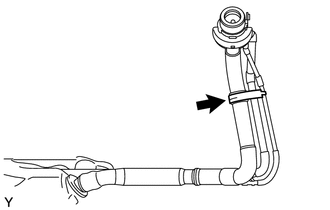
Disengage the clamp as shown in the illustration, and remove the No. 3 fuel tank filler pipe support.
-