ECM REMOVAL
PROCEDURE
-
REMOVE NO. 1 ENGINE COVER
-
REMOVE WINDSHIELD WIPER MOTOR AND LINK ASSEMBLY
-
REMOVE FRONT NO. 1 VENTILATOR SEAL
-
REMOVE FRONT AIR SHUTTER SEAL RH
-
REMOVE INNER COWL TOP TO COWL BRACE
-
REMOVE OUTER COWL TOP PANEL
-
SEPARATE NO. 1 HOSE TO HOSE TUBE (w/ Combustion Type Power Heater)
-
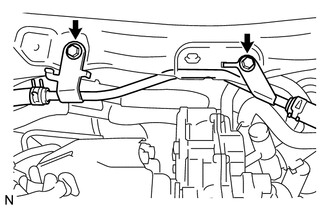
Remove the 2 bolts and separate the No. 1 hose to hose tube.
-
-
SEPARATE WATER PIPE SUB-ASSEMBLY (w/ Combustion Type Power Heater)
-
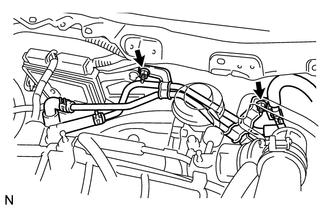
Remove the 2 nuts and separate the water pipe sub-assembly.
-
-
REMOVE ECM
-
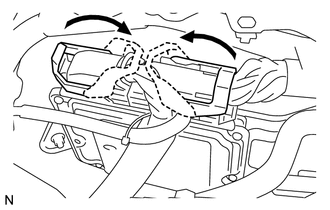
Pull up the lever to loosen the lock and disconnect the 2 connectors from the ECM.
Note
If there are is any foreign matter such as mud or water on a connector, clean the connector.
-

Remove the bolt, 2 nuts and the ECM.
-
-
REMOVE NO. 1 ECM BRACKET
-

Using "TORX" socket wrench T25, remove the 2 screws and the ECM bracket from the ECM.
-
-
REMOVE NO. 2 ECM BRACKET
-
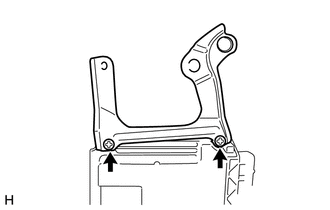
Using "TORX" socket wrench T25, remove the 2 screws and the No. 2 ECM bracket from the ECM.
-