SEAT MEMORY SWITCH INSTALLATION
CAUTION / NOTICE / HINT
Tech Tips
-
Use the same procedure for RHD and LHD vehicles.
-
The procedure listed below is for LHD vehicles.
-
Use the same procedure for the RH side and LH side.
-
The following procedure is for the LH side.
PROCEDURE
-
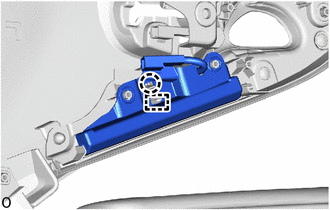
INSTALL SEAT MEMORY SWITCH LH
-
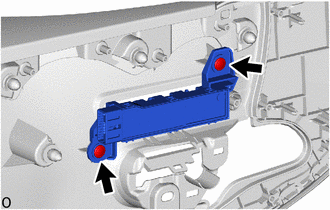
Install the seat memory switch LH with the 2 screws.
-
-
INSTALL NO. 2 SWITCH BEZEL
-
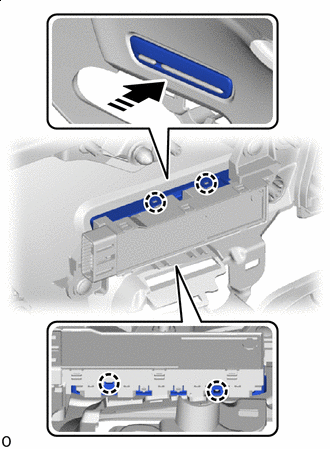

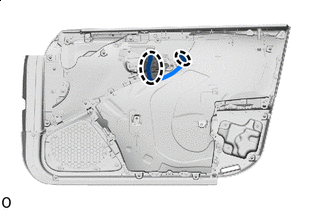
install in this Direction Attach the claw and install the No. 2 switch bezel.
-
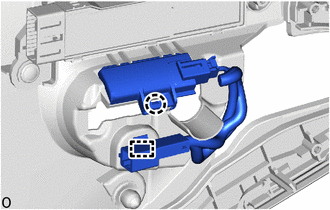
Attach the claw and install the inner handle illumination.
-
Connect the connector clamp.
-
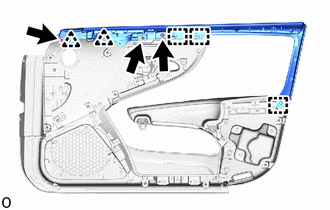
Attach the 4 clips and install the door trim panel.
-
Install the screw.
-
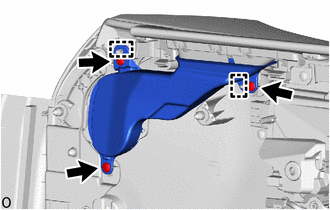
Attach the guide and set the illumination unit.
-
Attach the claw and install the illumination unit.
-
Attach the guide and set the upper trim sub-assembly.
-
Attach the clip to install the upper trim sub-assembly.
-
Install the 3 screws.
-
Attach the guide and set the duct.
-
Install the duct with the 3 screws.
-
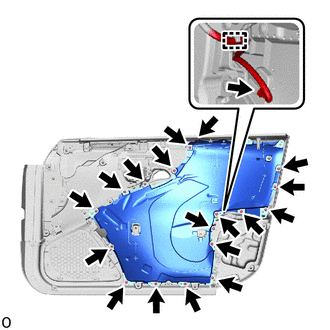
Connect the connector and detach the wire harness clamp.
-
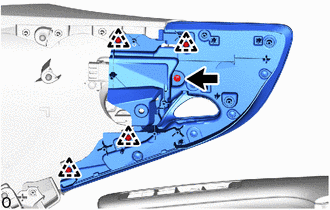
Install the ornament sub-assembly with the 18 screws.
-

Area to Install Install the door trim pad.
-
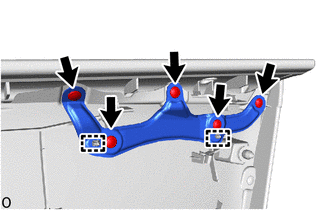
Attach the guide and set the bracket.
-
Install the bracket with the 5 screws.
-
-
INSTALL DOOR LOCK CONTROL KNOB BEZEL LH
-
INSTALL FRONT DOOR INSIDE HANDLE SUB-ASSEMBLY LH
-
INSTALL MULTIPLEX NETWORK MASTER SWITCH ASSEMBLY
-
INSTALL FRONT DOOR TRIM BOARD SUB-ASSEMBLY LH
-
INSTALL FRONT DOOR NO. 2 ARMREST COVER LH
-
INSTALL FRONT DOOR ARMREST COVER LH
-
INSTALL FRONT DOOR TRIM UPPER COVER LH
-
INSPECT FITTING OF FRONT DOOR TRIM BOARD SUB-ASSEMBLY
-
INSPECT FRONT SEAT ASSEMBLY