CAUTION / NOTICE / HINT
-
Use the same procedure for RHD and LHD vehicles.
-
The procedure listed below is for LHD vehicles.
PROCEDURE
- Click here
REMOVE NO. 1 COOLER UNIT DRAIN HOSE
-
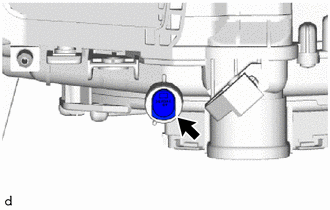
Remove the No. 1 cooler unit drain hose.
-
- Click here
REMOVE NO. 1 COOLING UNIT PACKING
-

Remove the No. 1 cooling unit packing.
-
- Click here
REMOVE AIR FILTER COVER PLATE
-
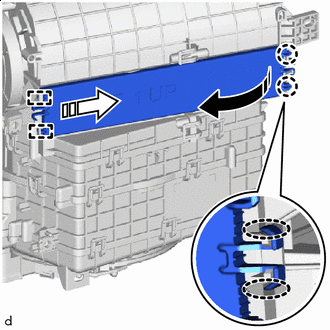

Pinch 
Rotate in this Direction 
Remove in this Direction Lightly pinch the area shown in the illustration and rotate the claw in the direction indicated by the arrow shown in the illustration to detach it.
-
Pull in the removal direction shown in the illustration to detach the guide and remove the air filter cover plate.
-
- Click here
REMOVE AIR FILTER CASE
-
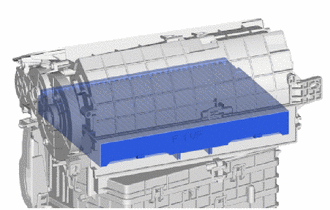
Remove the air filter case.
-
- Click here
REMOVE CLEAN AIR FILTER
-
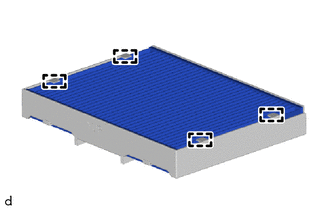
Detach the guide and remove the clean air filter.
-
- Click here
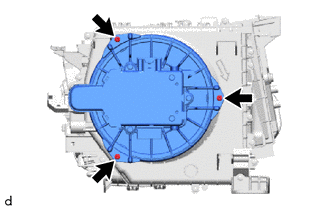
REMOVE SPRING NUT
-
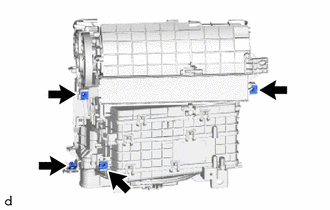
Remove the 4 spring nuts.
-
- Click here
REMOVE BLOWER MOTOR WITH FAN SUB-ASSEMBLY
-
Remove the 3 screws and blower motor with fan sub-assembly.
-
- Click here
REMOVE NO. 2 COOLING UNIT PACKING
-
When reusing the blower motor with fan sub-assembly:
-
- Click here
REMOVE NO. 1 BLOWER DAMPER SERVO SUB-ASSEMBLY
-
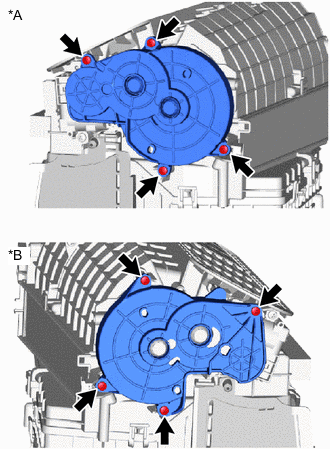
*A for LHD *B for RHD Remove the 4 screws and remove the cover plate.
-
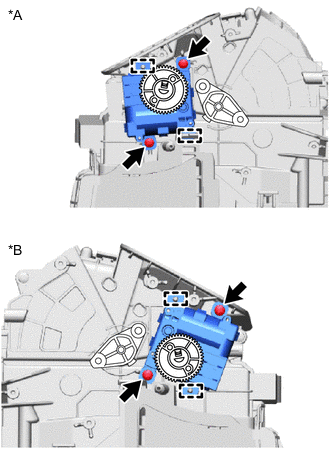
*A for LHD *B for RHD Remove the 2 screws.
-
Detach the guide and No. 1 blower damper servo sub-assembly.
-