Click here
-
CHECK INDICATOR OPERATION
-
Turn the power switch on (READY) and operate the height control switch (integration control panel assembly).
Table 1. Height Control Switch (Integration Control and Panel Assembly) Mode High Mode Indicator NORMAL mode→HIGH mode Illuminated HIGH mode→NORMAL mode Not illuminated
-
-
CHECK HEIGHT CHANGE OPERATION
-
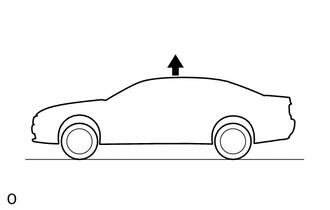
Turn the power switch on (READY), press the height control switch (integration control panel assembly) and adjust the vehicle height from NORMAL mode to HIGH mode.
OK Height control compressor begins operation within about 2 seconds after switch operation. Height adjustment finishes within about 3 seconds after height control compressor begins operation. Change in vehicle height is 10 to 30 mm (0.394 to 1.18 in.). -
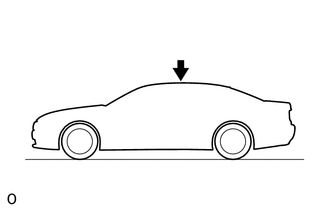
With the vehicle in the HIGH mode position, press the height control switch (integration control panel assembly) and return the vehicle to NORMAL.
OK Release of air begins within about 2 seconds after switch operation. Height adjustment finishes within about 8 seconds after release of air begins. Change in vehicle height is 10 to 30 mm (0.394 to 1.18 in.).
-
-
CHECK HEIGHT ADJUSTMENT OPERATION
Note:Perform this procedure with the vehicle height setting in NORMAL mode.
-
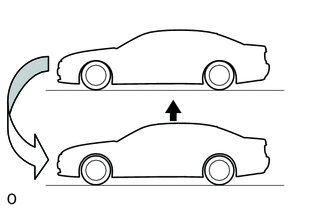
Turn the power switch off and have 4 people get into the vehicle (2 in the front and 2 in the rear).
Tip:The average weight for one person is about 55 kg (121.3 lb).
-
Turn the power switch on (READY) and check the amount of time until height adjustment finishes.
OK Height control compressor begins operation within about 2 seconds after turning the power switch on (READY). Height adjustment finishes within about 3 seconds after height control compressor begins operation. -
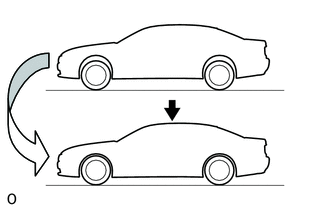
Turn the power switch off and have the 4 people get out of the vehicle.
-
Turn the power switch on (READY) and check the amount of time until height adjustment finishes.
OK Release of air begins within about 2 seconds after turning power switch on (READY). Height adjustment finishes within about 8 seconds after release of air begins.
-
-
CHECK CONNECTIONS OF TUBES FOR AIR LEAKAGE
-
Place the vehicle on a 4 post lift.
-
Turn the power switch on (READY) and set the height control switch (integration control panel assembly) to the "HIGH mode" position and raise the vehicle height.
-
Turn the power switch off and operate the lift up.
-
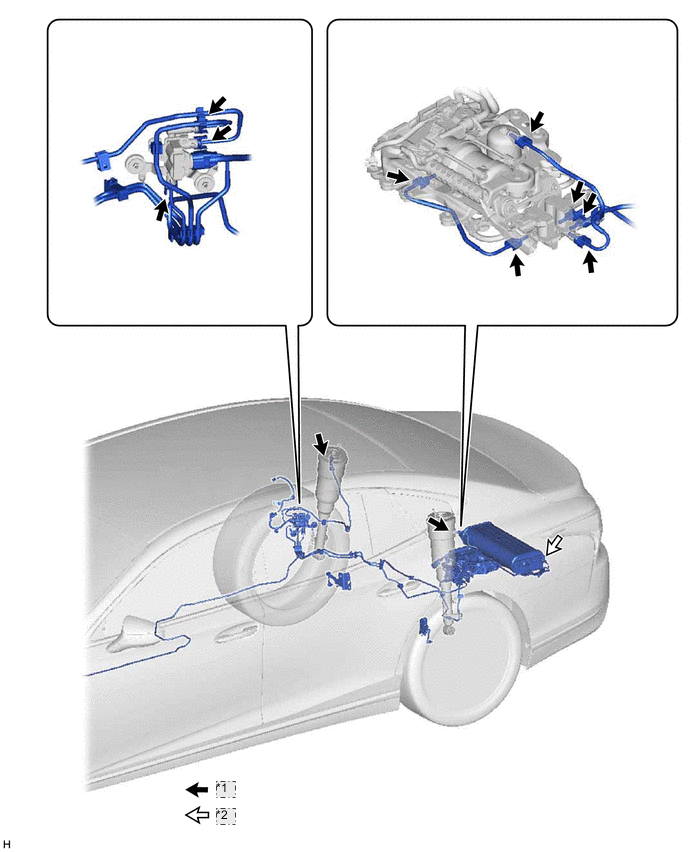
Table 3. *1 Soapy water *2 Neutral type gas leak detection agent 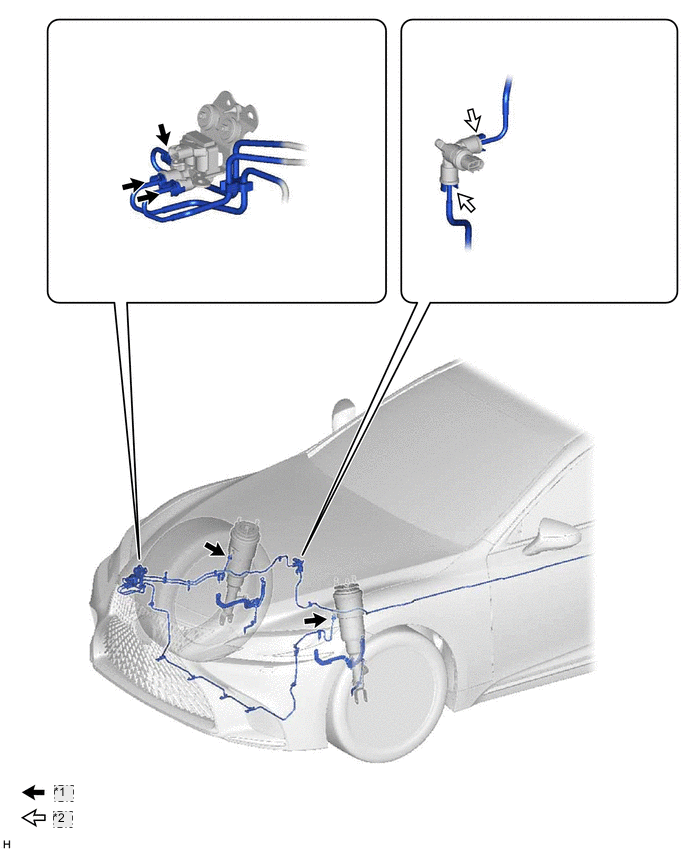
Table 2. *1 Soapy water *2 Neutral type gas leak detection agent Apply soapy water to the connections of the tubes and check if there is any air leakage.
Note:The pneumatic with tube tank assembly and height control wey are made from aluminum. Therefore, use a neutral type gas leak detection agent.
-