HEADLIGHT ASSEMBLY REMOVAL

CAUTION / NOTICE / HINT
The necessary procedures (adjustment, calibration, initialization or registration) that must be performed after parts are installed, removed or replaced during the headlight assembly LH removal/installation are shown below.
| Replacement Part or Procedure | Necessary Procedures | Effects/Inoperative Functions when not Performed | Link |
|---|---|---|---|
| Replacement of headlight assembly LH | Vehicle information registration for the No. 1 headlight ECU sub-assembly LH | Automatic headlight beam level control system |
Note
Even if the headlight assembly RH is replaced with a new one, vehicle information registration is not necessary.
Tech Tips
-
Use the same procedure for the RH and LH sides.
-
The procedure listed below is for the LH side.
PROCEDURE
-
REMOVE FRONT BUMPER ASSEMBLY
-
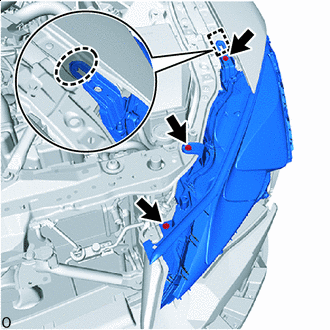
REMOVE FRONT FENDER REINFORCEMENT TOP SUB-ASSEMBLY LH
-
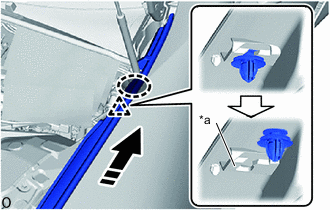
Push the front tip of the front fender reinforcement top sub-assembly LH downwards to disconnect the hook.
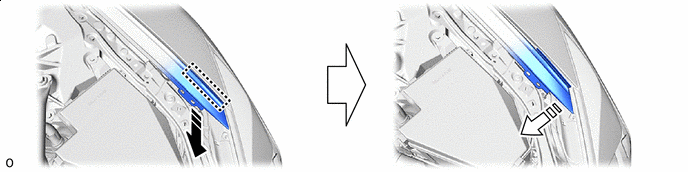

Downward 
Detach the hook -
*a Base 
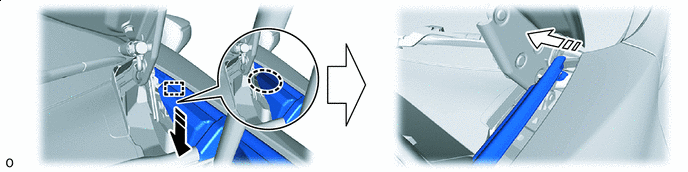
Place Hands Here Pull Forward Hold the area shown in the illustration and pull towards the front of the vehicle to disconnect the clip from the base.
-
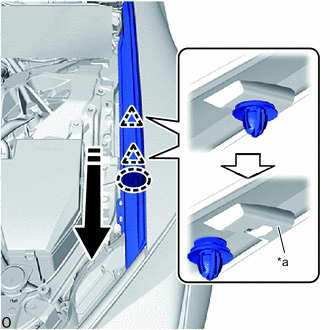
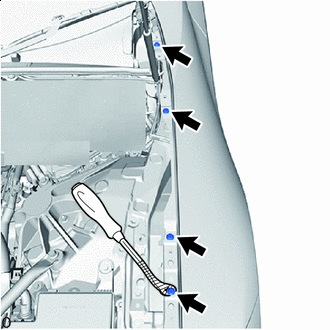
Hold the area shown in the illustration and push the rear end downwards to disconnect the hook.
Place Hands Here Downward Detach the Hook - - -
*a Base Place Hands Here Pull Forward Hold the area shown in the illustration and pull towards the front of the vehicle to disconnect the clip from the base.
-
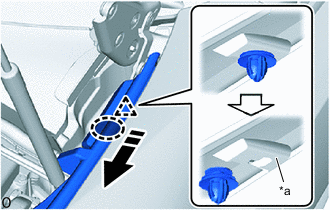
*a Base Place Hands Here Pull Backward Hold the area shown in the illustration and pull towards the rear of the vehicle to remove the front fender reinforcement top sub-assembly LH.
-

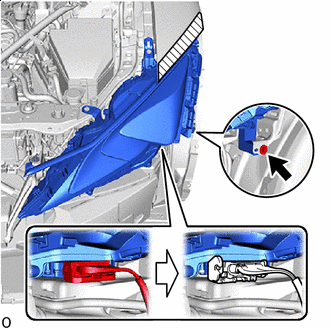
Protective Tape Using a clip remover, remove the remaining clip and install the clip to the front fender reinforcement top sub-assembly LH.
Tech Tips
Tape the clip remover tip before use.
-
-
REMOVE HEADLIGHT ASSEMBLY LH
-
Protective Tape Apply protective tape around the headlight assembly LH.
-
Release the connector lock lever and disconnect the connector.
-
Remove the bolt.
-
Place Hands Here Remove the 3 screws.
-
Place your hand on the bracket of the headlight assembly LH and disconnect the positioning pin.
Note
Be careful not to break the bracket.
-
Slide the headlight assembly LH and disconnect the guide.
-
Slide the headlight assembly LH forward to remove it.

Slide Slide Forward
-