ROOF HEADLINING REASSEMBLY
PROCEDURE
-
INSTALL NO. 1 ROOF WIRE
-
for Glass Roof:
-
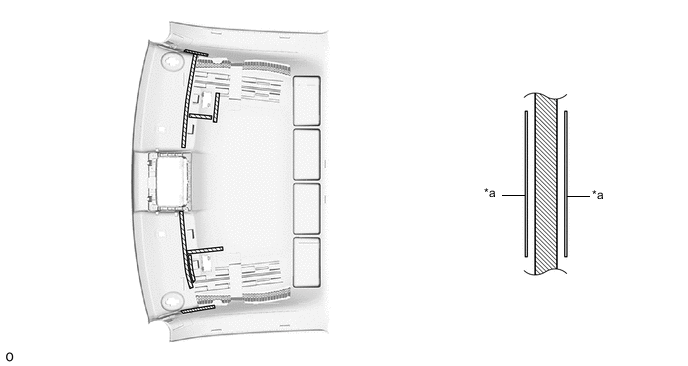
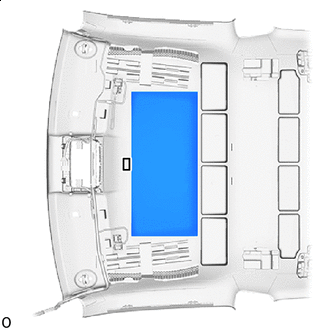
Apply a new butyl tape as shown in the illustration.
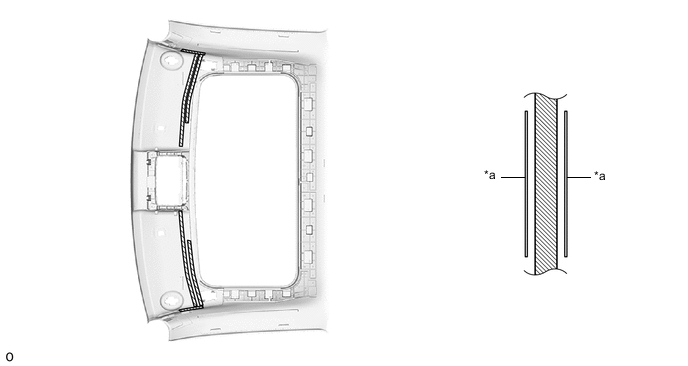
*a Marking - - 
Butyl Tape - - Note
Apply securely so that the butyl tape will not shift or peel off.
-
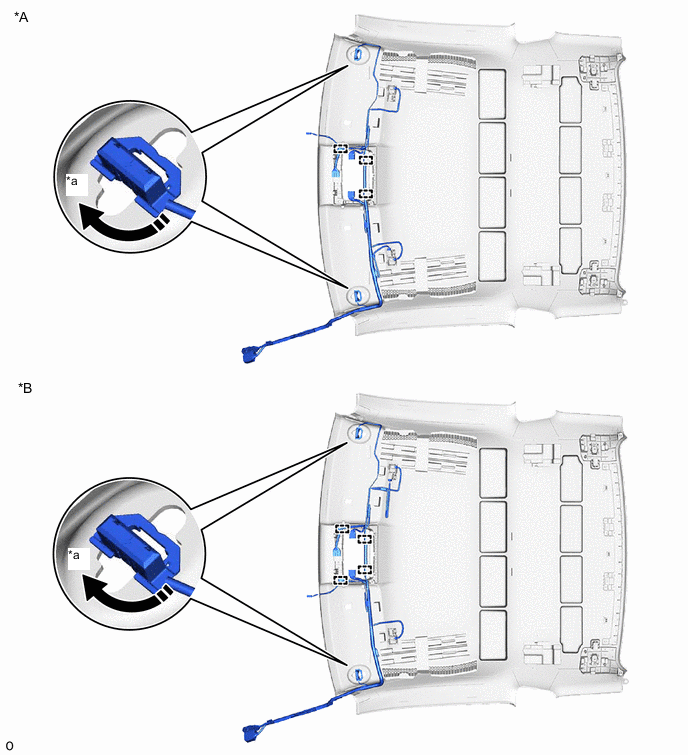
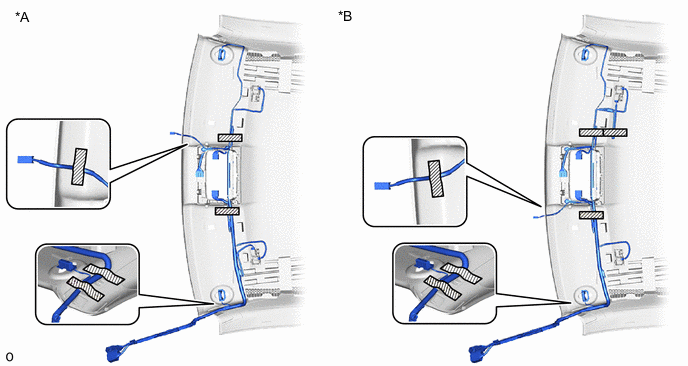
Turn the visor connectors approximately 90° clockwise and connect to the roof headlining assembly.
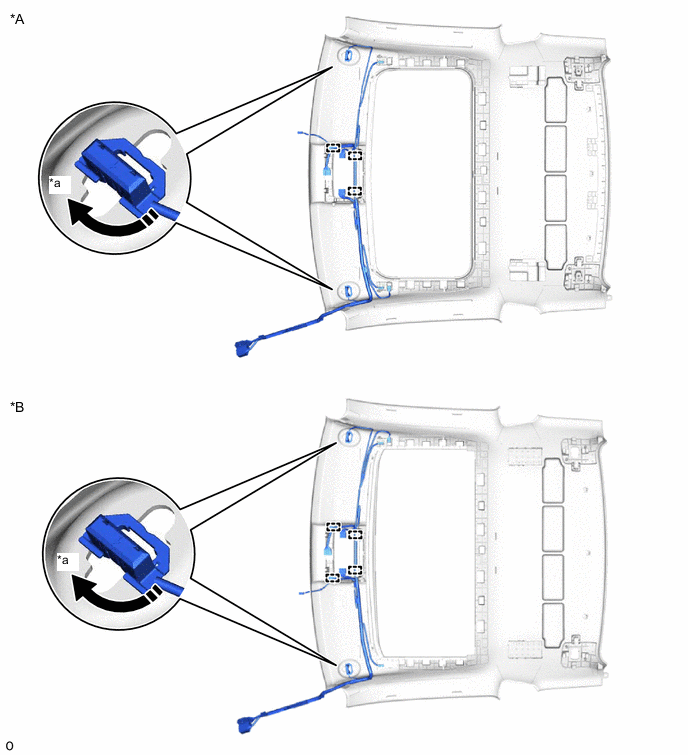
*A for LHD *B for RHD *a 90° - - -
Attach the clamps.
-
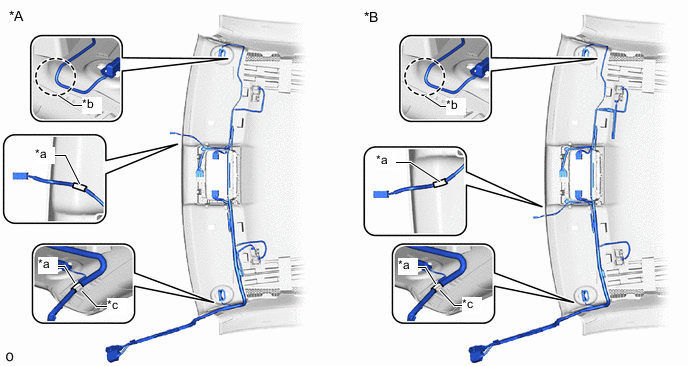
Set No. 1 roof wire positioning tape at the position shown in the illustration on the No. 1 roof wire.
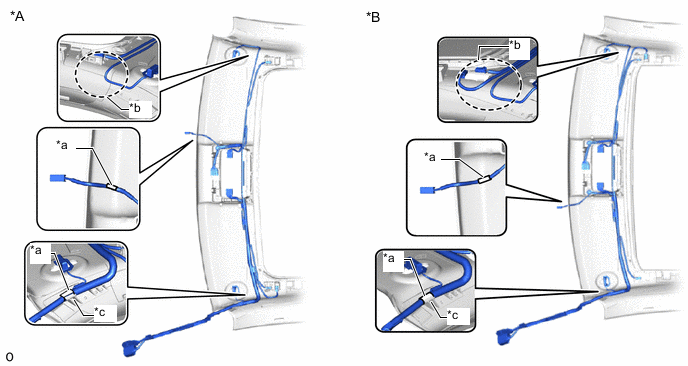
*A for LHD *B for RHD *a Positioning Tape *b Adjustment Area *c Roof Set Position - - -
Apply fastening tape to the position shown in the illustration to install the No. 1 roof wire to the roof headlining assembly.
*A for LHD *B for RHD 
Fastening Tape - -
-
-
for Carbon Roof:
-
for LHD:
Apply a new butyl tape as shown in the illustration.
*a Marking - - Butyl Tape - - Note
Apply securely so that the butyl tape will not shift or peel off.
-
for RHD:
Apply a new butyl tape as shown in the illustration.
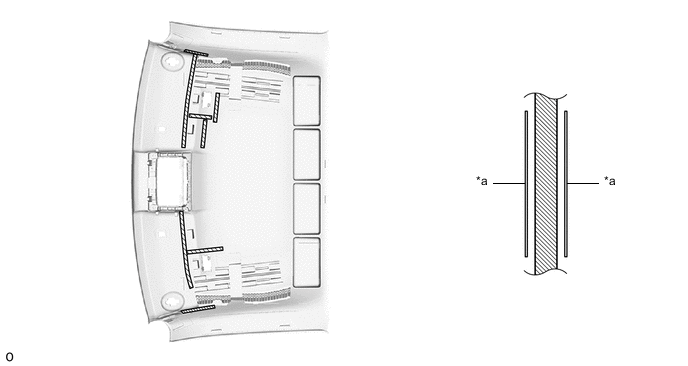
*a Marking - - Butyl Tape - - -
Turn the visor connectors approximately 90° clockwise and connect to the roof headlining assembly.
*A for LHD *B for RHD *a 90° - - -
Attach the clamps.
-
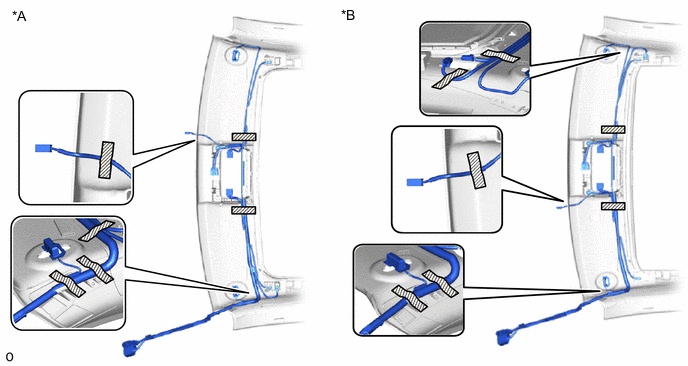
Set No. 1 roof wire positioning tape at the position shown in the illustration on the No. 1 roof wire.
*A for LHD *B for RHD *a Positioning Tape *b Adjustment Area *c Roof Set Position - - -
Apply fastening tape to the position shown in the illustration to install the No. 1 roof wire to the roof headlining assembly.
*A for LHD *B for RHD Fastening Tape - -
-
-
-
INSTALL ROOF SILENCER PAD (for Carbon Fiber Reinforced Plastic Roof)
-

Marking Using double-sided tape or three cement yellow, install a new roof silencer pad in the position shown in the illustration.
-
-
INSTALL ROOF HEADLINING HOLDER COVER
-
Attach the claws to install the roof headlining holder cover.
Tech Tips
Use the same procedure for the opposite side.
-
-
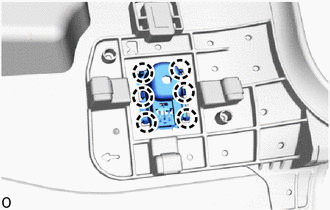
INSTALL TELEPHONE MICROPHONE ASSEMBLY
-
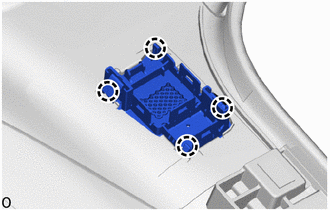
INSTALL ACTIVE NOISE CONTROL MICROPHONE
-
INSTALL COAT HOOK
-
Attach the claws to install the coat hook.
Tech Tips
Use the same procedure for the opposite side.
-