FRONT BRAKE DISASSEMBLY
CAUTION / NOTICE / HINT
Note
-
Remove only indicated parts.
-
Do not loosen or remove the pin from the disc disc brake cylinder assembly LH as shown in the illustration.

*A View from the outside of the vehicle. *B View from the inside of the vehicle. *1 pin - -
Tech Tips
-
Use the same procedure for the RH and LH sides.
-
The procedure listed below is for the LH side.
PROCEDURE
-
REMOVE FRONT DISC BRAKE FITTING KIT
-
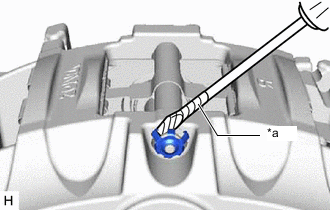
*a Protective Tape Using a screwdriver with its tip wrapped with protective tape, remove a pin hold clip.
-
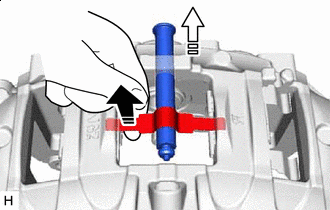

Remove in this Direction (1) 
Remove in this Direction (2) While pushing the anti-rattle spring upwards from the bottom, remove the torque pin.
-
Remove a anti-rattle spring.
-
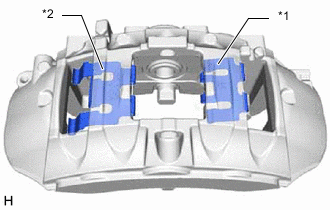
*1 No. 1 Anti-Rattle Spring *2 No. 2 Anti-Rattle Spring Remove the No. 1 anti-rattle spring and No. 2 anti-rattle spring from the disc brake cylinder assembly LH.
-
-
REMOVE FRONT DISC BRAKE PISTON
-
Install a wooden block between the pistons of the disc brake cylinder assembly LH to stop them coming out.
-
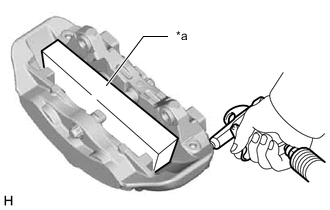
*a Wooden Block Using an air gun, gradually apply compressed air until the 6 front disc brake pistons touch the wooden block.
Note
Do not allow any brake fluid to spatter.
-
Remove the wooden block.
-
Remove the 6 front disc brake pistons.
-
-
REMOVE CYLINDER BOOT
-
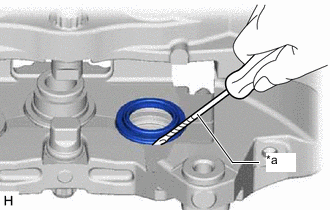
*a Protective Tape Using a screwdriver with its tip wrapped with protective tape, remove the 6 cylinder boots from the disc brake cylinder assembly LH.
Note
Be careful not to damage the front disc brake cylinder LH.
-
-
REMOVE PISTON SEAL
-
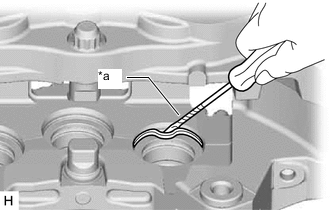
*a Protective Tape Using a screwdriver with its tip wrapped with protective tape, remove the 6 piston seals from the disc brake cylinder assembly LH.
Note
Do not damage the cylinder bore and the seal groove.
-
-
REMOVE FRONT DISC BRAKE BLEEDER PLUG CAP
-
REMOVE FRONT DISC BRAKE BLEEDER PLUG