STEREO COMPONENT AMPLIFIER REMOVAL
PROCEDURE
-
REMOVE NO. 2 DECK BOARD
-
REMOVE NO. 1 DECK BOARD
-
REMOVE LUGGAGE COMPARTMENT TRIM COVER RH
-
REMOVE LUGGAGE COMPARTMENT TRIM COVER LH
-
REMOVE SIDE TRIM BOX
-
REMOVE LUGGAGE COMPARTMENT TRIM BOX
-
REMOVE STEREO COMPONENT AMPLIFIER ASSEMBLY WITH BRACKET
-
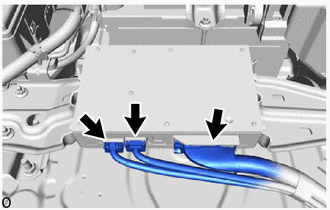
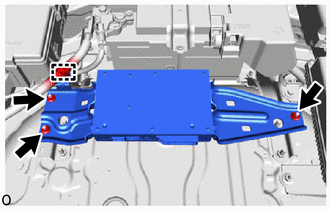
for 12 Speakers:
-
Disconnect the 3 connectors.
-
Detach the clamp.
-
Remove the 3 nuts and stereo component amplifier assembly with bracket.
-
-
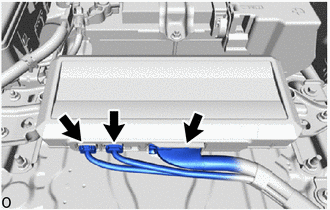
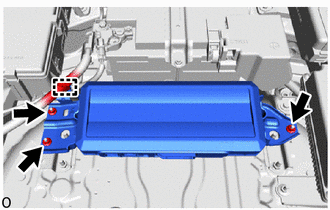
for 13 Speakers:
-
Disconnect the 3 connectors.
-
Detach the clamp.
-
Remove the 3 nuts and stereo component amplifier assembly with bracket.
-
-
-
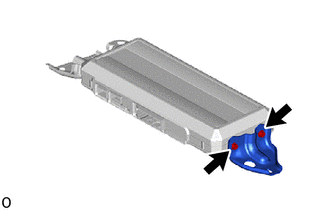
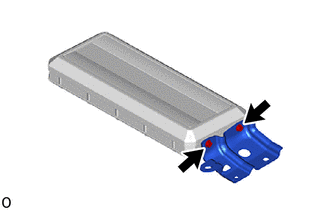
REMOVE NO. 2 AMPLIFIER BRACKET
-
for 12 Speakers:
-
Remove the 2 screws and No. 2 amplifier bracket.
-
-
for 13 Speakers:
-
Remove the 2 screws and No. 2 amplifier bracket.
-
-
-
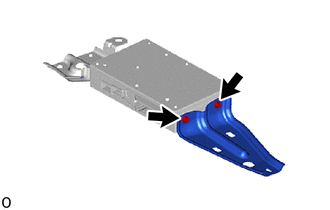
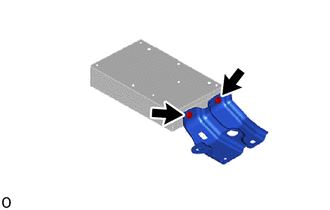
REMOVE NO. 1 AMPLIFIER BRACKET
-
for 12 Speakers:
-
Remove the 2 screws and No. 1 amplifier bracket.
-
-
for 13 Speakers:
-
Remove the 2 screws and No. 1 amplifier bracket.
-
-
-
REMOVE STEREO COMPONENT AMPLIFIER ASSEMBLY