AMBIENT LIGHT(for Front Door) REMOVAL
CAUTION / NOTICE / HINT
Tech Tips
-
Use the same procedure for RHD and LHD vehicles.
-
The procedure listed below is for LHD vehicles.
PROCEDURE
-
REMOVE FRONT DOOR TRIM COVER SUB-ASSEMBLY LH (for Driver Side)
-
REMOVE FRONT DOOR ASSIST GRIP ASSEMBLY RH (for Front Passenger Side)
-
REMOVE FRONT DOOR TRIM BOARD SUB-ASSEMBLY LH (for Driver Side)
-
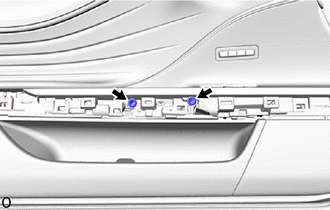
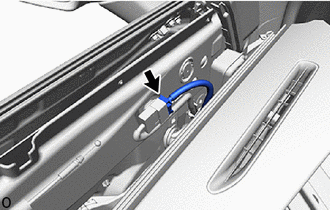
Remove the 2 screws.
-

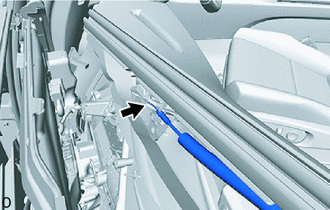
Pull 
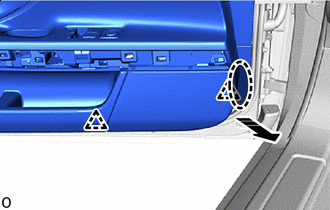
Place Hands Here Grasp the front door inside panel sub-assembly LH and front door trim board sub-assembly LH through the gap and detach the clip while pulling.
-
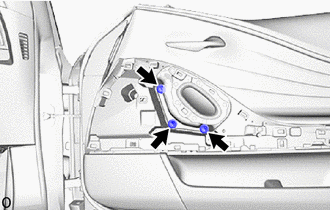
Pull Place Hands Here Place your hands at the location indicated shown in the illustration, pull the front door trim board sub-assembly LH to detach the clip.
-
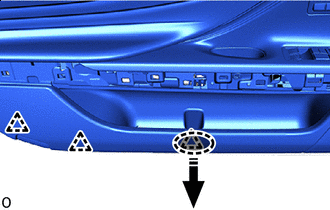
Pull 
Lift Up Place Hands Here Place your hands at the location indicated shown in the illustration, pull the front door trim board sub-assembly LH to detach remaining clip.
-
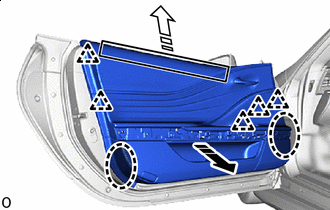
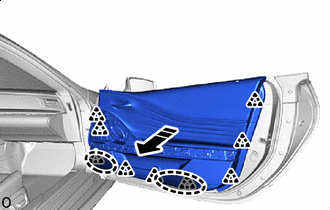
Lift up the front door trim board sub-assembly LH to detach the hook to remove it.
-
Disconnect the connector.
-
Disconnect the front door lock remote control cable assembly LH from the front door inside handle sub-assembly LH.
-
-
REMOVE FRONT DOOR TRIM BOARD SUB-ASSEMBLY RH (for Front Passenger Side)
-
Remove the 3 screws.
-
Pull Place Hands Here Grasp the front door inside panel sub-assembly RH and front door trim board sub-assembly RH through the gap and detach the clip while pulling.
-
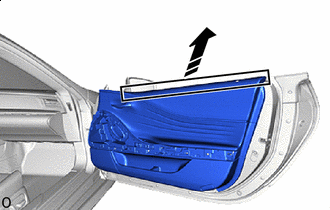
Remove in this Direction Lift up the front door trim board sub-assembly RH to detach the hook to remove it.
-
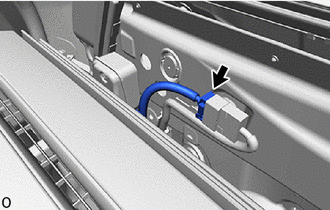
Disconnect the connector.
-
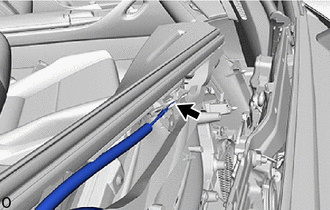
Disconnect the front door lock remote control cable assembly RH from the front door inside handle sub-assembly RH.
-